
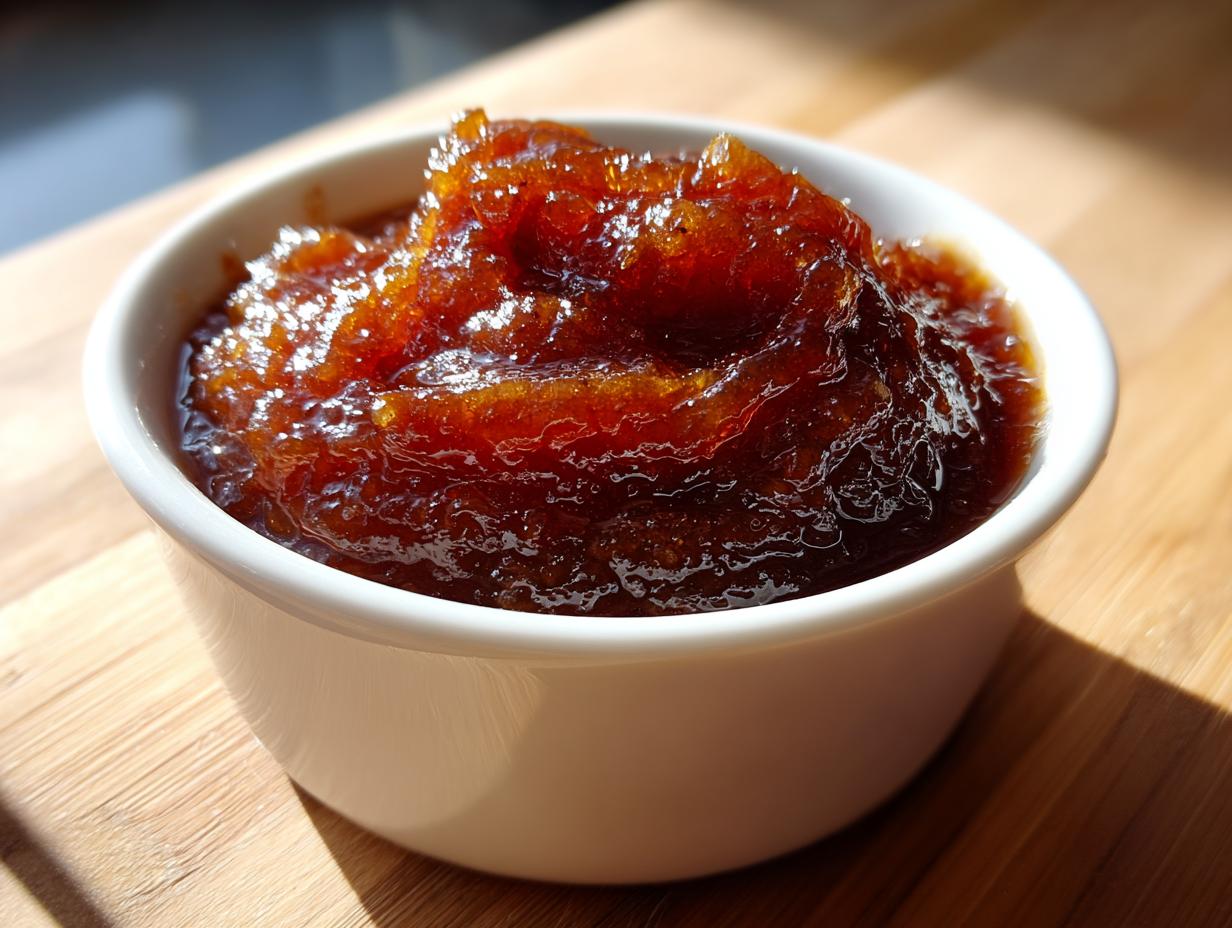
When the air gets crisp and the scent of cinnamon starts drifting through the house, you know it’s time for true comfort food. Those fall fruit preserves just hit differently, don’t they? Here at Cookin’ Corner, we believe the foundation of great food is a recipe that truly works, every single time. That’s why I’m so excited to share what I genuinely believe is the ultimate, easy pear butter recipe! We’re skipping the complicated steps, focusing on pure nostalgic flavor, and I’m showing you how to use the stovetop, the slow cooker, or even your Instant Pot. You get that rich, spiced spread without any fuss.
- Why This Easy Pear Butter Recipe Works for Every Cook
- Selecting the Best Pears for Homemade Pear Butter
- Ingredients for This Classic Spiced Pear Butter Recipe
- How to Make Pear Butter: Step-by-Step Instructions for Three Methods
- Tips for Perfect Homemade Pear Butter Every Time
- Storing and Gifting Homemade Pear Butter Preserves
- Frequently Asked Questions About Pear Butter
- Estimated Nutritional Data for This Healthy Pear Spread
- Share Your Pear Butter Creations
Why This Easy Pear Butter Recipe Works for Every Cook
I’ve spent years perfecting homemade preserves, and I promise you, this easy pear butter recipe is the one that stuck around. It’s completely foolproof, which is why I trust it when I’m making gifts for friends. The best part? It requires absolutely no pectin pear butter thickeners—we get that lovely, velvety texture just by cooking the fruit down right.
- It’s naturally sweet and uses only ripe, fresh fruit.
- It requires zero pre-planning if you use the stovetop method.
- It creates a naturally thick, healthy pear spread.
Flavor Profile: Perfectly Spiced Pear Butter
Oh, the smell when this cooks! We use a classic blend of cinnamon, ginger, and just a little kiss of clove. It leans heavily into that wonderful cinnamon pear butter territory—warm, autumnal, and deeply comforting. It’s sweet enough for toast but complex enough to feel special. Trust me, you’ll want to lick the spoon!
Versatility: Stovetop, Slow Cooker Pear Butter, and Instant Pot Options
This is where our guide really shines! I know life gets busy, and not everyone has time to stand over a stove. That’s why I broke down the method for three totally different appliances. Whether you need a quick batch on the stove or you want to toss it in the ‘set it and forget it’ slow cooker pear butter mode, we cover it all right here in this one ultimate guide.
Selecting the Best Pears for Homemade Pear Butter
When we talk about making homemade pear butter, the pear choice is everything, honestly. You want fruit that cooks down easily into that signature silky texture. For this recipe, I always reach for Bartlett or Anjou pears. Both are fantastic because they are naturally sweet and break down beautifully without leaving a grainy feel.
Here’s my little trick for judging ripeness for butter making: don’t just check the stem end like you do for eating fruit. You want the pear to yield just slightly—almost mushy—when you give it a gentle squeeze around its belly. If your pears are still rock-hard, they’ll take forever to soften up for blending. Using perfectly ripe fruit turns this into a truly easy pear butter recipe that practically makes itself!
Ingredients for This Classic Spiced Pear Butter Recipe
Okay, don’t let this list scare you—it’s super simple! We rely on the pears for most of the volume here, keeping the added sugar and spices modest. These ingredients are the foundation for that incredible, rich flavor you’ll get in your final batch. If you’ve got these items, you’re halfway to making beautiful cinnamon pear butter!
- 4 lbs ripe pears (I always recommend Anjou or Bartlett for the smoothest results)
- 1 cup packed brown sugar (make sure it’s packed!)
- 1 teaspoon ground cinnamon
- 1/2 teaspoon ground ginger
- 1/4 teaspoon ground cloves
- 1/4 cup water
How to Make Pear Butter: Step-by-Step Instructions for Three Methods
Alright, here is the heart of the guide! I know you’re eager to get cooking, so I’ve made sure the directions for our pear butter are crystal clear, no matter which appliance you love most. Remember, whether you use a big pot or a fancy machine, the goal is the same: super soft cooked pears ready for blending into that beautiful, thick spread. We’re going to cover how to prepare the fruit, cook it down, and then the critical step of thickening it up.
First, no matter your method, always start the same way: wash, core, and roughly chop those 4 lbs of ripe pears. Don’t bother peeling them! When you cook them down, the skins disappear, and peeling them first is just wasted time.
Toss the chopped fruit into your chosen cooking vessel with the brown sugar, cinnamon, ginger, cloves, and that tiny splash of water. Now, pick your adventure below!
Method 1: Quick Pear Butter on the Stovetop
If you want your pear butter ready the same afternoon, this is your ticket! Bring the mixture to a nice rolling boil over medium-high heat. Once it’s bubbling, immediately knock the heat down to low. Pop the lid on slightly ajar and just let it simmer low and slow for about 45 to 60 minutes. You’ll need to stir it every 15 minutes or so because the bottom can grab the pot easily. When you can easily smash a pear piece with a wooden spoon, you’re done with this stage.
Method 2: Set-and-Forget Slow Cooker Pear Butter
This is my favorite for weekend cooking when I’m busy cleaning or running errands. For true crockpot pear butter magic, load everything into your slow cooker. If you have all day, cook it on low for 6 to 8 hours. If you started cooking mid-morning, use the high setting for 3 to 4 hours. Either way, you come back to perfectly tender fruit ready for the next step. It truly requires zero babysitting, just like I love in my best fall recipes!
Method 3: Instant Pot Pear Butter Technique
If you love speed, the pressure cooker is amazing here. Put everything into the liner, secure the lid, and set it to High Pressure for exactly 15 minutes. This is important: don’t rush the end! Let it do a Natural Pressure Release (NPR) for a full 10 minutes before you even think about moving the vent. A quick release upsets the fruit structure, which we don’t want.
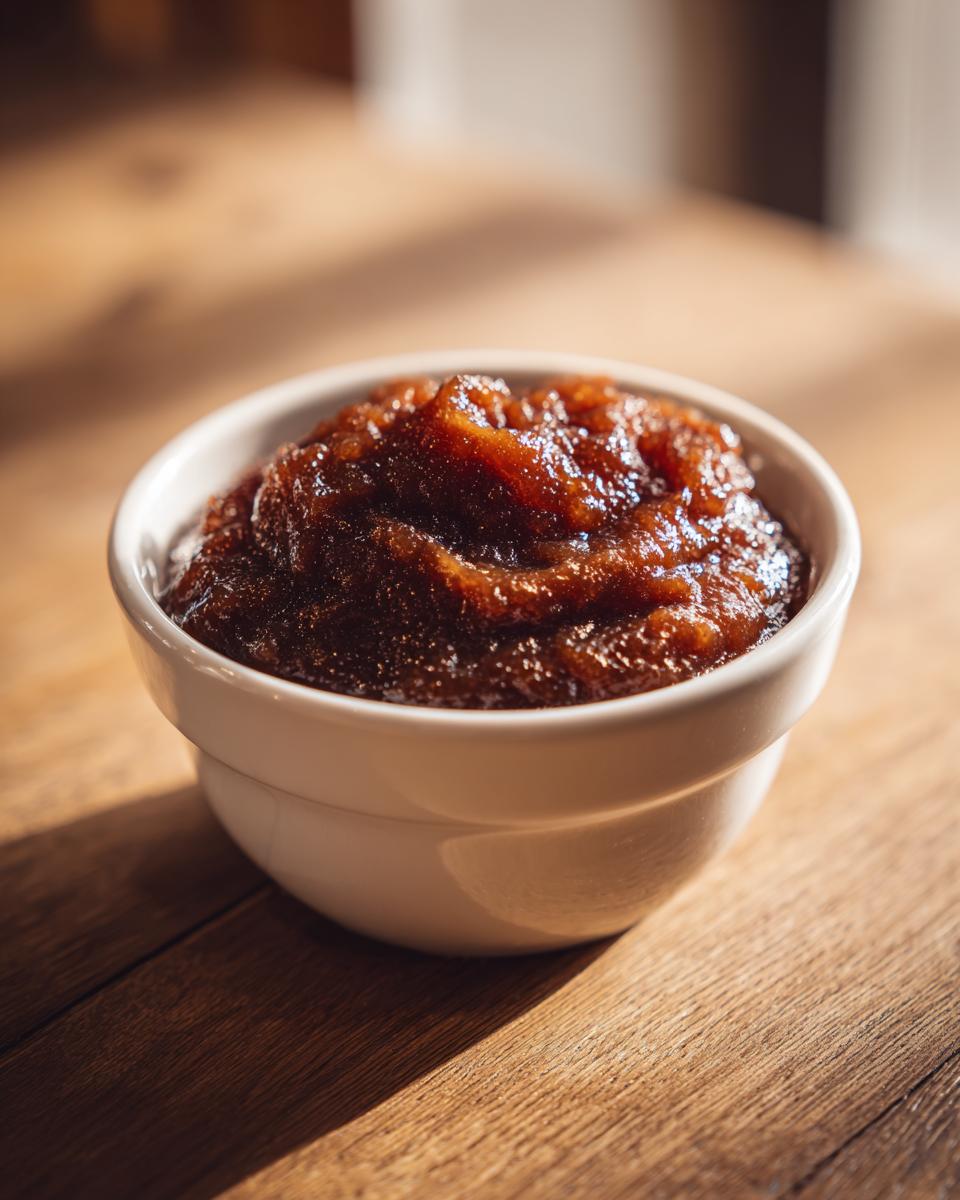
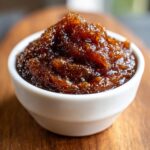
Achieving the Perfect Thick Pear Butter Consistency
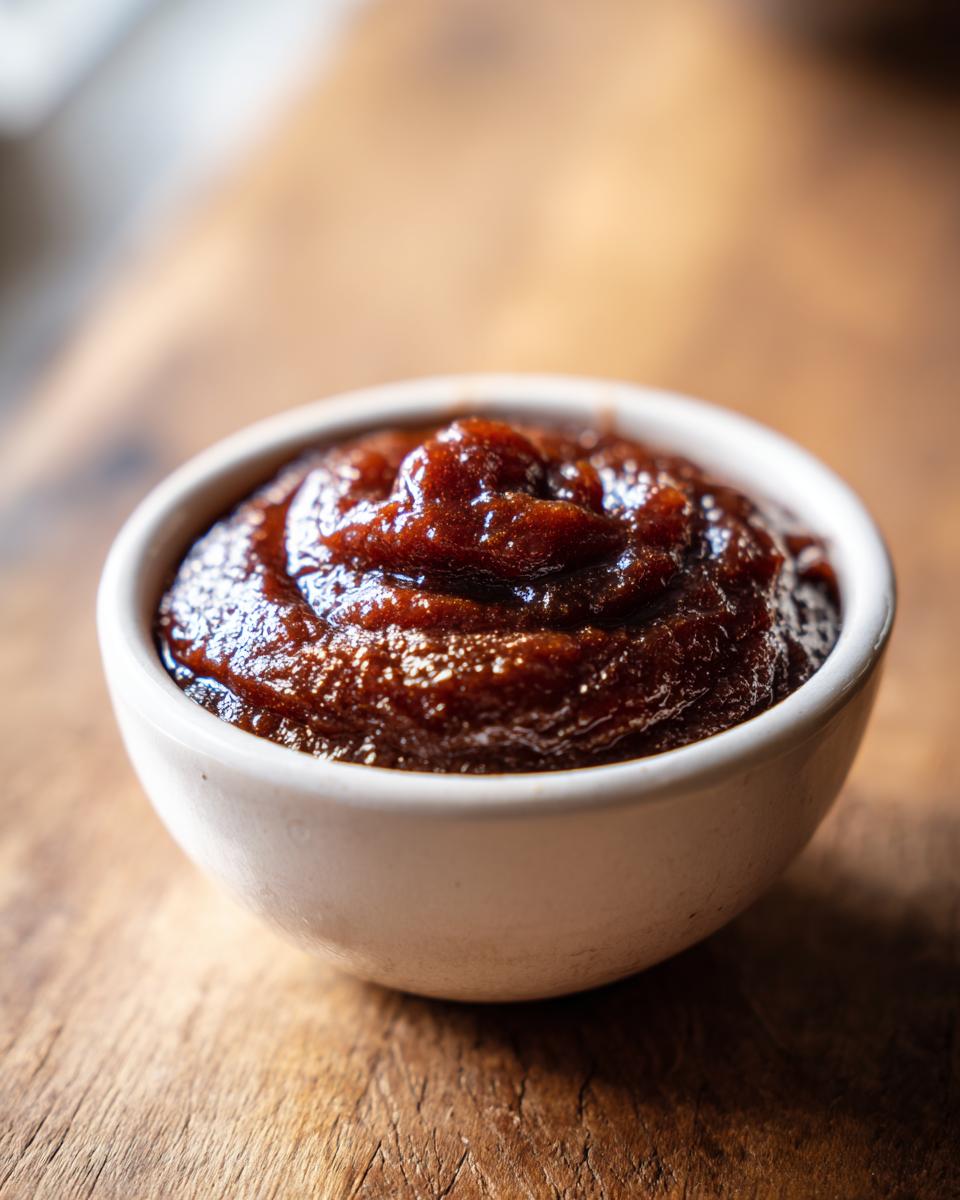
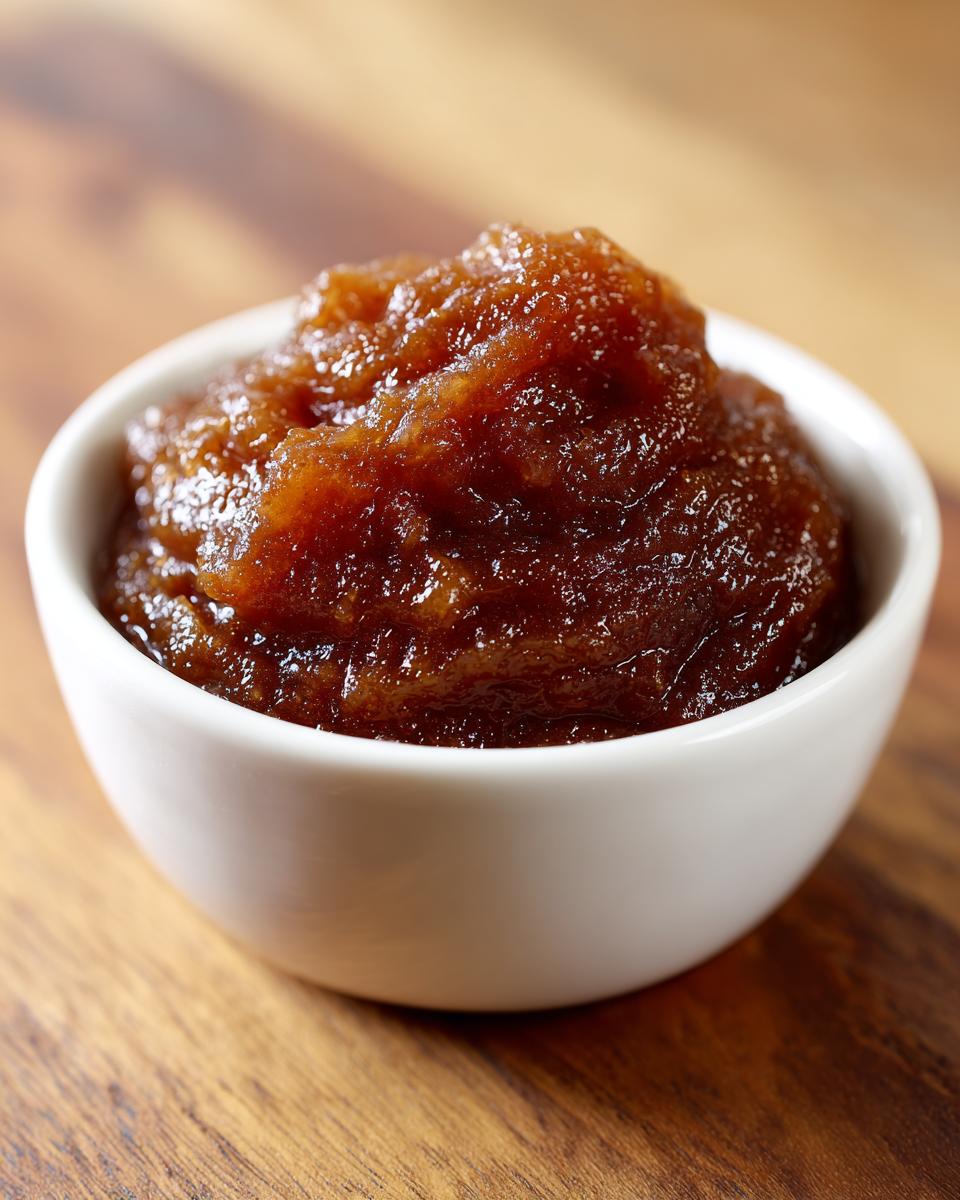
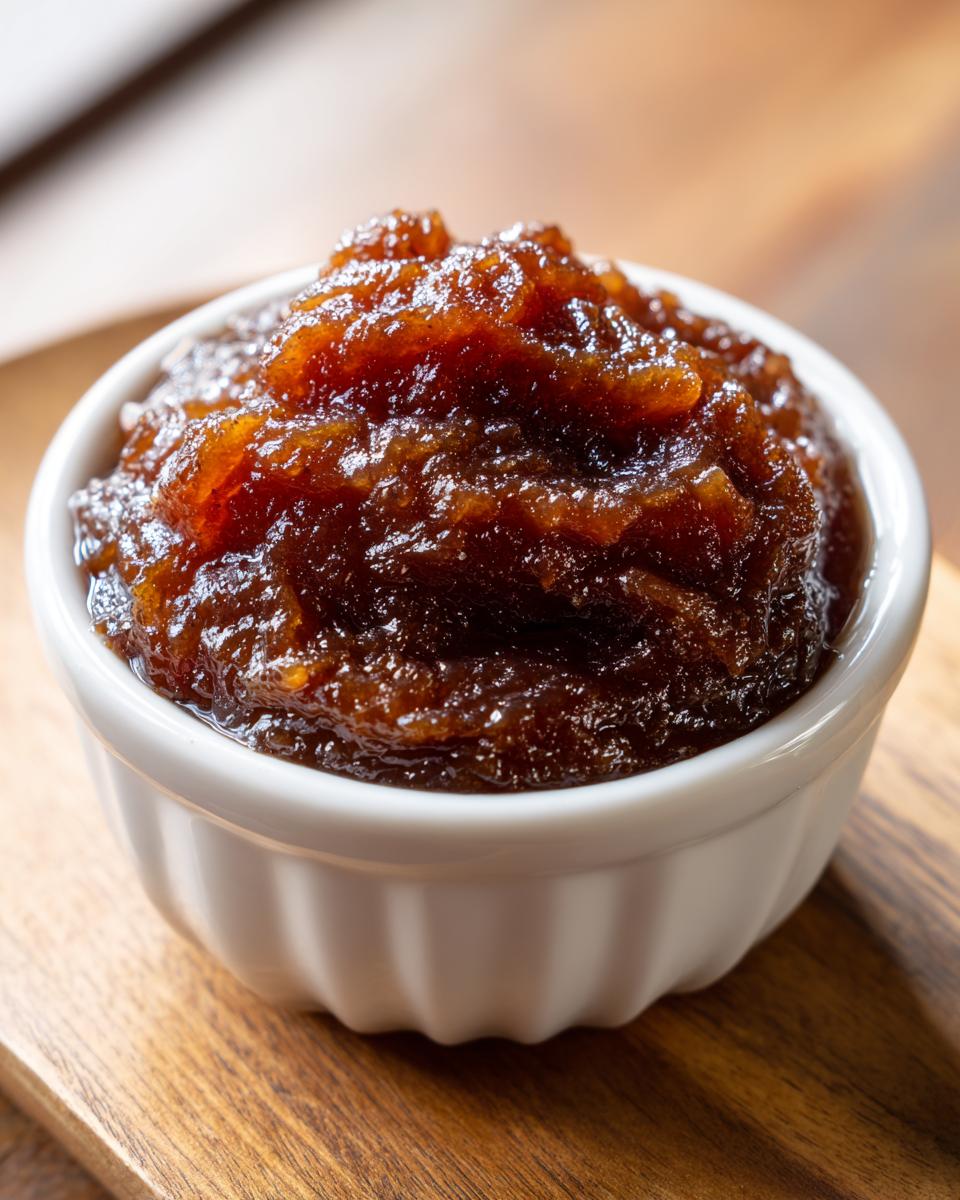
Once the pears are soft no matter which method you used, you blend them! Use an immersion blender right in the pot, or transfer carefully to a standard blender. Blend it all until it’s silky smooth. Now comes the *most crucial* part for true pear butter: thickening. Return the puree to the pot (if you used a regular blender) and simmer it uncovered. This process takes anywhere from 30 to 60 minutes, stirring constantly, until the butter mounds nicely on your spoon. This reduction step is what separates a runny applesauce cousin from proper canning pear butter!
Tips for Perfect Homemade Pear Butter Every Time
We’ve got the steps down, but let me share a couple more things I always do to ensure my homemade pear butter tastes like it came straight from a cozy autumn kitchen. The goal is always that rich, spreadable texture, not a loose sauce. Sometimes, even after the long simmer, it feels a little thin right out of the pot. Don’t panic! Just keep it simmering uncovered; patience during that final reduction makes a huge difference in how well it holds up in the jar.
And for those of you who love a little extra decadence, here is my favorite little upgrade I discovered when I was trying to use up some leftover toppings. For a total showstopper batch of Salted Caramel Pear Butter, stir in about a quarter cup of good caramel sauce—you can see my recipe for easy homemade caramel sauce— and a half teaspoon of good salt right at the end, just before you turn off the heat. It’s heavenly!
Customizing Your Spiced Pear Butter Flavor
My base includes ginger and cloves because I love deep, complex spices, but you absolutely don’t have to stick to that. If you are making this for little ones or just prefer a cleaner fruit note, feel free to only use the cinnamon—that simple cinnamon pear butter is classic and wonderful on its own. I’ve also seen folks add a tiny scrape of vanilla bean during the final simmer for a lovely depth that really complements those ripe pears.
Storing and Gifting Homemade Pear Butter Preserves
Once you’ve achieved that perfect thick texture, the next big decision is what to do with all that amazing pear butter! If you need it right away for breakfast or topping pancakes, simply let it cool down a bit and transfer it into a clean container. It will keep nicely in the back of your fridge for about three weeks. That’s perfect for those quick weekday uses.
But if you’re thinking ahead, we need to talk about canning. Making fall fruit preserves is such a special tradition, and it makes the best part of setting aside these jars for gifting homemade preserves during the holidays. If you plan to keep your spiced pear butter on the shelf all winter, you absolutely must process your jars using a proper water bath canner to ensure they seal safely. Always follow tested canning procedures for any fruit butter—it’s the only way to bring confidence to your shelf-stable goodies. For my favorite jar ideas on seasonal gifting, take a peek at my guide on Christmas jam recipes, as the same gifting rules apply here!
Frequently Asked Questions About Pear Butter
I totally get it; sometimes you have questions pop up halfway through cooking, and you just need a fast answer! When I first started making pear butter, I had a million queries, especially about sugar content and texture comparisons. Here are the things folks ask me most often about this easy pear butter recipe.
Can I make this pear butter recipe without added sugar?
You can absolutely try to make it a healthy pear spread by leaving out the brown sugar, especially if your pears are super ripe and sweet! But listen, sugar does more than add sweetness—it helps tremendously with the texture and the preservation. If you omit it completely, you *must* simmer the mixture much longer to get that lovely heavy, thick consistency needed for storage. You might also need to bump up the spices—like adding an extra half teaspoon of cinnamon—to carry the flavor since you’re missing that molasses note from the sugar. For more ways to keep things light, check out my roundup of healthy recipes!
What is the difference between pear butter and applesauce?
That’s a great question because they seem so similar! The main difference is concentration, which means time. Applesauce is cooked until soft, pureed, and done. But to make true pear butter, you have to cook that puree down much, much further. We are evaporating a huge amount of water during that final simmer stage until the resulting spread is almost twice as thick as applesauce. That intensive reduction is what gives spiced pear butter its deep, rich, almost jam-like quality.
Estimated Nutritional Data for This Healthy Pear Spread
I always think it’s helpful to know what you’re taking in, especially when you’re making something that feels so indulgent but is really loaded with fruit! Since this pear butter recipe is based on using ripe fruit and is a relatively healthy pear spread, I wanted to share the breakdown. Keep in mind these numbers are based on using the ingredients listed, especially the amount of brown sugar, and are divided into four servings as noted below.
As always with homemade recipes, these are estimates, but they give you a great starting point for tracking your wonderful kitchen creations. This is based on the yield being divided into four equal half-pint jars, essentially four servings of about 1/4 cup each.
- Serving Size: 1/4 cup
- Calories: 145
- Sugar: 35g
- Sodium: 2mg
- Fat: 0.2g
- Saturated Fat: 0g
- Unsaturated Fat: 0.1g
- Trans Fat: 0g
- Carbohydrates: 38g
- Fiber: 3g
- Protein: 0.5g
- Cholesterol: 0mg
For a recipe that tastes so rich and buttery, that low fat count is wonderful, right? This is why I love making homemade pear butter—you control exactly what goes in, making it much better than most store-bought jams!
Share Your Pear Butter Creations
Now that you know all my secrets for making the most incredibly easy, richly spiced pear butter—whether you trusted the Stovetop or let your Slow Cooker do all the heavy lifting—I truly want to hear about it!
Baking is always more fun when there’s a little community involved. Did you find the slow cooker pear butter totally changed your life? Or maybe you stuck firmly to the stovetop method for that quick payoff? Don’t keep the success stories to yourself!
Head down to the comments section below, leave me a star rating so other home cooks know this homemade pear butter recipe is a winner, and let me know which method you chose. If you have photos of your jars ready for gifting homemade preserves, I’d love to see them! For any specific questions, you can always reach out to me directly through the contact page. Happy preserving!
PrintThe Ultimate Guide: Easy Pear Butter Recipe (Stovetop, Slow Cooker, & Instant Pot Methods Included)
Make this easy pear butter using ripe pears, brown sugar, and cinnamon. Follow instructions for stovetop, slow cooker, or Instant Pot methods to create this healthy pear spread perfect for toast or gifting.
- Prep Time: 20 min
- Cook Time: 4 hours
- Total Time: 4 hours 20 min
- Yield: About 4 half-pint jars 1x
- Category: Preserves
- Method: Stovetop, Slow Cooker, Pressure Cooking
- Cuisine: American
- Diet: Vegetarian
Ingredients
- 4 lbs ripe pears (Anjou or Bartlett recommended)
- 1 cup packed brown sugar
- 1 teaspoon ground cinnamon
- 1/2 teaspoon ground ginger
- 1/4 teaspoon ground cloves
- 1/4 cup water
Instructions
- Prepare the Pears: Wash, core, and roughly chop the ripe pears. You do not need to peel them for this recipe.
- Combine Ingredients: Place the chopped pears, brown sugar, cinnamon, ginger, cloves, and water into a large pot (for stovetop), slow cooker, or Instant Pot liner.
- Cook on Stovetop: Bring the mixture to a boil over medium-high heat. Reduce heat to low, cover, and simmer for 45 to 60 minutes, stirring occasionally, until the pears are very soft.
- Cook in Slow Cooker: Cover and cook on low for 6 to 8 hours or on high for 3 to 4 hours, until the pears are very soft.
- Cook in Instant Pot: Secure the lid and cook on High Pressure for 15 minutes. Allow for a Natural Pressure Release for 10 minutes before manually releasing any remaining pressure.
- Blend: Transfer the cooked pear mixture to a blender or use an immersion blender directly in the pot. Blend until completely smooth. This creates a silky, homemade pear butter.
- Thicken (Stovetop/Slow Cooker): Return the puree to the pot (if using a standard blender). Simmer uncovered over low heat for 30 to 60 minutes, stirring frequently, until the butter is thick enough to mound on a spoon. This step is crucial for achieving the right consistency for canning pear butter.
- Cool and Store: Allow the pear butter to cool slightly. Transfer the spiced pear butter to clean jars. Store in the refrigerator for up to 3 weeks or process using a water bath canner for long-term storage.
Notes
- For a Salted Caramel Pear Butter variation, add 1/2 teaspoon of salt and 1/4 cup of caramel sauce during the final blending stage.
- If you prefer a less spiced flavor, omit the cloves and ginger, focusing only on cinnamon pear butter.
- Use firm, ripe pears for the best flavor and texture in your fall fruit preserves.
- This recipe yields a naturally thick spread, requiring no pectin pear butter.
Nutrition
- Serving Size: 1/4 cup
- Calories: 145
- Sugar: 35g
- Sodium: 2mg
- Fat: 0.2g
- Saturated Fat: 0g
- Unsaturated Fat: 0.1g
- Trans Fat: 0g
- Carbohydrates: 38g
- Fiber: 3g
- Protein: 0.5g
- Cholesterol: 0mg