
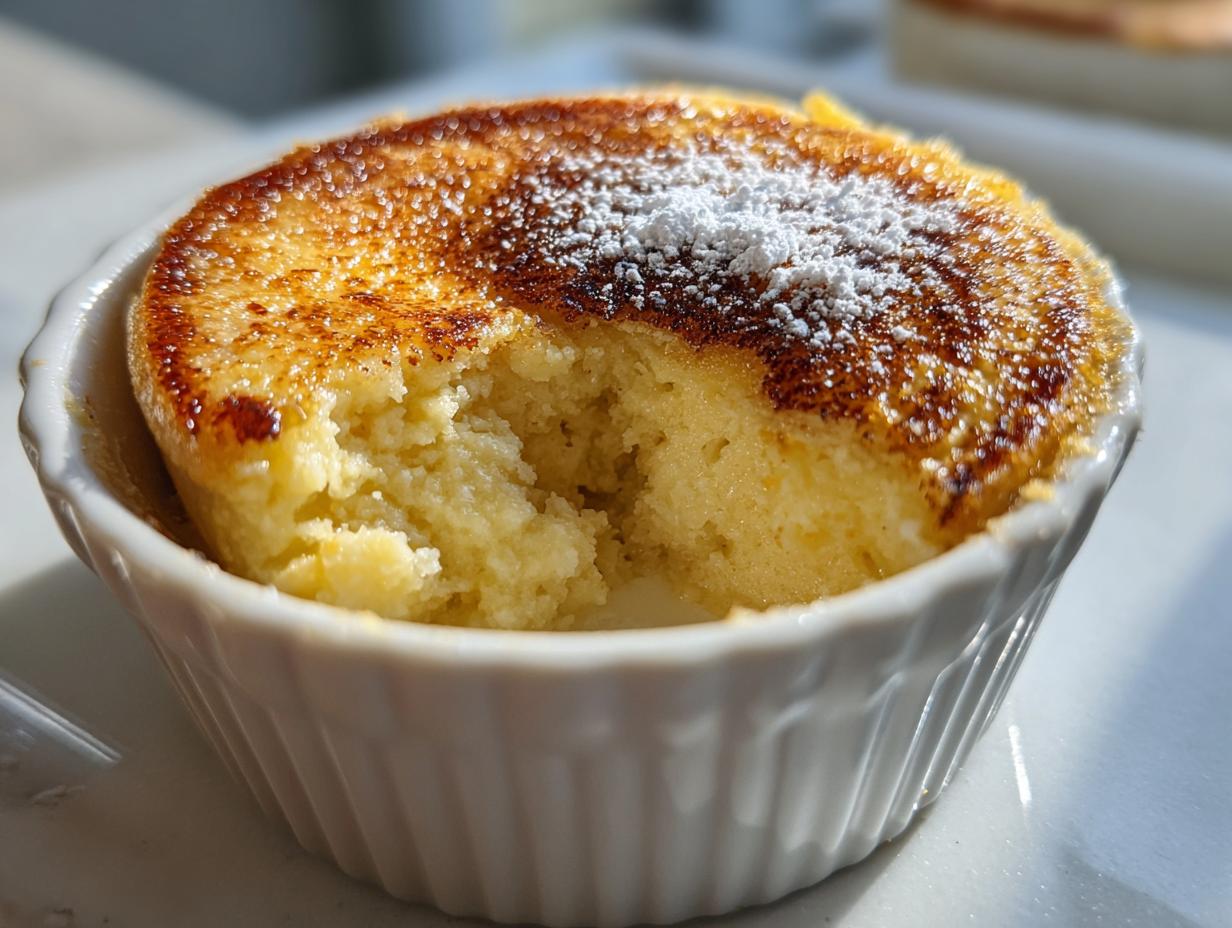
Oh, if I could bottle up the feeling of biting into a truly perfect, creamy dessert, I would! You know those nostalgic treats that just taste like childhood and true comfort? Well, this recipe is bottled sunshine. We are diving headfirst into my absolute favorite sweet custard treat: the Fail-Proof Old-Fashioned Baked Egg Custard. Seriously, if you’ve ever worried about getting that pesky cracked top, toss those worries out! This egg custard is designed to be silky smooth every single time, making it perfect for even the newest cook. Here at Cookin’ Corner, we honor those heritage-style American recipes, and this one is a dependable classic that always delivers that velvety texture.
- Why This Old-Fashioned Egg Custard Recipe Works Every Time
- Ingredients for Your Homemade Egg Custard
- Step-by-Step Instructions for Perfect Egg Custard
- Baking Time and Testing Doneness for Classic Egg Custard
- Chilling and Serving Your Simple Baked Dessert
- Troubleshooting Common Egg Custard Mistakes
- Storage and Reheating Instructions for Homemade Egg Custard
- Frequently Asked Questions About Egg Custard Recipe
- Share Your Fail-Proof Egg Custard Creation
Why This Old-Fashioned Egg Custard Recipe Works Every Time
You know why folks get scared of custard? It’s those cracked tops! It looks awful, and suddenly you think you’ve failed. But trust me, this classic baked dessert has built-in insurance against disaster. We aren’t guessing here; we are following time-tested methods that ensure perfection.

- Uses a gentle water bath for even cooking—no scorched edges!
- It relies on simple, high-quality ingredients instead of thickeners.
- It delivers that satisfying, nostalgic flavor we all crave.
The Secret to a Truly Creamy Egg Custard
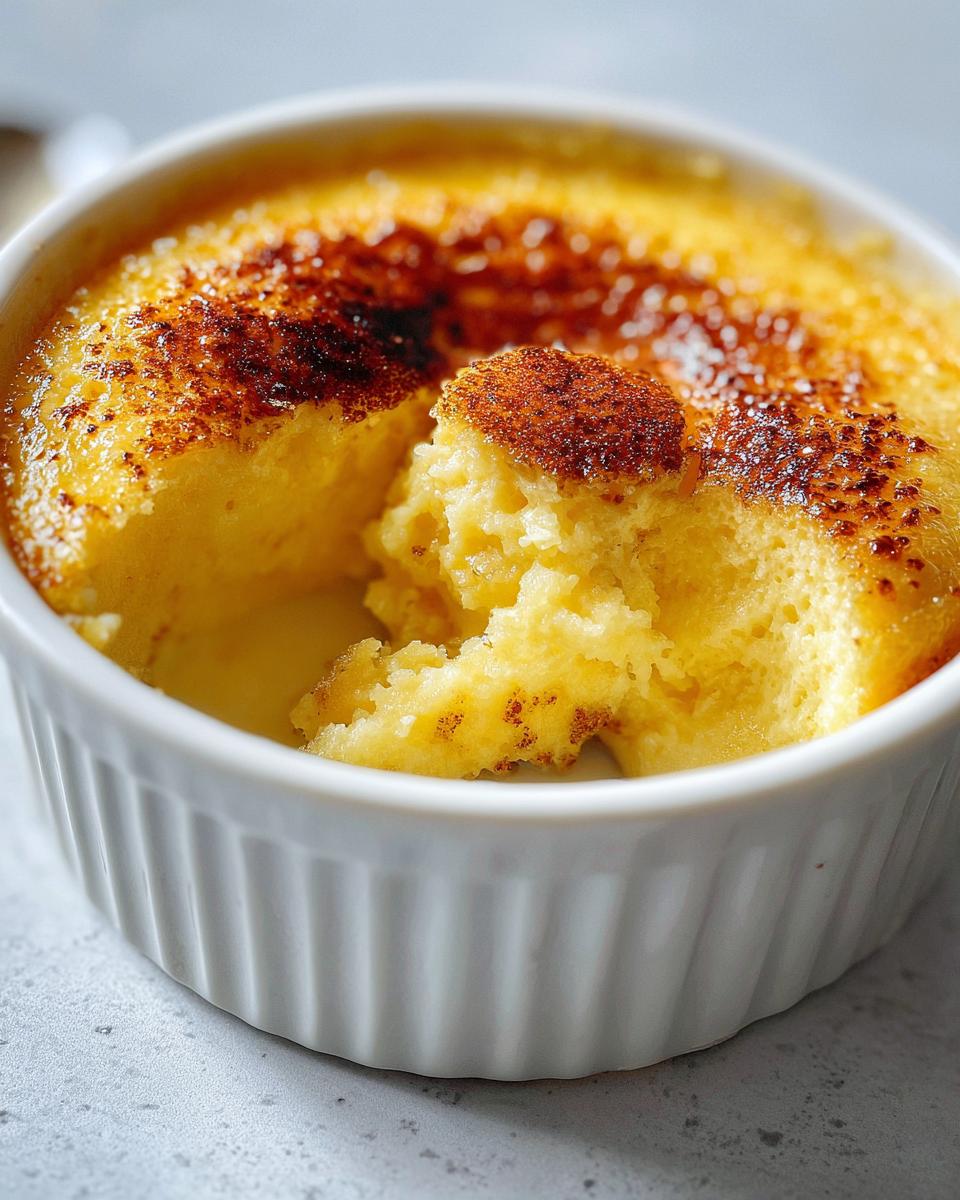
If you want that unbelievably smooth custard filling, you have to be delicate during the mixing phase. We strain the whole thing through a fine-mesh sieve, which is just heavenly for texture. That little step catches any bits that didn’t incorporate perfectly. Then, the water bath, or the bain-marie as the fancy chefs call it, keeps the heat gentle and humid around the dishes. It’s pure magic for keeping things from getting tough.
Achieving a Fail Proof Egg Custard Texture
The real trick that keeps this from being a disaster is how we handle the eggs themselves. You see, if you beat them like you’re trying to whip cream, you introduce too much air, and that air expands and then shrinks unevenly, leading to cracks. We whisk gently! Also, I insist on whole milk—that extra fat content is non-negotiable for a rich, creamy egg custard. It just coats the tongue beautifully.
Ingredients for Your Homemade Egg Custard
Gathering your simple ingredients is half the fun! Because this is an old fashioned baked custard, we don’t rely on weird thickeners, just good dairy and eggs. You only need a few everyday staples to make this wonderful egg custard. Don’t skimp on the vanilla; it makes a huge difference!
- 3 large eggs—handle these gently!
- 1/2 cup granulated sugar
- 2-2/3 cups milk—I really mean whole milk for the best results
- 1 teaspoon pure vanilla extract
- A teensy pinch of salt
- Freshly grated nutmeg for sprinkling right before baking
Ingredient Notes and Substitutions for Egg Custard
Listen, I know some folks try to cut back on fat, but please stick with whole milk here. Skim milk just won’t give you that luxurious mouthfeel you want in a perfect baked dessert. It might work for a quick custard dessert in a pinch, but you sacrifice the creaminess! If you’re watching sugar, this recipe is built around that traditional amount, so if you needed a keto egg custard, you’d need to swap the sugar for your favorite erythritol blend, but that’s a different recipe entirely. For this classic version, use the full sugar amount!
Step-by-Step Instructions for Perfect Egg Custard
Okay, time to actually make this beauty! Don’t let the simplicity fool you; the technique is everything here. We start by getting that oven nice and warm to 325 degrees Fahrenheit. Have your roasting pan ready—this is your partner in crime for creating that even baking environment. Pop your pie plate or those cute little ramekins right into that big roasting pan now. We’ll add the water later, but getting everything lined up saves time later!
In a separate bowl, gently whisk those three eggs. I mean it: gently! We are not trying to make meringue here. We just want them loosened up before adding the sugar, salt, milk, and vanilla. Remember that silky texture we talked about? That starts here, by being calm with the whisk. Once it’s all combined, dump that whole mixture through a fine-mesh sieve into a clean bowl. This step is what separates a good egg custard from a spectacular one.
Now, this is where we pour the liquid into the dishes that are sitting in the roasting pan. See how they are nested inside? That’s good! This is the setup for the water bath we need for that incredibly smooth custard filling.
Preparing the Bake: Water Bath and Spices for Egg Custard
This is the essential part for keeping things smooth! After you’ve carefully poured your strained custard mix into the dishes, you need hot water. Bring some water to a boil, and slowly, carefully, pour it into that roasting pan. You want the water level to come about halfway up the side of whatever dish you are using. If you use a pie plate, it’s easy. If you use ramekins, be extra careful not to splash water into the custard itself!
Once the water bath is set and everything is settled, take that fresh nutmeg—don’t use the dusty old stuff, please!—and grate a very light, lovely layer right over the top of the liquid. It smells so good already. This is also the moment to move the whole heavy roaster into the oven because trying to do this once it’s hot is just asking for a burn!
Baking Time and Testing Doneness for Classic Egg Custard
Now for the slightly nerve-wracking part: waiting! Set your oven timer for 45 minutes, but honestly, you should check them a little earlier than that. We are baking low and slow at 325 degrees Fahrenheit. This gentle heat is what stops those ugly cracks from forming and helps your egg custard set evenly. Don’t rush this part!
When you think they might be done, give the roasting pan a very gentle nudge. You are looking for that perfect wave—the edges should look solid and opaque, but the very center should still have a noticeable, soft jiggle. That slight movement is your signal that you’re getting that incredible smooth custard filling inside.
If you decide to check with a thin knife near the edge, it needs to come out clean. But remember, the middle might still look a touch wet. That’s okay! It will set up perfectly as it cools down later. Pull them out right when that center has that little bit of movement left, and you’ve nailed it!
Chilling and Serving Your Simple Baked Dessert
You’ve successfully avoided cracks, which means we get the best part: the actual eating! But wait, we can’t rush this step, or your lovely dessert will fall apart when you cut it. Remember that roasting pan, swimming in hot water? You need to carefully remove the custard dishes from that bath first. Don’t just leave them in there to cool down, because they will keep cooking from residual heat!
Use tongs or oven mitts—be very careful, that the water is still scorching hot! Set the ramekins or the pie plate right onto a wire cooling rack. We need air circulation all around them. Let them sit out on the counter until they are just barely warm to the touch. This usually takes about an hour or so, depending on how warm your kitchen is.
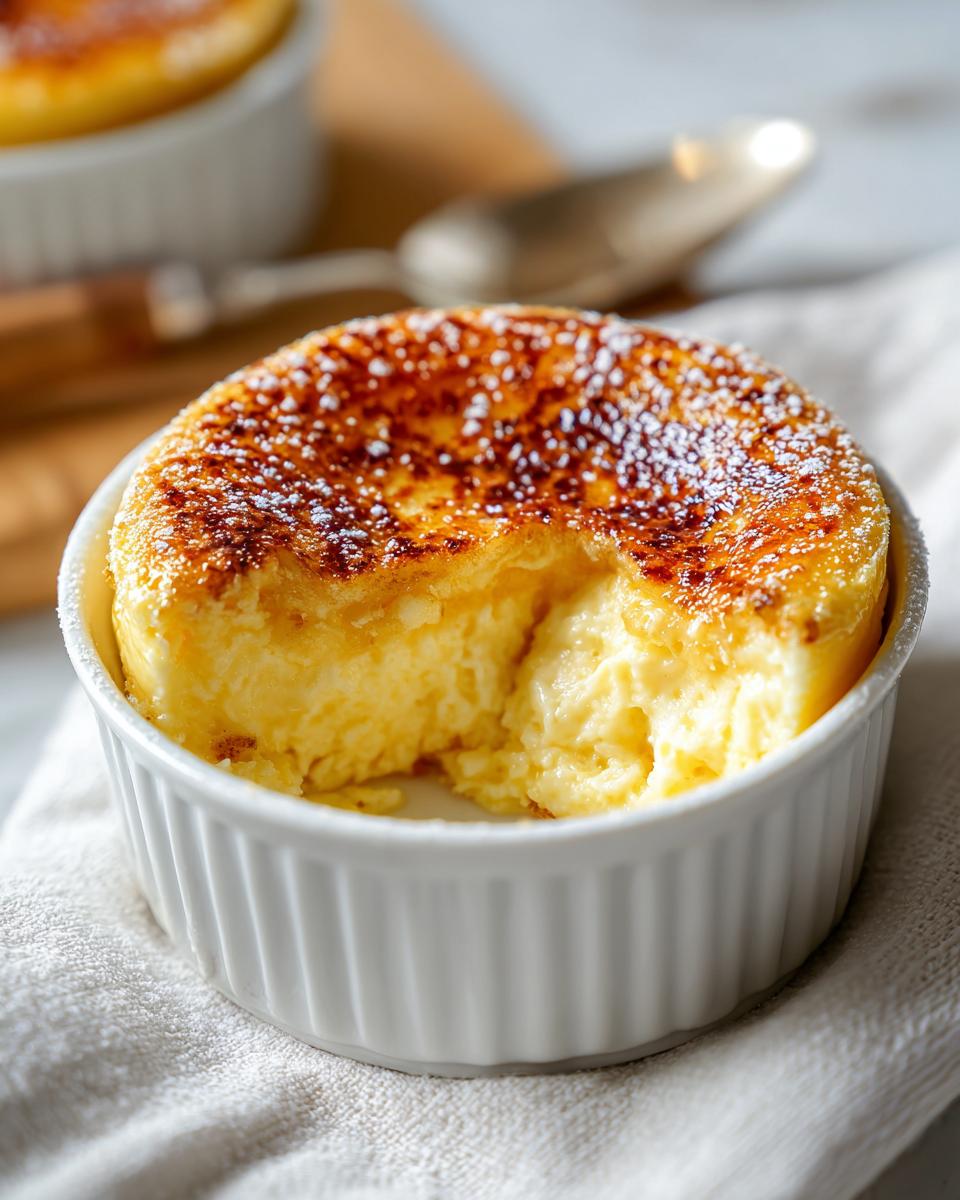
This next step is tough, but absolutely essential for a successful simple baked dessert: chilling! You need to get that beautiful custard into the refrigerator for a minimum of four hours. I honestly aim for overnight if I can manage it. When it’s cold, the structure firms up completely, and you get that perfect, sliceable consistency. Don’t even try to serve it warm; it’ll be too soft.
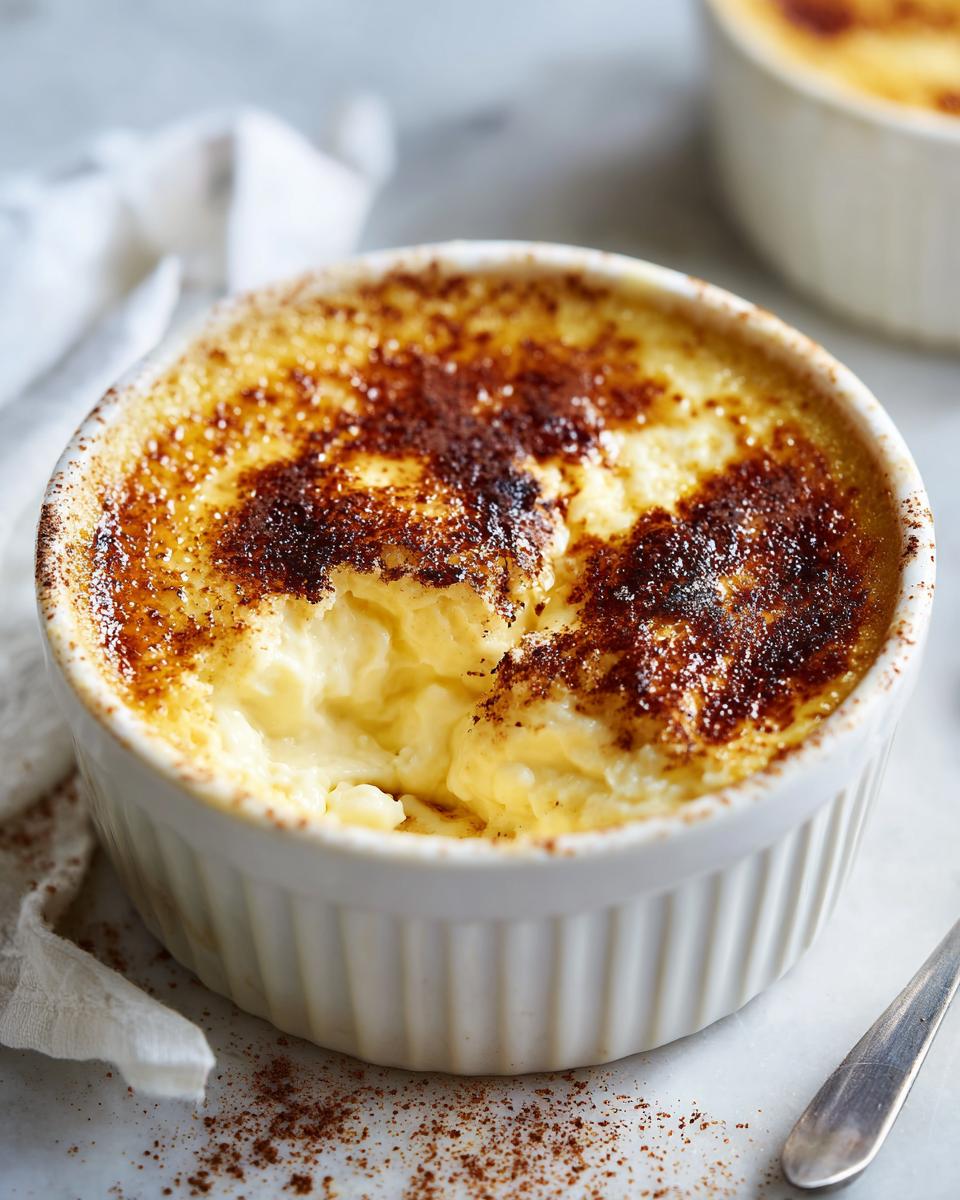
When you are finally ready to serve, it’s so simple. If you made ramekins, they are ready to go! If you made a pie, slice generously. Don’t forget the fresh nutmeg you sprinkled on top way back when? It really pops when served cold. This is absolute comfort food heaven, ready for you to enjoy!
Troubleshooting Common Egg Custard Mistakes
I know you followed the steps, but sometimes baking just throws a curveball! If you look down and see a crack—don’t panic! Often, the cause of the crack in your egg custard isn’t the recipe at all, but the heat. If your oven runs hot, that water bath might not have been enough to shield the top from getting too much direct heat too fast. Next time, check on it five minutes earlier.
Now, if your custard is watery or won’t set in the middle, that usually means underbaking, which is an easy fix. You already know to check the edges first, but if the whole center is just sloshing around, pop it back in for another five to ten minutes. Remember, we want a gentle wobble, not a full slosh! If you followed the straining step, you shouldn’t have any weird rubbery bits, but if you do, you probably whisked too hard initially. Need more foolproof tips? Check out this wonderful guide here!
Storage and Reheating Instructions for Homemade Egg Custard
Since this is such a lovely comfort food dessert, you’ll want to know how to keep it good for snacking later! The great news is that baked custard keeps really well because it’s cooked right in its serving dish, which acts as a natural little storage container.
Once your custard is completely chilled—we talked about that minimum four-hour chill, right?—you can cover the ramekins or the pie plate tightly with plastic wrap. Make sure the wrap isn’t touching the surface of the custard if you can help it, just so you don’t mess up that smooth top layer.
Stored this way in the refrigerator, your homemade custard will taste fantastic for about four to five days. Honestly, I rarely have it last that long because it’s too tempting, but it stays structurally sound for nearly a week. It’s one of my favorite things to pull out for a quick, satisfying sweet treat!
Now, about reheating: there really isn’t one! This isn’t a casserole slice you warm up in the microwave. This dish shines when served cold straight from the fridge. The texture is set, it’s refreshing, and that’s how Grandma always served it. If you try to warm it up, it can separate or get a little flimsy on you, losing that perfect density we worked so hard to achieve. Just serve it chilled with maybe a little extra sprinkle of nutmeg if you feel fancy.
Frequently Asked Questions About Egg Custard Recipe
I get so many great questions asking for just tiny tweaks to this reliable recipe! It’s wonderful that so many of you are trying your hand at this egg custard recipe. It proves that the classics never go out of style. Here are a few things I hear most often from folks trying to bake this lovely dessert.
Can I make this egg custard recipe into a pie?
Oh, absolutely you can! That’s what many people think of when they picture this treat. If you want that wonderful classic egg custard pie, you just need a nice pie crust—either pre-made or your favorite homemade one! You can pour the mixture right into an unbaked crust. Just watch your baking time; sometimes a pie takes just a tiny bit longer to bake through than something in a ramekin, maybe five to ten extra minutes, depending on how thick the crust is. You still need that essential water bath, even for the pie!
What is the best milk for creamy egg custard?
If you want the absolute creamiest texture—that super smooth custard filling that almost melts in your mouth—you need whole milk. Hands down! The fat content in whole milk is what gives the final product its luxurious mouthfeel. Using anything lower, like 2% or skim, is going to result in a lighter texture, and honestly, when you’re aiming for that perfect old fashioned baked custard vibe, fat is your friend. It’s worth it for the richness!
I love the topping—what exactly should I sprinkle on top?
That beautiful dusting that finishes the dish is fresh nutmeg! There is just no substitute for the real thing here, especially when you are aiming for that quintessential flavor. Dusting it right before baking means the warmth of the oven pulls out the aroma of the spice, giving you the perfect nutmeg custard topping. It adds the perfect little kick of warmth against the sweetness of the simple egg custard.
Share Your Fail-Proof Egg Custard Creation
Now that you’ve made this lovely easy custard dessert, I just have to know how it turned out! Did you get that perfect, non-cracked top, just like on that recipe? Give it a rating down below so other new bakers know just how reliable this recipe is!
Snap a picture of your creamy dessert, too! Tag me online so I can admire your beautiful, homemade custard. I can’t wait to hear all about your success stories with this classic!
PrintFail-Proof Old-Fashioned Baked Egg Custard

Make a creamy, smooth, old-fashioned baked egg custard using this simple, fail-proof recipe perfect for beginners. This classic comfort dessert bakes to silky perfection.
- Prep Time: 10 min
- Cook Time: 50 min
- Total Time: 60 min
- Yield: 4 servings 1x
- Category: Dessert
- Method: Baking
- Cuisine: American
- Diet: Vegetarian
Ingredients
- 3 large eggs
- 1/2 cup sugar
- 2–2/3 cups milk (whole milk recommended for best texture)
- 1 teaspoon pure vanilla extract
- Pinch of salt
- Freshly grated nutmeg for topping
Instructions
- Preheat your oven to 325 degrees Fahrenheit (160 degrees Celsius). Place a 9-inch pie plate or four 6-ounce ramekins in a large roasting pan.
- In a medium bowl, whisk the eggs lightly. Do not over-whisk, as this incorporates too much air and can cause cracking.
- Whisk in the sugar, salt, and milk until just combined. Stir in the vanilla extract.
- Strain the custard mixture through a fine-mesh sieve into a separate bowl to remove any chalazae or unmixed egg bits, which helps create a smooth texture.
- Pour the strained mixture into the pie plate or ramekins set inside the roasting pan.
- Carefully pour hot water into the roasting pan until the water reaches halfway up the sides of the custard dishes. This water bath (bain-marie) prevents the edges from overcooking and cracking the top.
- Sprinkle a light layer of fresh nutmeg over the top of the custard mixture.
- Bake for 45 to 55 minutes, or until the edges are set but the center still jiggles slightly when gently nudged.
- Carefully remove the custard dishes from the water bath. Let them cool on a wire rack completely before chilling in the refrigerator for at least 4 hours, or until fully set.
Notes
- For a truly fail-proof result, use whole milk and avoid over-beating the eggs. Gentle mixing keeps the custard smooth.
- If you are making a pie, use a pre-baked or unbaked pie crust, depending on your preference, and adjust baking time as needed.
- To test for doneness, insert a thin knife near the edge; it should come out clean, but the center should still be soft.
Nutrition
- Serving Size: 1 serving
- Calories: 180
- Sugar: 22
- Sodium: 105
- Fat: 6
- Saturated Fat: 3
- Unsaturated Fat: 3
- Trans Fat: 0
- Carbohydrates: 23
- Fiber: 0
- Protein: 8
- Cholesterol: 110