

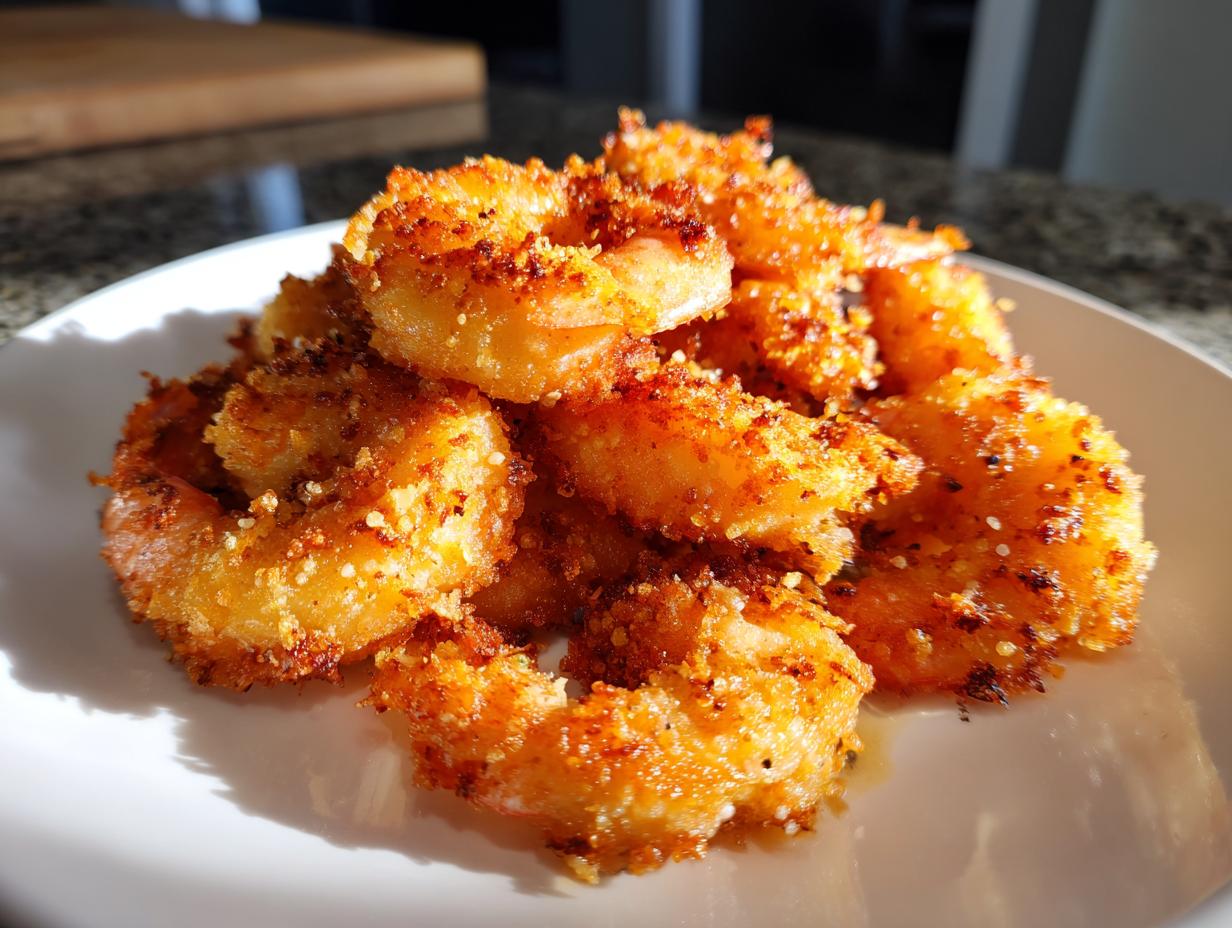
If you’ve ever taken a bite of shrimp from a seafood shack or a favorite coastal restaurant and wondered why yours just never get that incredible, shatteringly crisp shell, well, stop wondering! My mission here at Cookin’ Corner is simple: to bring you those comforting, authentic tastes of home, and that means conquering the elusive perfectly crunchy coating.
This recipe for truly amazing fried shrimp is the result of countless tests right here in my home kitchen. We aren’t doing fancy restaurant tricks—we are relying on tested, reliable home cooking methods, the kind rooted in honest American kitchens, to get that golden crunch every single time. Forget soggy coatings or bland flavor. This guide guarantees you’ll be making restaurant-quality results so easily, you’ll wonder why you waited so long to try deep frying at home.
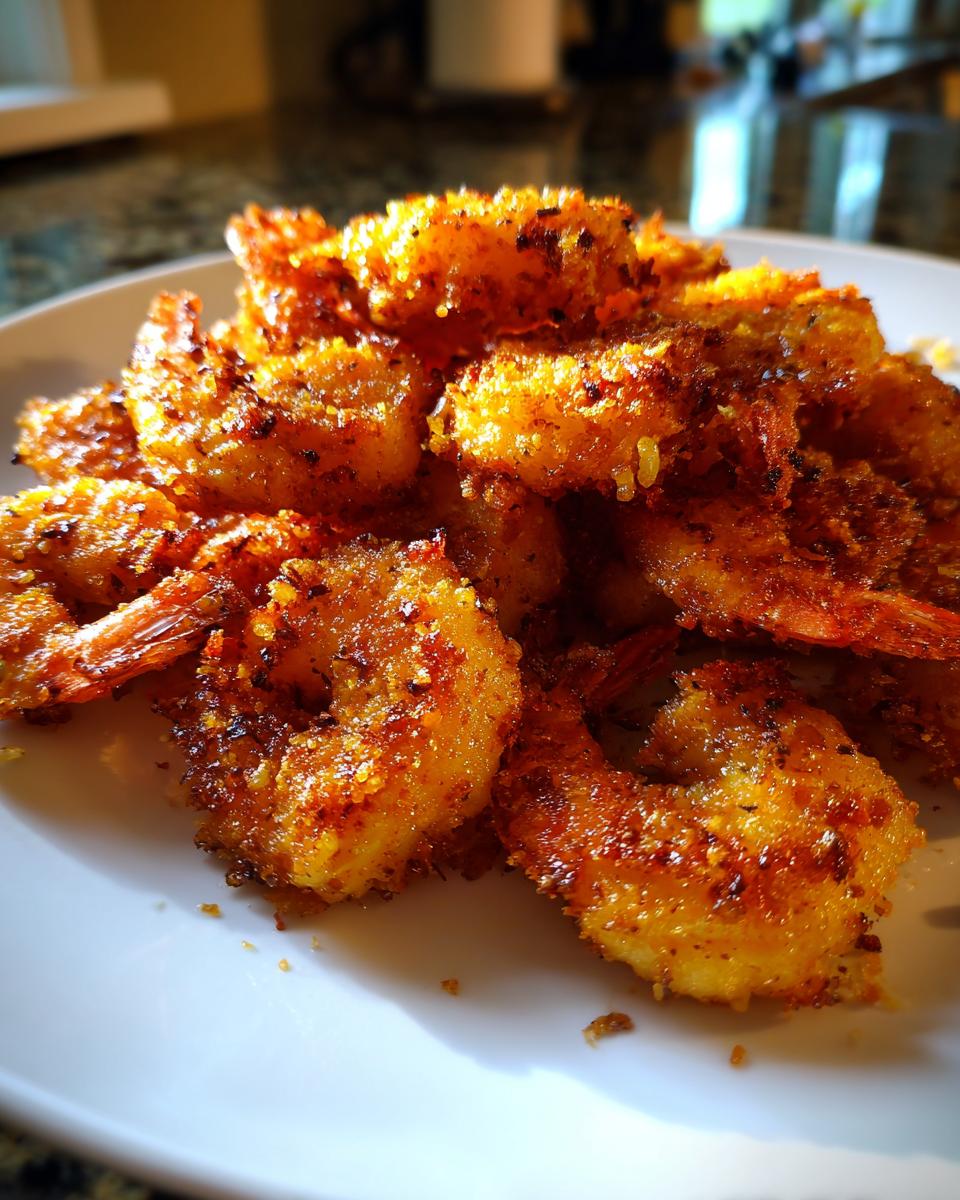
- Why This Crispy Fried Shrimp Recipe Delivers Restaurant Style Shrimp
- Ingredients for Perfect Fried Shrimp
- How To Fry Shrimp: Step-by-Step Guide to Golden Fried Shrimp
- Tips for Making Southern Fried Shrimp That Tastes Like a Restaurant
- Variations on Your Simple Fried Shrimp
- Serving Suggestions for Your Homemade Fried Seafood
- Storage and Reheating Instructions for Crispy Fried Shrimp
- Frequently Asked Questions About Making Fried Shrimp
- Estimated Nutrition for This Easy Shrimp Recipe
- Share Your Golden Fried Shrimp Success
Why This Crispy Fried Shrimp Recipe Delivers Restaurant Style Shrimp
Honestly, making great fried shrimp isn’t just luck; it’s a few critical steps we take before that shrimp ever hits the hot oil. This isn’t just another recipe; it’s a technique that turns an ordinary weeknight meal into something special. I promise, once you try this method, you won’t fuss with anything else. It’s the best way to get that satisfying, crunchy texture without needing complicated equipment. It’s truly an easy shrimp recipe that punches way above its weight class!
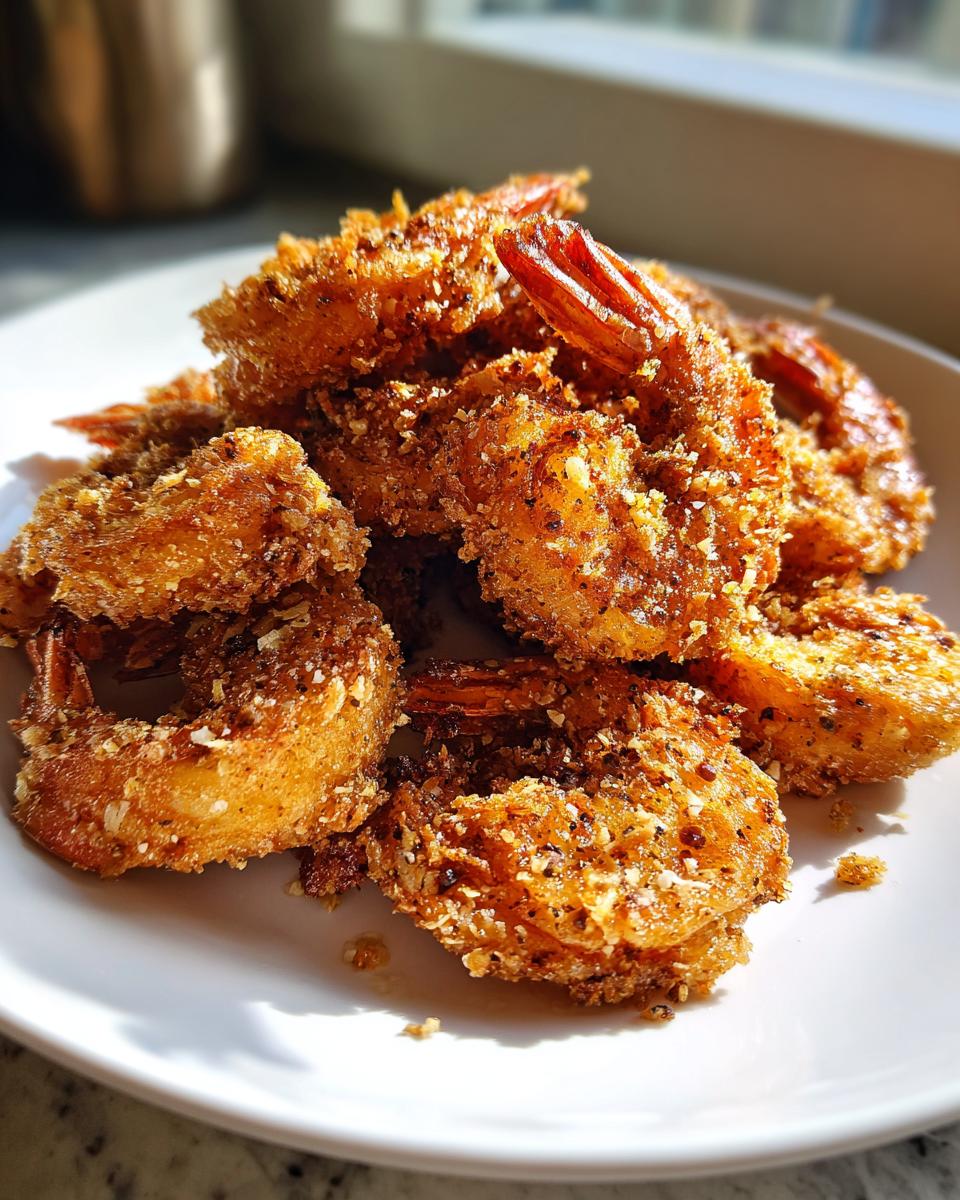
- We hit that perfect balance of tender interior and shatteringly crisp exterior—that’s the hallmark of true restaurant style shrimp.
- It’s fast! This whole process moves quickly, making it a fantastic option when you need a delicious seafood fix fast.
- The flavor here is robust because we season the flour heavily, guaranteeing every bite of your Crispy Fried Shrimp pops.
The Buttermilk Marinade Secret for Tender Fried Shrimp
Never skip the buttermilk bath, trust me on this one! When you soak your shrimp in that slightly acidic mixture, it gently tenderizes the meat, ensuring your final product isn’t tough or chewy. Plus, the buttermilk acts like natural glue. It gives the dry coating something rough and slightly wet to grab onto, which means those beautiful flakes of crust stay stuck perfectly during the frying dance. It’s simple expertise that makes a huge difference!
Achieving the Ultimate Crunch in Your Fried Shrimp
If you want that golden, crunchy exterior that doesn’t fall off into the oil, you absolutely have to look at your dry mix. We use a specific ratio of flour and cornstarch—that cornstarch is the secret heavy hitter here for serious structure. You also need to be firm when you dredge. Don’t just dunk the shrimp; press that seasoned flour mixture onto every surface. That pressure builds the crust before the heat sets it. That’s how we secure that ultimate crunch on our fried shrimp!
Ingredients for Perfect Fried Shrimp
Okay, let’s talk about what you need to bring this crispy dream to life! Ingredient quality really matters when you’re aiming for that restaurant feel. For the main stars, you absolutely must grab about 2 pounds of *large* shrimp—jumbo is even better if you can find them! We need them peeled and deveined, but don’t forget the most critical prep step: patting them bone dry before anything else. Seriously, moisture is the enemy of crunch, so grab those paper towels and get after it!
For the coating and marinade, we are using basic pantry staples like flour, cornstarch (that’s for the crunch!), salt, pepper, and some simple seasonings. And please use a high smoke point oil for frying. Something neutral like vegetable or canola oil works perfectly. You want nice, clean oil that can handle the heat so your jumbo fried shrimp come out golden and not greasy. Here’s the full rundown you’ll need:
- 2 lbs large shrimp, peeled and deveined
- 1 cup buttermilk
- 1 large egg
- 1 1/2 cups all-purpose flour
- 1/2 cup cornstarch
- 1 tablespoon salt
- 1 teaspoon black pepper
- 1 teaspoon paprika
- 1/2 teaspoon garlic powder
- 1/2 teaspoon onion powder
- Vegetable oil, for frying (make sure you have about 2 inches in your pot ready to go!)
How To Fry Shrimp: Step-by-Step Guide to Golden Fried Shrimp
This is it! The section where we turn those prepared shrimp into the beautiful, golden-brown pieces of goodness you’ve been dreaming about. Getting the fried shrimp perfect really comes down to timing and temperature control. If you rush it, they end up soggy. If the oil’s not hot enough, they soak up grease faster than you can blink. We are aiming for 350°F (175°C)—that sweet spot where the crust sets instantly and the inside cooks through fast. Keep your thermometer handy because you need to watch that temperature like a hawk!
Preparation: Drying and Marinating for Better Fried Shrimp
First things first, you MUST pat your shrimp completely dry. I mean it, use a whole stack of paper towels because any lingering water droplets will cause sizzling disasters and ruin that perfect crust. Once they are dry, they need their bath. Toss them into that buttermilk and egg mixture. This creates a lovely, slightly tangy base for the dredge and helps everything stick. This short marinade makes for fantastic Buttermilk Marinated Shrimp that stays juicy inside.
The Dredging Technique for Crunchy Shrimp Bites
While the shrimp enjoys its soak, whisk up your dry coating really well so all those seasonings are evenly distributed. When it’s time to coat, pull the shrimp out, let that excess buttermilk drip off for just a second—we want wet, not swimming. Then, you need to really commit to the dredge! Put the shrimp into the flour mixture and press it down firmly with your fingers. Make sure every little nook and cranny is covered. This deliberate pressing action is how we build those incredible layers for true Crunchy Shrimp Bites.
Frying Temperature and Timing for Perfectly Cooked Shrimp
Now, this is the critical moment for making your fried shrimp! Ensure your oil is at 350°F before anything goes in. Work in small batches—this keeps the oil temperature steady, which is non-negotiable for restaurant-quality results. If you overcrowd the pot, the temperature plummets, and you end up with greasy product instead of a quick Seafood Fry Recipe. Drop the coated shrimp in gently and let them cook for just 2 or 3 minutes total until they are gloriously golden brown. They cook fast!
Tips for Making Southern Fried Shrimp That Tastes Like a Restaurant
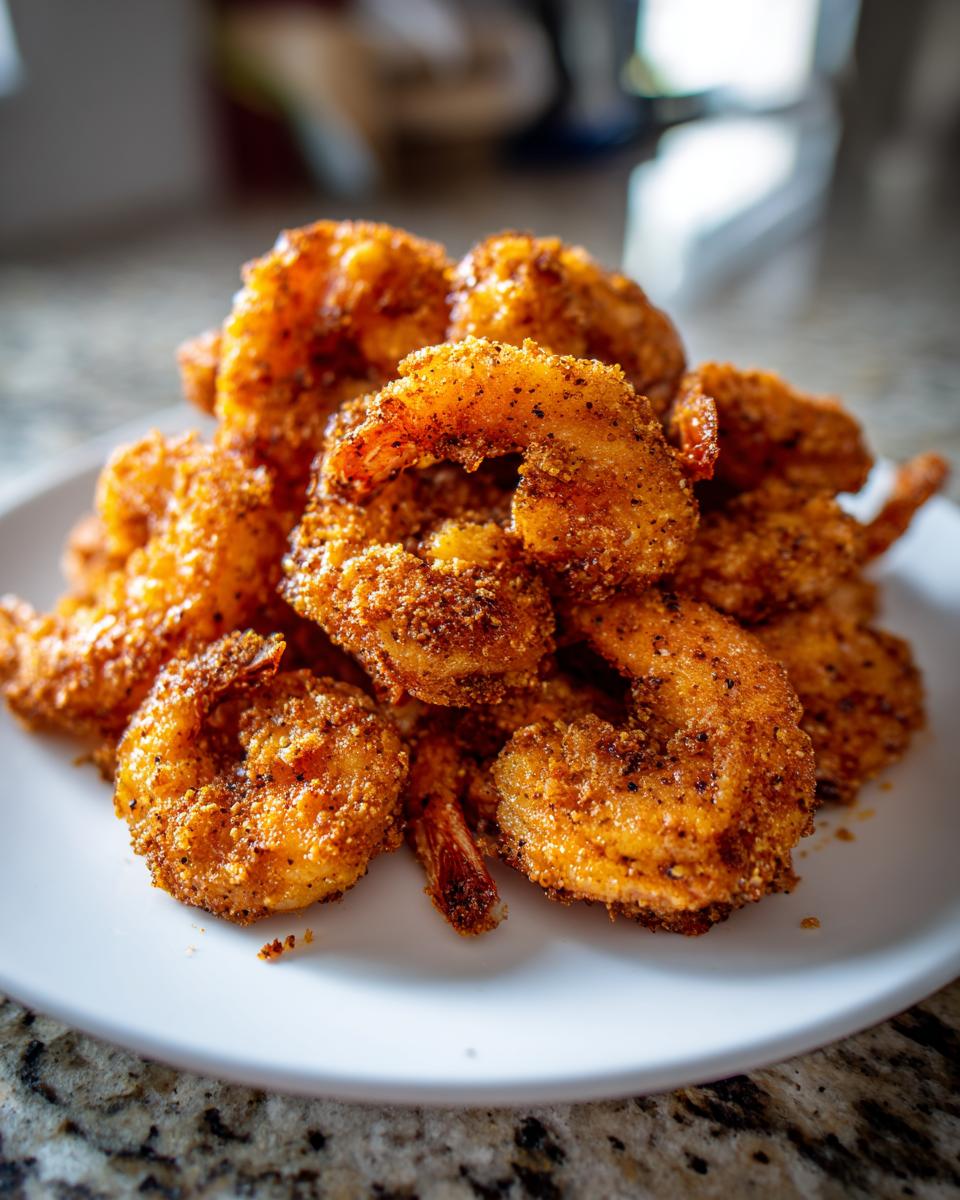
Getting that authentic, crackly texture that Southern cooks have perfected takes just a couple of small secrets. We want that deep, golden color without any greasiness, right? That means listening to the tried-and-true advice that aims for perfection every time. These little nudges elevate your dish from homemade decent to absolute showstopper—true Southern Fried Shrimp!
The single best thing you can do after you dredge your fried shrimp is give them a little chill time. I know, I know, waiting is hard when you’re hungry, but hear me out! Pop those crusted shrimp onto a wire rack and stick them in the fridge for about 10 minutes. This lets the coating dry out just a touch more against the cold air. When they hit that hot oil, that slightly drier crust sets faster and harder, which means ultimate crispiness and way less chance of breaking apart. That’s the key to getting that Restaurant Style Shrimp finish.
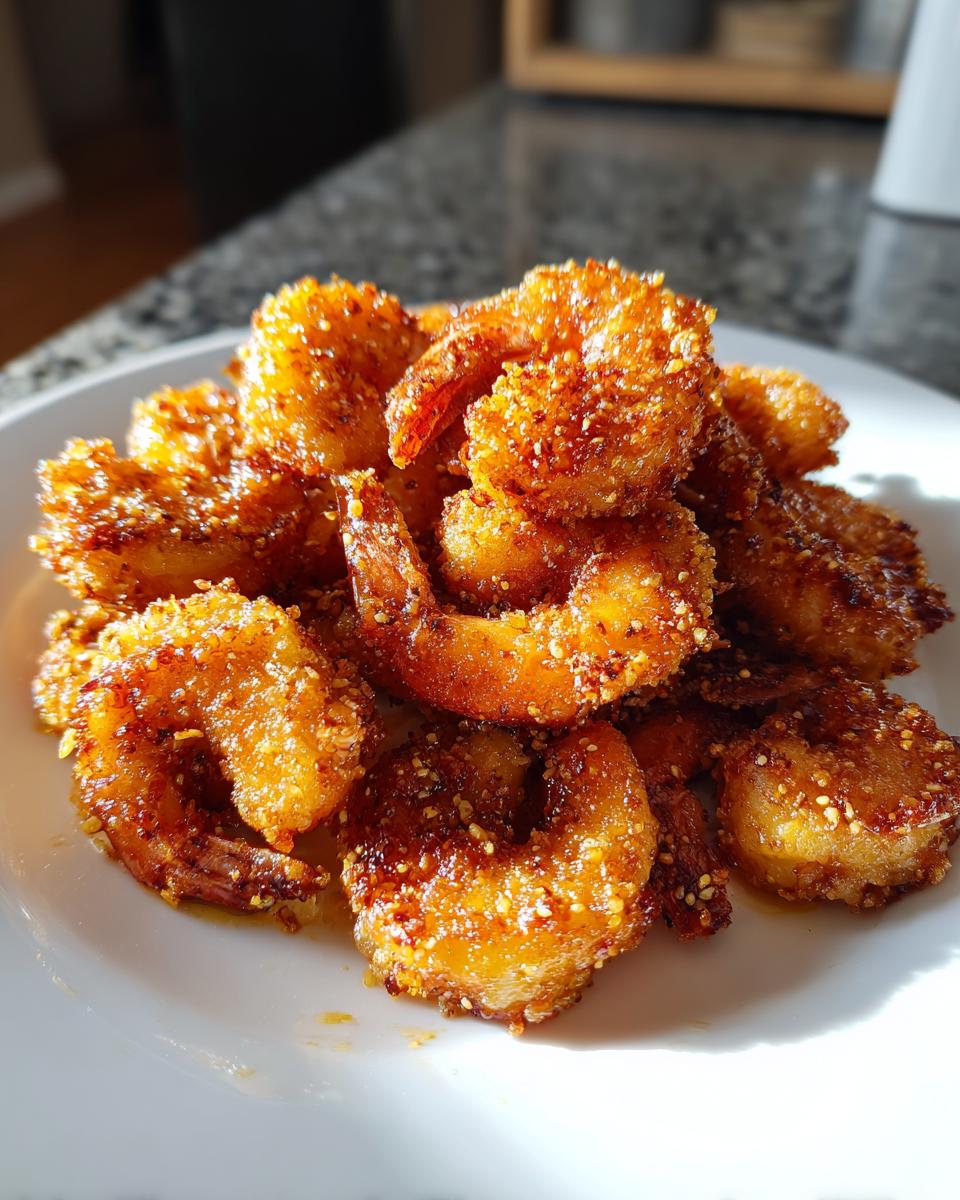
Also crucial is keeping that oil temperature steady between 340°F and 350°F. If you drop a few cold shrimp in and the temp dips too low, the coating absorbs oil instead of crisping, and bam—soggy mess. Stick to the thermometer readings. If you’re frying a big batch, fry in smaller groups and let the oil recover its heat before you drop the next batch in. It’s all about patience in that oil bath!
Variations on Your Simple Fried Shrimp
This foundational recipe for amazing fried shrimp is rock solid, but that doesn’t mean we can’t have a little fun with it! Once you nail the technique—dry shrimp, buttermilk bath, hot oil—you have permission to play around with the coating. If you’re looking to spice things up or change the texture slightly for your next Quick Seafood Dinner, I have two go-to swaps that I use all the time. Never be afraid to tweak things once you understand *why* the original recipe works!
Spice It Up with Cayenne Pepper
If you like heat—and honestly, who doesn’t when it comes to deep-fried goodness?—the easiest place to add it is right into that dry flour mixture. I usually add about a teaspoon of cayenne pepper for a nice kick, but you can lean into it if you love things seriously spicy! This keeps the coating texture exactly the same, giving you those familiar Golden Fried Shrimp, but with a fiery surprise waiting inside. Just combine the cayenne with your salt, pepper, and powders, and dredge as normal.
Go for Extra Texture with Panko Crusted Shrimp
If you’re craving texture that is almost aggressively crunchy, it’s time to try Panko breadcrumbs. Panko Japanese breadcrumbs are lighter and flakier than regular breadcrumbs, and they create these amazing, delicate shards when fried. To make Panko Crusted Shrimp, you’ll swap out most of the regular flour for Panko. You still need a little flour layer first so the Panko has something to stick to, so first flour them, then dip back into the buttermilk, and *finally* press them firmly into the Panko. That double-dip method locks in the crunch beautifully!
Serving Suggestions for Your Homemade Fried Seafood
Now that you have perfectly cooked, golden beauties sitting on your wire rack, the next big question is: what are we eating them with? That’s half the fun, right? Whether these are the centerpiece of a full Weeknight Shrimp Meal or just a stellar appetizer for the game, the dressings and sides matter just as much as the crunch itself!
For a simple, satisfying dinner, I always lean toward an old-school classic: crisp coleslaw and maybe some fries or some homemade hushpuppies. The coolness and acidity of the slaw really cut through the richness of the fried coating beautifully. It makes the whole plate feel balanced, even though we just made deep-fried shrimp!
But let’s get serious about the dipping sauce, because a great sauce can take your Appetizer Shrimp Recipes straight to the next level. The recipe notes suggest a simple but addictive mixture. You need about half a cup of mayonnaise—use the good stuff!—and mix in about two tablespoons of ketchup. Then, for the zip, add a generous dash of your favorite hot sauce. If you don’t have hot sauce, a pinch of paprika and garlic powder works in a pinch, but the chili heat really wakes up the shrimp.
Try whisking those three things together until it’s pale orange and creamy. Then, take a squeeze of fresh lemon juice and stir that in last. This simple ‘Comeback Style’ sauce is amazing for coating every piece of your crunchy seafood delight. Seriously, you will make triple the amount you think you need!
Storage and Reheating Instructions for Crispy Fried Shrimp
So, the unthinkable has happened—you actually have leftover fried shrimp! That’s a major win, though now we face the ultimate challenge: how do we bring that glorious crunch back to life? Please, for the love of flaky crusts everywhere, do not—I repeat, DO NOT—put these in the microwave. We are trying to achieve crispiness, and the microwave is the direct, fast road to a soggy, sad shrimp experience. That’s not what we do around here!
If you are planning on saving them, you need to cool them completely first. Let them sit out on that wire rack for about 30 minutes after frying until they aren’t steaming anymore. Once they are totally cool, you can put them into an airtight container. I usually line the bottom with a paper towel just to try and soak up any residual surface moisture, but store them in the fridge for no more than two days. Honestly, they are always best eaten the day you make them, but we make do!
Bringing the Crunch Back to Leftover Fried Shrimp
When you are ready for your second round of fried shrimp goodness, skip the microwave entirely. We need dry, circulated heat to bake out the moisture that crept in during storage. If you have an air fryer—and if you don’t, you really should seriously consider it!—that is the absolute best tool for this job. Set your air fryer to about 375°F. Lay the shrimp in a single layer and cook them for about 4 to 6 minutes. Shake the basket gently halfway through. They come out smelling and tasting almost exactly like you just pulled them out of the oil!
If an air fryer isn’t an option, the next best thing is a proper oven. Preheat your oven (or toaster oven, which works even better for small batches) to 400°F. Lay the cold shrimp out on a baking sheet spread with foil, and pop them in for about 8 to 10 minutes. You want them piping hot all the way through and for the coating to sound crunchy when you tap it lightly. This low-and-slow heat approach revives the crust without burning the delicate shrimp inside. Trust me, it’s worth the extra five minutes of reheating time!
Frequently Asked Questions About Making Fried Shrimp
I know you probably have a few other little questions buzzing around after all this frying talk! It’s totally fine; getting deep-fried seafood perfect always involves a little troubleshooting. I wanted to wrap things up by answering the questions I get asked the most about making sure your batch of fried shrimp turns out golden, crunchy, and fantastic. This is truly the best way to ensure you get that Easy Shrimp Recipe success!
What is the secret to making fried shrimp crispy?
If I had to boil it down perfectly, the secret to truly crispy fried shrimp comes down to three things we talked about: absolutely bone-dry shrimp going into the marinade, using a mix that includes cornstarch in your dry dredge (that’s the magic crunch element!), and, most importantly, making sure your oil never drops below 340°F while frying. If the oil is hot enough, the coating seals instantly and won’t soak up grease, which is what causes sogginess!
Can I use a different coating instead of flour for my fried shrimp?
You certainly can, and I love that you’re thinking about swapping things up! If you are looking for extra texture, you can absolutely substitute some or all of the flour with Panko breadcrumbs—we touched on that in the variations section above! Panko gives you a lighter, airier crunch than a standard flour crust. Another fun option is using finely crushed saltine crackers mixed into the flour; that gives you that lovely, slightly saltier texture you sometimes find in older seafood shack recipes. Just remember, you still usually want that buttermilk bath first so the coating has something to adhere to!
What oil is best for deep frying shrimp?
When you’re deep frying, you need oil that can handle serious heat without smoking or breaking down, so we definitely need a high smoke point oil. For this Simple Fried Shrimp recipe, I always stick with plain vegetable oil or canola oil. They are clean-burning, neutral in flavor, and they handle the needed 350°F temperature like absolute champs. A neutral oil means the flavor of your seasoned crust—and nothing else—shines through. Never use olive oil for deep frying; it has too low of a smoke point and will just taste bitter!
Estimated Nutrition for This Easy Shrimp Recipe
Now, before you sink your teeth into those perfectly crunchy bites, remember that deep frying adds richness! These numbers are just my best estimate for a standard serving size based on the recipe ingredients, as deliciousness like this isn’t exactly diet food, but it is incredibly satisfying. You’ll find that this Easy Shrimp Recipe still packs a great amount of protein!
- Calories: About 350 per serving
- Fat: Around 18g (Remember, this is from the frying!)
- Protein: A fantastic 28g!
- Carbohydrates: Roughly 20g
Share Your Golden Fried Shrimp Success
Well, that is it! We’ve covered the drying, the buttermilk bath, the secret flour blend, and the perfect temperature for frying your shrimp. You are officially equipped to make the **best fried shrimp** your friends and family have ever tasted. I really hope you try this recipe out the next time you are craving something crunchy and delicious!
Now, I’m dying to know how it turned out for you! Did you get that beautiful golden crust we were aiming for? Did you serve it with that spicy dipping sauce we whipped up? Please, please, please leave me a star rating right below this section and tell me all about your experience in the comments. Hearing your success stories is genuinely the highlight of my day here at Cookin’ Corner.
If you ran into any little snags—maybe your oil got too hot or the coating separated a bit—ask me! I love helping troubleshoot. We’re all learning together here, and I’m always happy to share more tips drawn from my own kitchen lessons. Don’t hesitate to reach out through our contact page if you have a question you want answered right away!
Happy frying, and thank you for trusting this recipe from my kitchen to yours!
PrintThe Ultimate Crispy Fried Shrimp Recipe: Restaurant Quality Crunch Made Easy at Home
Make ultra crispy, golden fried shrimp that tastes like your favorite seafood restaurant. This easy recipe uses simple steps to guarantee a crunchy coating and tender interior every time.
- Prep Time: 20 min
- Cook Time: 10 min
- Total Time: 30 min
- Yield: 4 servings 1x
- Category: Seafood
- Method: Deep Frying
- Cuisine: American
- Diet: Low Fat
Ingredients
- 2 lbs large shrimp, peeled and deveined
- 1 cup buttermilk
- 1 large egg
- 1 1/2 cups all-purpose flour
- 1/2 cup cornstarch
- 1 tablespoon salt
- 1 teaspoon black pepper
- 1 teaspoon paprika
- 1/2 teaspoon garlic powder
- 1/2 teaspoon onion powder
- Vegetable oil, for frying
Instructions
- Pat the peeled and deveined shrimp completely dry using paper towels.
- In a medium bowl, whisk together the buttermilk and egg. Add the shrimp and toss to coat completely. Let the shrimp marinate for at least 15 minutes in the refrigerator.
- In a shallow dish, whisk together the flour, cornstarch, salt, pepper, paprika, garlic powder, and onion powder. This is your seasoned flour coating.
- Heat about 2 inches of vegetable oil in a deep, heavy-bottomed pot or Dutch oven to 350°F (175°C). Use a thermometer to monitor the temperature.
- Working in small batches, remove the shrimp from the buttermilk mixture, allowing excess to drip off. Dredge each shrimp thoroughly in the seasoned flour mixture, pressing gently to adhere the coating.
- Carefully place the coated shrimp into the hot oil, ensuring you do not overcrowd the pot. Fry for 2 to 3 minutes, turning once, until the shrimp are golden brown and cooked through.
- Use a slotted spoon or spider to remove the shrimp from the oil. Place them on a wire rack set over a baking sheet to drain excess oil.
- Serve the crispy fried shrimp immediately with your favorite dipping sauce.
Notes
- For extra crunch, chill the coated shrimp on a wire rack for 10 minutes before frying.
- Maintain the oil temperature between 340°F and 350°F for the best results.
- Serve with a simple dipping sauce made from mayonnaise, ketchup, and a dash of hot sauce.
Nutrition
- Serving Size: 6 oz
- Calories: 350
- Sugar: 1
- Sodium: 750
- Fat: 18
- Saturated Fat: 3
- Unsaturated Fat: 15
- Trans Fat: 0
- Carbohydrates: 20
- Fiber: 1
- Protein: 28
- Cholesterol: 180