
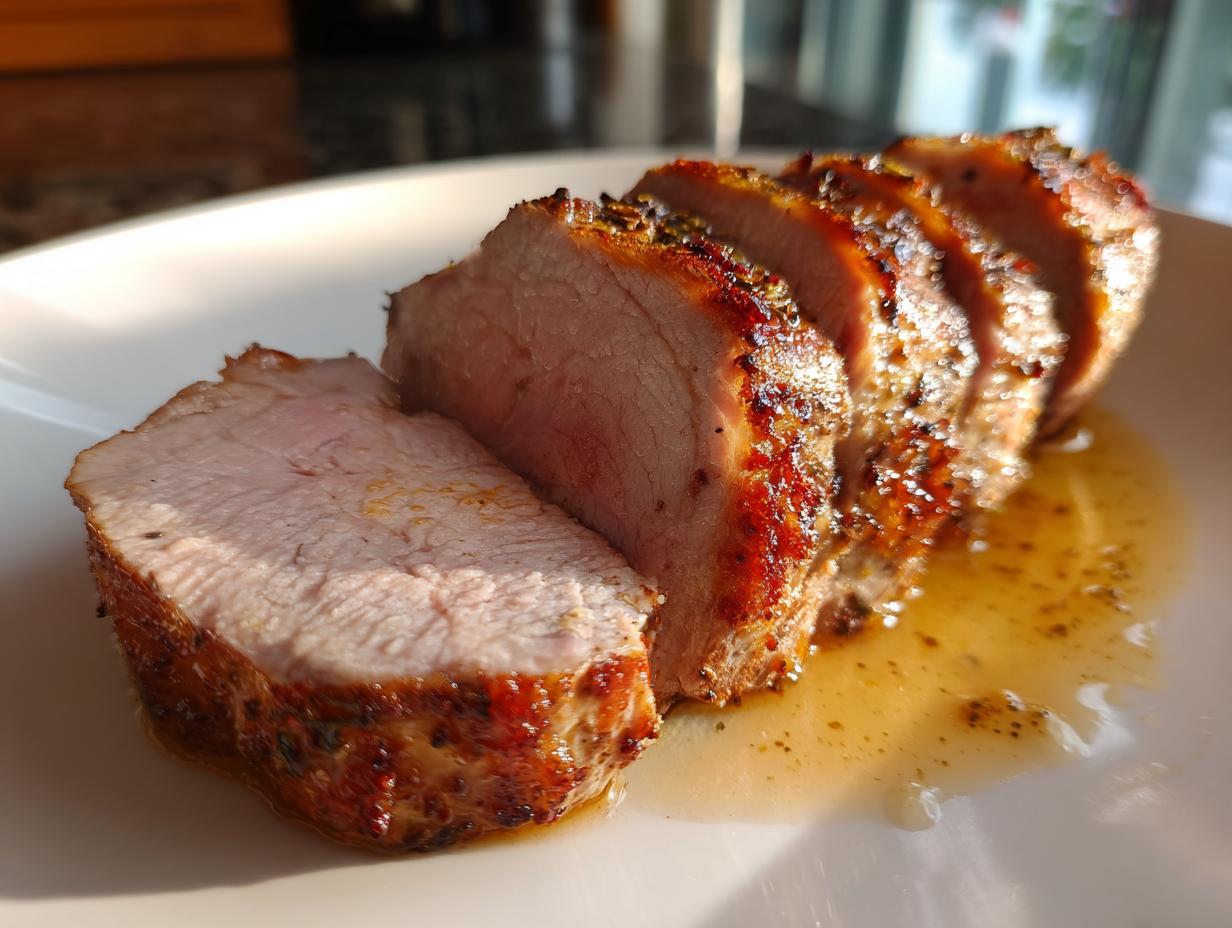
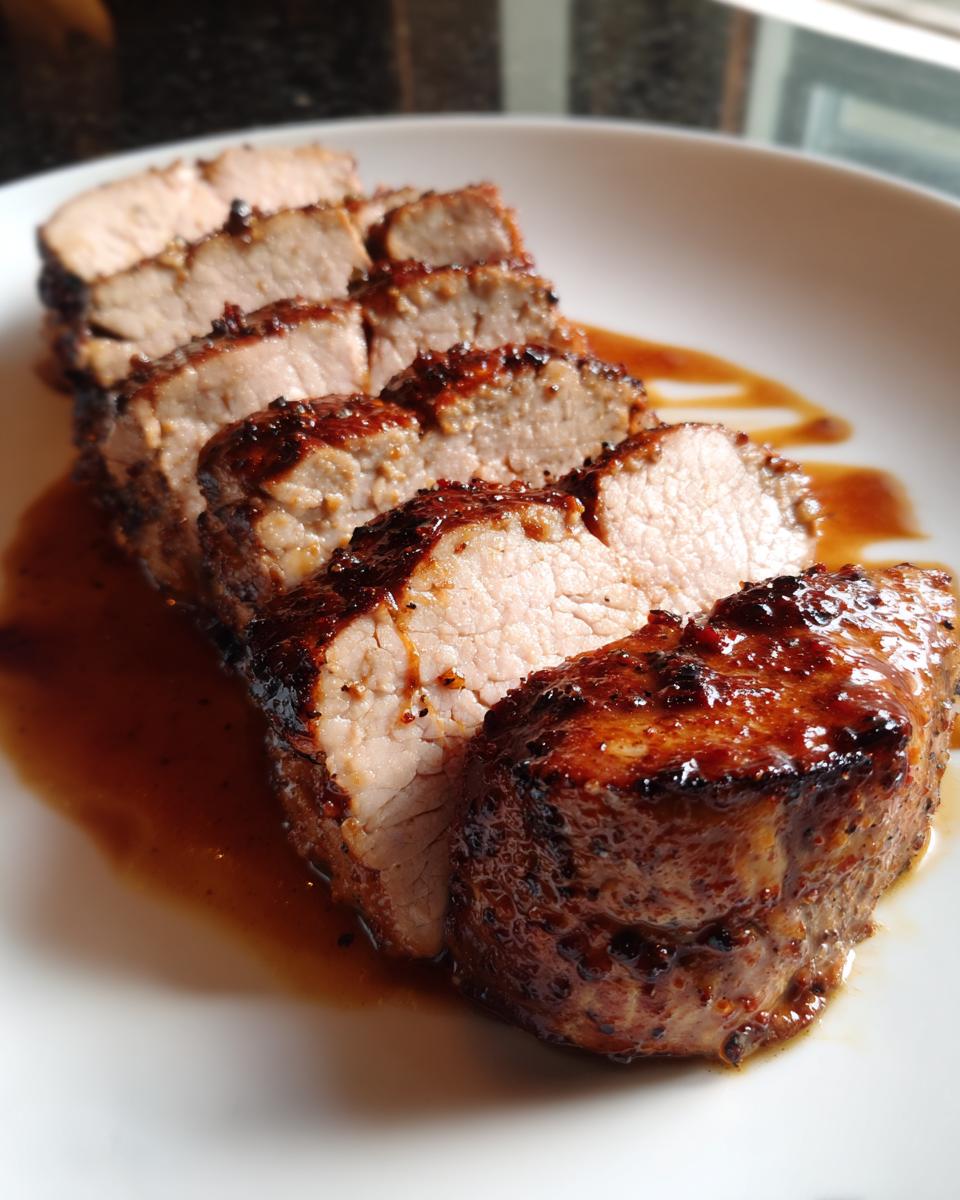
If you think making a truly spectacular, tender, and juicy **pork loin roast** means hours of fussing or using a dozen fancy ingredients, I need you to trust me right now. Seriously. Growing up in my grandmother’s kitchen in the Midwest, we learned that the best flavors come from simple, honest cooking, and this recipe is the absolute proof. We’re talking about the most reliable method in existence for achieving that perfect balance: a beautiful crust on the outside and slices so juicy they practically melt. Whether you need an easy pork dinner tonight or you’re gearing up for a relaxing Sunday roast, this is the only recipe you’re ever going to need. We are keeping it incredibly simple, focusing only on technique and temperature, which is what really matters. You can read more about the heart behind these simple recipes on our About page!
- Why This Juicy Pork Loin Roast is Your New Favorite Easy Pork Dinner
- Preparing Your Pork Loin Roast for Oven Roasting
- Achieving the Correct Pork Loin Internal Temp for a Juicy Pork Loin Roast
- Making a Simple Pan Sauce Gravy for Your Pork Loin Roast
- Tips for Success When Making This Oven Roasted Pork
- Frequently Asked Questions About Your Pork Loin Roast
- Storing and Reheating Your Leftover Pork Loin Roast
- Estimated Nutritional Data for This Pork Loin Roast
- Share Your Perfect Pork Loin Roast Experience
Why This Juicy Pork Loin Roast is Your New Favorite Easy Pork Dinner
I love this recipe because it skips all the complicated nonsense but still delivers a show-stopping main course—perfect for when you need an easy pork dinner that tastes like you spent all day on it. Honestly, sometimes the best flavor doesn’t need marinades overnight. It just needs the right technique. This method guarantees you’ll get that seriously *juicy pork loin* every single time you pull it out of the oven, making it perfect for a busy weeknight or a lovely centerpiece for a Sunday roast recipe.
Here’s what makes this specific oven roasted pork method a winner:
- Guaranteed Juiciness: We are aiming for that crucial 145 degrees Fahrenheit internal temperature, no more, no less!
- Minimal Prep Time: You can have this seasoned and ready to roast in about 10 minutes flat.
- Simple Seasoning: Just pantry staples—salt, pepper, garlic powder, and thyme—that actually enhance the pork flavor.
- Weeknight Warrior: It cooks fast enough that you can serve it before everyone starts asking what’s for dinner!
Essential Ingredients for the Perfect Pork Loin Roast
You don’t need a grocery run for this. We are using basics, but using them right. Make sure you grab a good quality piece of meat; that’s half the battle won right there. Remember to get that bone-out roast so it cooks evenly!
- 3 lb pork loin roast, bone-out
- 1 tablespoon olive oil
- 1 teaspoon kosher salt
- 1 teaspoon black pepper
- 1 teaspoon garlic powder
- 1/2 teaspoon dried thyme
Preparing Your Pork Loin Roast for Oven Roasting
Alright, let’s get our hands dirty! Making this **pork loin roast** flavorful starts before it even sees the oven. The first step, which nobody likes but everyone needs to do, is patting that beautiful piece of meat completely dry with paper towels. Moisture is the enemy of a good crust, trust me on this one. While that’s happening, grab a tiny bowl and mix up your spices: the salt, pepper, garlic powder, and thyme. If you happen to have fresh rosemary or sage kicking around, chop a tiny bit of that up and toss it in with your dried herbs—it really lifts the flavor profile for a great roast!
Next, rub that olive oil all over the roast. It acts like the glue for our spice blend. Press that mixture firmly onto every surface. Once it’s coated nicely, it’s ready for its trip into the roasting pan. Don’t skip these prep steps; they are what separates a good roast from a truly amazing one.
Crucial Steps for a Tender Pork Loin Roast
This is where we trick the oven into giving us the best results! We start hot, which seals in all those wonderful juices we just talked about and starts building that irresistible brown crust. Set your oven to 400 degrees Fahrenheit and let it preheat fully. Pop the pork in for exactly 15 minutes at that high heat. After that 15 minutes, you need to immediately drop the temperature down to 350 degrees Fahrenheit. Why the switch? That initial blast gives the outside a head start on browning, but if you cooked the whole thing at 400°F, the outside would burn before the inside hit perfection. This two-step temperature dance is key for the ultimate **oven roasted pork** experience.
Achieving the Correct Pork Loin Internal Temp for a Juicy Pork Loin Roast
Okay, this is the part where you listen closely, because if you get the **pork loin internal temp** wrong, everything else we did—the spice rub, the heat blast—was just for show. We are looking for absolute precision here if we want that trademark **juicy pork loin roast**. Forget guessing! You MUST use a meat thermometer. I’m serious, grab one out of the drawer. The magic number for a perfectly cooked pork loin is 145 degrees Fahrenheit. Aim for that exact reading in the thickest part of the roast, avoiding any bone!
Pull it out right when you hit 145°F. Don’t wait a minute longer in the oven thinking, “Maybe five more degrees?” because that’s how you end up with dry pork. Trust the science: the temperature will keep creeping up while it rests—we call that carryover cooking—and that small rise is exactly what finishes the cooking process evenly throughout the meat.
The Non-Negotiable Resting Period for Your Pork Loin Roast
Once that thermometer hits 145°F, pull that beautiful roast out immediately and put it onto a cutting board. Tent it loosely with foil—don’t wrap it tight, you’ll steam the crust—and set a timer for at least 10 minutes. Ten minutes! This resting phase is non-negotiable if you want the juiciest slices possible. While it’s resting, those internal juices, which were forced to the center during the heat, have time to relax and redistribute back through all the muscle fibers.
If you slice it right away? Those lovely juices just flood out onto your cutting board, leaving the meat dry. Waiting those 10 minutes ensures those juices stay *in* the meat where they belong. It’s the final, simplest step that ensures this **pork loin roast** is tender enough to cut with a fork.
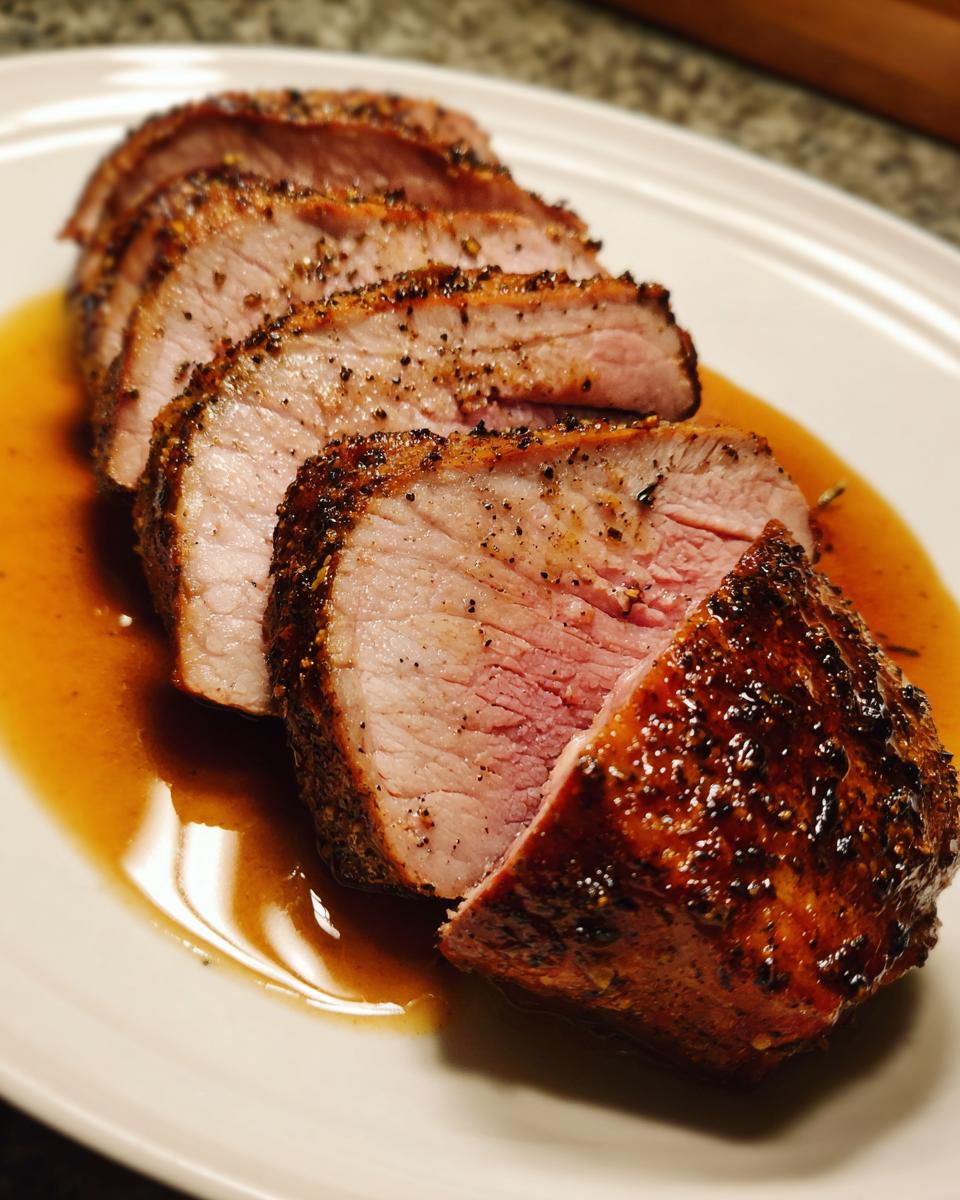
Making a Simple Pan Sauce Gravy for Your Pork Loin Roast
So, your roast is resting beautifully, right? Great! Now, we need something incredible to serve it with. A Sunday roast recipe just isn’t complete without a rich **pan sauce gravy**, and making one from the drippings left behind is hands-down the easiest way to capture that amazing flavor. Seriously, save every brown bit left in that roasting pan—that’s pure gold, what chefs call the ‘fond’!
Make sure you move the roasting pan right onto the stovetop, turning the heat to medium. If you’re using a skillet you roasted it in, that works perfectly. Grab a wooden spoon and start scraping the bottom gently. You want to loosen up all those caramelized bits stuck down there. That flavor foundation is what takes your sauce from bland to brilliant.
Once everything delicious is scraped up, quickly whisk in that half cup of chicken broth. Let that bubble up for a minute. Now, for thickening: don’t just dump cornstarch into the hot liquid—oops! You’ll get lumps, and we don’t want chunky gravy. Instead, take the tablespoon of cornstarch and mix it in a tiny separate bowl with about two tablespoons of *cold* water until it’s totally smooth. That’s our little slurry trick.
Pour that slurry into the simmering broth mixture while whisking constantly. Watch it! It thickens up almost instantly once it hits the heat. Once it looks glossy and coats the back of the spoon nicely, take it off the burner. Taste it—maybe a tiny pinch more salt if needed—and that’s it! You’ve got a gorgeous, quick **pan sauce gravy** to go straight over your beautiful, perfectly cooked **pork loin roast** slices.
Tips for Success When Making This Oven Roasted Pork
You’ve got the roast ready, you’ve tracked that internal temperature like a hawk, and now it’s resting—fantastic! But there are a few tiny things leftover that promise your **pork loin roast** will be amazing every single time. Look, if your roast somehow turned out a little dry, that’s almost always because it went past the 145°F mark. It happens to everyone! My biggest tip is always to trust the thermometer over the clock. If the clock says 15 minutes per pound, but your thermometer screams 145°F after 12 minutes, you listen to the thermometer!
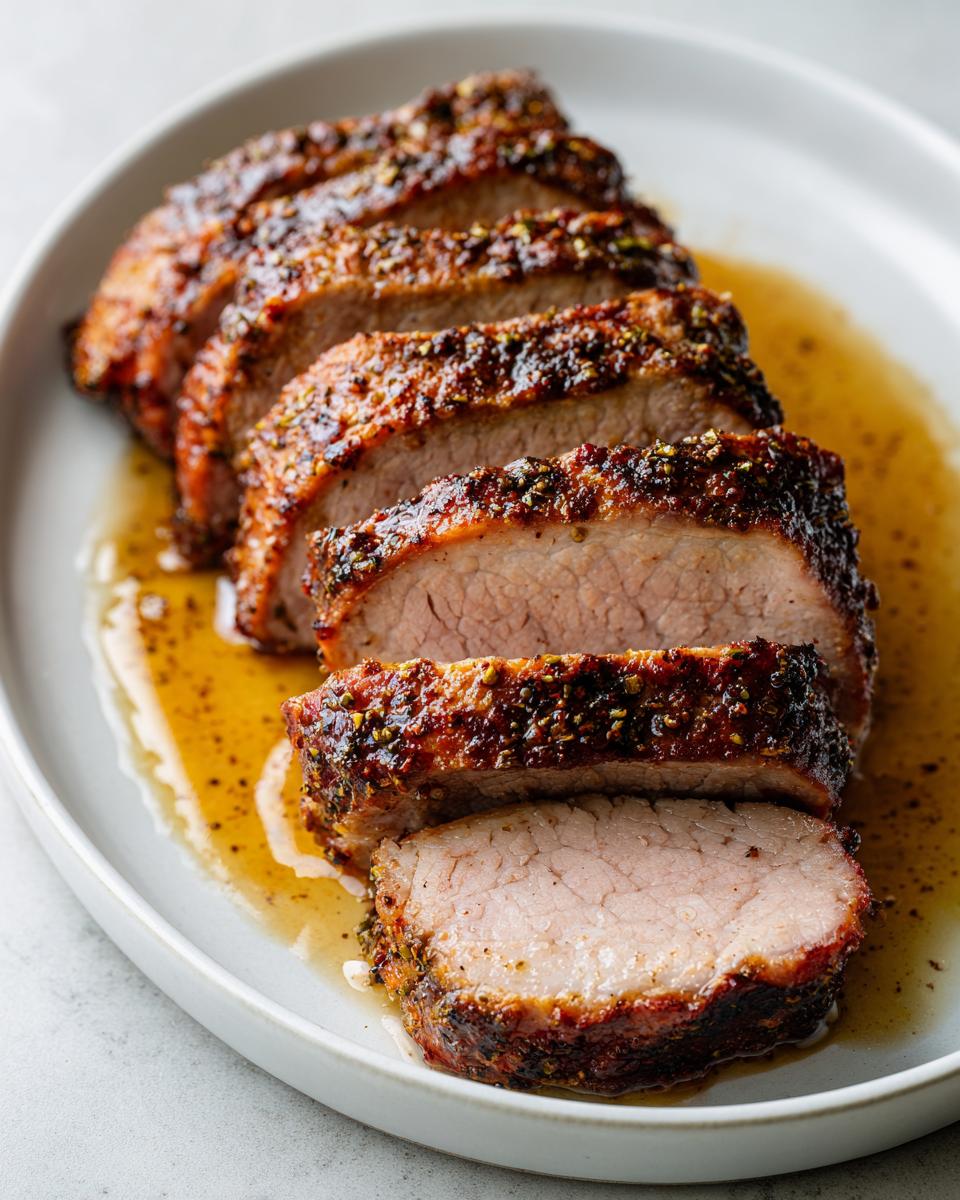
If you really want that deep, dark, beefy crust you sometimes see in pictures, you need a sear. Don’t worry, this doesn’t add much time. You just need to get your oven-safe skillet screaming hot before you put any oil in it. Sear the whole **oven roasted pork** on all sides—like, 60 seconds per side—until it looks nicely browned. Then, add your oil and spices right after that sear, and proceed with the two-step oven temperature method we talked about. It locks everything in beautifully.
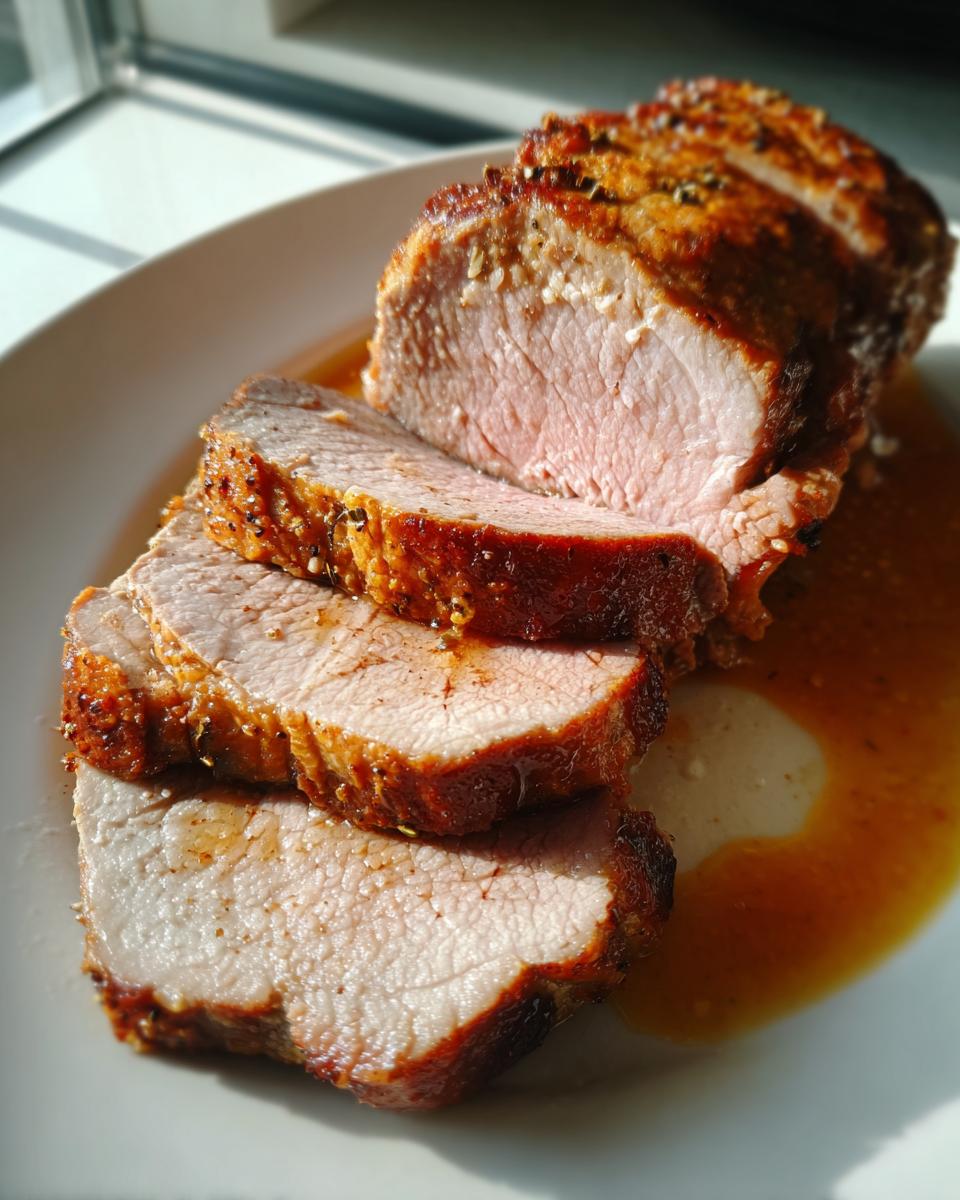
Slicing Technique for the Best Pork Loin Roast Presentation
Here’s the final physical step, and it matters immensely for enjoyment. You finished the cooking, you rested the meat—now you have to slice it correctly. Always slice your pork loin *against the grain*. If you stare at the cooked meat, you’ll see little muscle fibers running in one direction. You want your slices to cut right across those lines, not parallel to them.
Why? When you slice against the grain, you shorten those fibers up. Shorter fibers mean less chewing, which your mouth registers as super tender meat! If you slice with the grain, you end up with long, stringy pieces that feel tough, even if the roast was perfectly cooked internally. Keep your knife steady, slice thin, and watch how beautifully tender your roast becomes!
Frequently Asked Questions About Your Pork Loin Roast
I get so many great questions about this **pork loin roast** once people start trying it out, which just shows how many people are looking for a simple, dependable way to cook pork! Here I’ve pulled together the most common things folks ask. Hopefully, these answers clear up any last-minute jitters before you put your roast in the oven. Remember, cooking shouldn’t be scary; it should be fun!
What if I don’t have a roasting pan for my pork loin roast?
Oh, that’s easy! Don’t let one missing piece of kitchen equipment stop you from making this fantastic **easy pork dinner**. You absolutely do not need a dedicated roasting pan. If you have a large cast iron skillet that is oven-safe, use that! It’s actually great because you can do that hard sear right on the stovetop before it goes in the oven. If not, just grab a regular baking sheet—the kind you use for cookies—and place a wire cooling rack right on top of it before you set the seasoned pork loin on the rack. That rack just lets the air circulate underneath, which helps everything brown evenly, and bingo! You can cook that **oven roasted pork** with no trouble at all.
Can I skip the initial high heat step for this easy pork dinner?
Technically, yes, you certainly *can* skip it, but I wouldn’t recommend it if you want that beautiful, savory flavor crust we’re aiming for. That first blast at 400 degrees Fahrenheit is what gives the outside of the meat that slightly deeper color and sets up the seasoning nicely. If you skip it and just put the roast in at 350°F right from the start, you can still get a perfectly cooked **pork loin internal temp** result—it will just be paler and the crust won’t be as developed.
Think of it this way: if you’re rushing and really need it done fast, just cook it all at 350°F until you hit 145°F. But for that truly impressive **sunday roast recipe** look, that initial hot burst is worth the extra 15 minutes of babysitting the oven right at the beginning!
I’m worried about cutting it wrong. How thinly should I slice the roast?
Slicing thin is another one of those crucial secrets to making any cut of meat feel more tender! You want your slices to be quite thin—maybe about a quarter of an inch thick, or even a little thinner if you can manage it without them falling apart. Because we rested the meat properly, the juices should stay inside, but thin slices just offer less resistance when you chew, making that **juicy pork loin** even more satisfying. Always use a sharp knife when slicing against the grain, which we talked about earlier!
Will this recipe work for a smaller pork loin roast?
It scales beautifully, honestly! The timing guide in the recipe is about 15 to 20 minutes per pound. So, if you have a 2-pound roast instead of a 3-pound one, just cut your total cooking time down slightly! You still do the initial 15-minute blast at 400°F, but then you watch your thermometer much closer at 350°F. Pull it out right at 145°F internally, and remember that 10-minute rest for the juiciest result!
Storing and Reheating Your Leftover Pork Loin Roast
Oh, leftovers! If you’ve managed not to devour the entire **pork loin roast** in one sitting, you are in luck because this stuff is amazing the next day too. The key to good leftovers, especially with lean meat like pork loin, is how you treat it after the first meal. You don’t want to dry it out more, right?
For storage, the best way to keep those slices moist is to wrap them up tight—think airtight containers or heavy-duty zip-top bags. Pop them in the fridge as soon as they’ve cooled down a bit. They should keep perfectly well for three to four days. Seriously, don’t push it much past day four; nobody wants questionable leftovers!
Now for reheating, this is where most people mess up their wonderful **oven roasted pork**. If you try to blast it in the microwave for too long, it’s just going to turn into shoe leather. We need moisture! The best method I’ve found is super gentle. Take your slices, place them in a microwave-safe dish, and drizzle just a tiny splash of liquid over them—chicken broth is perfect, or even just water works in a pinch.
Cover that dish tightly with a lid or plastic wrap, leaving a tiny corner vented so steam can escape. Then, heat it in short bursts—maybe 30 seconds at a time on 50% power if your microwave lets you adjust that. If you’re using a conventional oven, you can line a small dish with foil, add the broth, cover it tightly, and warm it up low and slow at about 300 degrees Fahrenheit until it’s just heated through. That little bit of steam keeps the meat from seizing up, and you keep that **juicy pork loin** texture we worked so hard for!
Estimated Nutritional Data for This Pork Loin Roast
Now, I always feel a little funny giving exact numbers here because, let’s be honest, the exact fat content of my 3-pound pork loin is going to be different from yours! Plus, every brand of salt and oil uses different amounts of sodium and whatnot. So, please treat these figures as a helpful guideline rather than a strict promise.
This information is based on dividing the entire recipe yield into six decent servings, assuming standard pantry staples for the seasoning. It should help you keep track, especially if you’re watching sodium or fat intake. This roast is wonderfully high in protein, which I love for keeping everyone satisfied!
Here are the estimates based on a 4 oz cooked meat serving:
- Calories: 280
- Fat: 12g (and only about 4g is saturated fat, which is great!)
- Protein: 40g (Hello, powerful stuff!)
- Carbohydrates: 1g
- Sugar: 1g
- Sodium: 350mg
Keep in mind that this doesn’t include the chicken broth or cornstarch we used for the **pan sauce gravy**. If you ladle on a ton of gravy, those numbers will shift a little! But as a standalone centerpiece for your **easy porkdinner**, this **pork loin roast** is a fantastic, wholesome choice.
Share Your Perfect Pork Loin Roast Experience
Whew! That’s my entire tried-and-true method for getting the most incredibly flavorful and **juicy pork loin roast** you can imagine, all while keeping the steps simple enough for even the busiest Tuesday night. Seriously, I want to know how yours turns out! When you follow a recipe like this, especially when it comes to nailing that perfect **pork loin internal temp**, the best reward is hearing that it worked for you, too.
So please, if you made this **oven roasted pork** and loved how easy it was to get a great **sunday roast recipe** result, hop down to the comments below! Tell me what you thought of the spice rub, or if you added any other herbs into that simple mix. Did the **pan sauce gravy** come out perfect?
I always ask everyone to leave a star rating if you can. It helps other home cooks who are maybe nervous about roasting meat finally take the plunge. If you have any lingering questions about roasting times or resting, drop those in the comments, too! I try to answer every single one because cooking should be a shared experience. We built this corner based on helping each other out, and I love keeping that tradition alive. If you ever want to reach out directly with a big idea or a suggestion, you can always find our contact info here!
PrintJuicy Oven Roasted Pork Loin Roast
A simple recipe for a tender, juicy pork loin roast cooked in the oven, perfect for a weeknight or Sunday dinner, with instructions for a quick pan sauce.
- Prep Time: 10 min
- Cook Time: 75 min
- Total Time: 85 min
- Yield: 6 servings 1x
- Category: Dinner
- Method: Roasting
- Cuisine: American
- Diet: Low Fat
Ingredients
- 3 lb pork loin roast, bone-out
- 1 tablespoon olive oil
- 1 teaspoon kosher salt
- 1 teaspoon black pepper
- 1 teaspoon garlic powder
- 1/2 teaspoon dried thyme
- 1/2 cup chicken broth (for pan sauce)
- 1 tablespoon cornstarch (for pan sauce)
Instructions
- Preheat your oven to 400 degrees Fahrenheit.
- Pat the pork loin roast dry with paper towels. This helps create a better crust.
- In a small bowl, mix the kosher salt, black pepper, garlic powder, and dried thyme.
- Rub the entire surface of the pork loin evenly with the olive oil, then sprinkle and press the spice mixture onto the roast.
- Place the seasoned pork loin in a roasting pan or a large oven-safe skillet.
- Roast for 15 minutes at 400 degrees Fahrenheit.
- Reduce the oven temperature to 350 degrees Fahrenheit and continue roasting until the internal temperature reaches 145 degrees Fahrenheit on a meat thermometer inserted into the thickest part of the roast. This usually takes about 15 to 20 minutes per pound.
- Remove the roast from the oven when it reaches 145 degrees Fahrenheit.
- Transfer the roast to a cutting board, tent loosely with foil, and let it rest for at least 10 minutes before slicing. This resting period is key for a juicy result.
- While the pork rests, make the pan sauce: Place the roasting pan on the stovetop over medium heat. Scrape up any browned bits from the bottom of the pan.
- Whisk the chicken broth into the pan drippings. In a small bowl, mix the cornstarch with 2 tablespoons of cold water to create a slurry.
- Pour the slurry into the simmering liquid, stirring constantly until the sauce thickens slightly.
- Slice the pork loin against the grain and serve immediately with the pan sauce.
Notes
- For the juiciest pork loin roast, do not cook past an internal temperature of 145 degrees Fahrenheit. The temperature will rise slightly during resting.
- If you prefer a crispier exterior, you can sear the roast on all sides in an oven-safe skillet on the stovetop before placing it in the oven.
- Use fresh herbs like rosemary or sage along with the dried thyme for added flavor.
Nutrition
- Serving Size: 4 oz cooked meat
- Calories: 280
- Sugar: 1
- Sodium: 350
- Fat: 12
- Saturated Fat: 4
- Unsaturated Fat: 8
- Trans Fat: 0
- Carbohydrates: 1
- Fiber: 0
- Protein: 40
- Cholesterol: 100