
Oh, friends, if there’s one dish that just screams ‘gathering’—be it a summer picnic, a church potluck, or a big family holiday—it has to be the gorgeous, towering 7 layer salad. This isn’t just some flimsy greens mix; this is heritage food! It’s the kind of dish my grandmother taught me to make, watching carefully as she positioned each layer, knowing that presentation matters just as much as taste when you’re feeding a crowd. Here at Cookin’ Corner, we respect these traditions because we know that the care you put into assembling a dish like this truly builds connection. Trust me when I say that once you master this classic, easy, make-ahead side, people will ask for it every single year. It’s simply the ultimate crowd-pleaser! If you’re looking for another amazing appetizer to bring to that same gathering, you simply must check out my easy cheesy pepperoni pizza dip recipe.
- Why This Classic 7 Layer Salad is Your New Potluck Side Dish Recipe Hero
- Gathering Ingredients for the Best 7 Layer Salad
- How to Assemble Your Classic 7 Layer Salad Step-by-Step
- Tips for Success with Your Retro Salad Recipe
- Ingredient Notes and Substitutions for the 7 Layer Salad
- Serving Suggestions for Your Holiday Salad Recipe
- Storage and Reheating Instructions for Leftover 7 Layer Salad
- Frequently Asked Questions About Layered Vegetable Salad
- Sharing Your Cookin’ Corner Creations
Why This Classic 7 Layer Salad is Your New Potluck Side Dish Recipe Hero
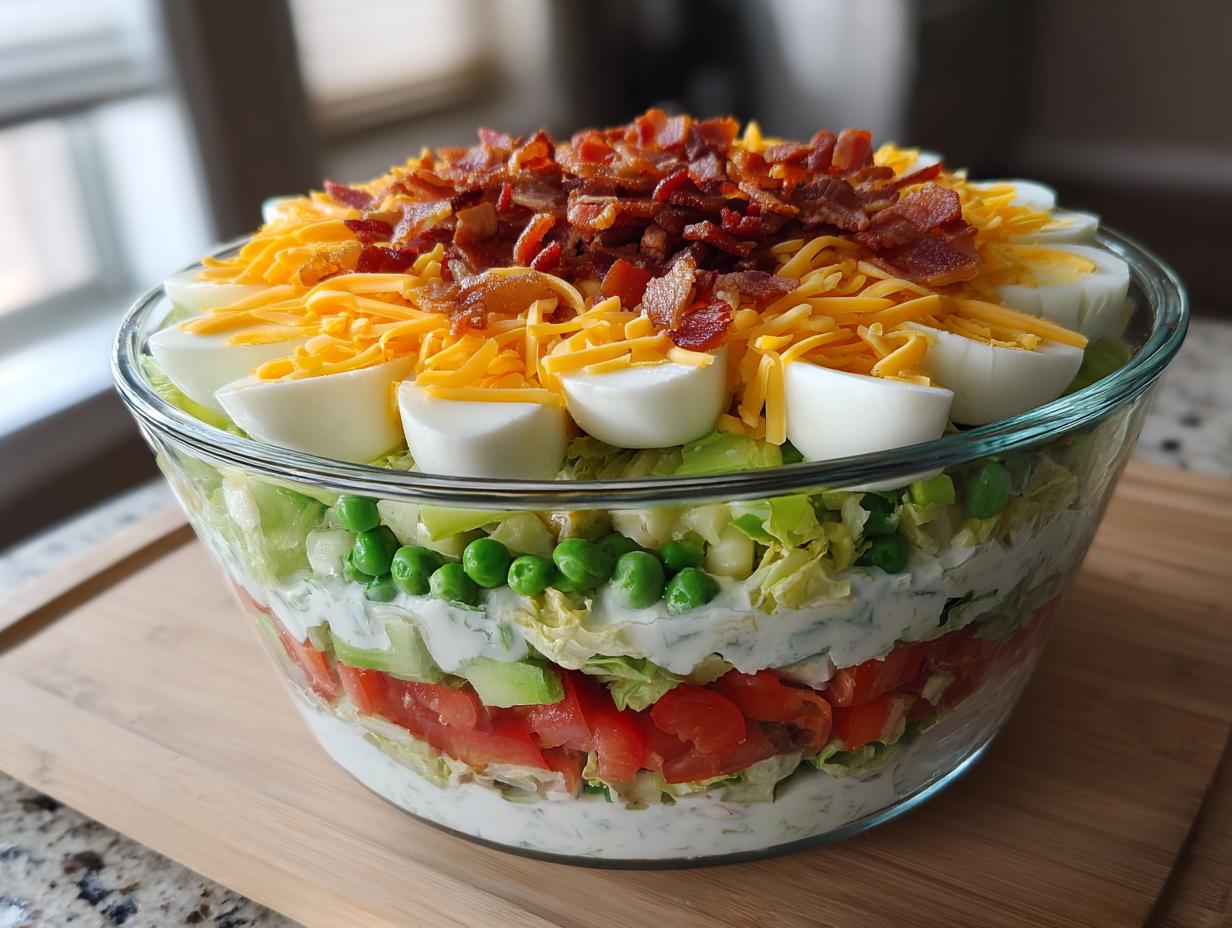
Honestly, the best part about our Classic 7 Layer Salad is that it does most of the work for you ahead of time! That’s why it’s the ultimate Potluck Side Dish Recipe hero, right? You assemble it the night before, and those flavors just marry each other beautifully while they chill overnight. I love using a big, clear glass bowl for this—it really shows off all those vibrant, crisp layers, which is just part of the old-school charm of this Retro Salad Recipe.
Because everything is sealed under that creamy dressing, it stays super fresh, making it the perfect Make Ahead Salad for those busy holiday weekends. You spend less fussing right before guests arrive, and more time enjoying yourself. When you get to the party, slicing down through that tower of texture is always a crowd-pleaser. If you need another make-ahead winner for your spread, you won’t regret trying my creamy tuna pasta salad!
Gathering Ingredients for the Best 7 Layer Salad
Getting ready to build this towering salad starts with having everything prepped and measured out—that’s the secret to smooth assembly, especially when you’re working against the clock before heading out the door! Don’t skimp on the sharpness of your cheddar; that little bite is crucial to cutting through the richness of the dressing. Precision here means perfection later, just like Grandma always said about prepping ingredients before you start baking. We’re keeping everything classic here to ensure this Creamy Layered Salad tastes exactly like it should!
Before you start stacking, you’ll want to whisk up that dressing and measure out all your solid ingredients. If you’re making this for a big crew, doubling the dressing is usually a safe bet! If you want another reliable side dish recipe that never fails at a big gathering, take a look at my twice-baked potato bliss recipe.
For the Creamy Layered Salad Dressing
- 1 cup mayonnaise
- 2 tablespoons white vinegar
- 1 tablespoon granulated sugar
- 1 teaspoon salt
- 1/2 teaspoon black pepper
This dressing needs a good whisking session until it’s perfectly smooth. We want zero clumps of sugar or pepper before we spread it over the cheese later on!
For the Vegetable and Topping Layers of the 7 Layer Salad
- 1 head iceberg lettuce, chopped (This crunch is non-negotiable for that classic texture!)
- 1 cup frozen peas, thawed
- 1 cup chopped celery
- 1 cup chopped red onion
- 2 cups cherry or grape tomatoes, halved
- 4 hard-boiled eggs, sliced or chopped
- 8 slices bacon, cooked and crumbled
- 1 cup shredded sharp cheddar cheese
How to Assemble Your Classic 7 Layer Salad Step-by-Step
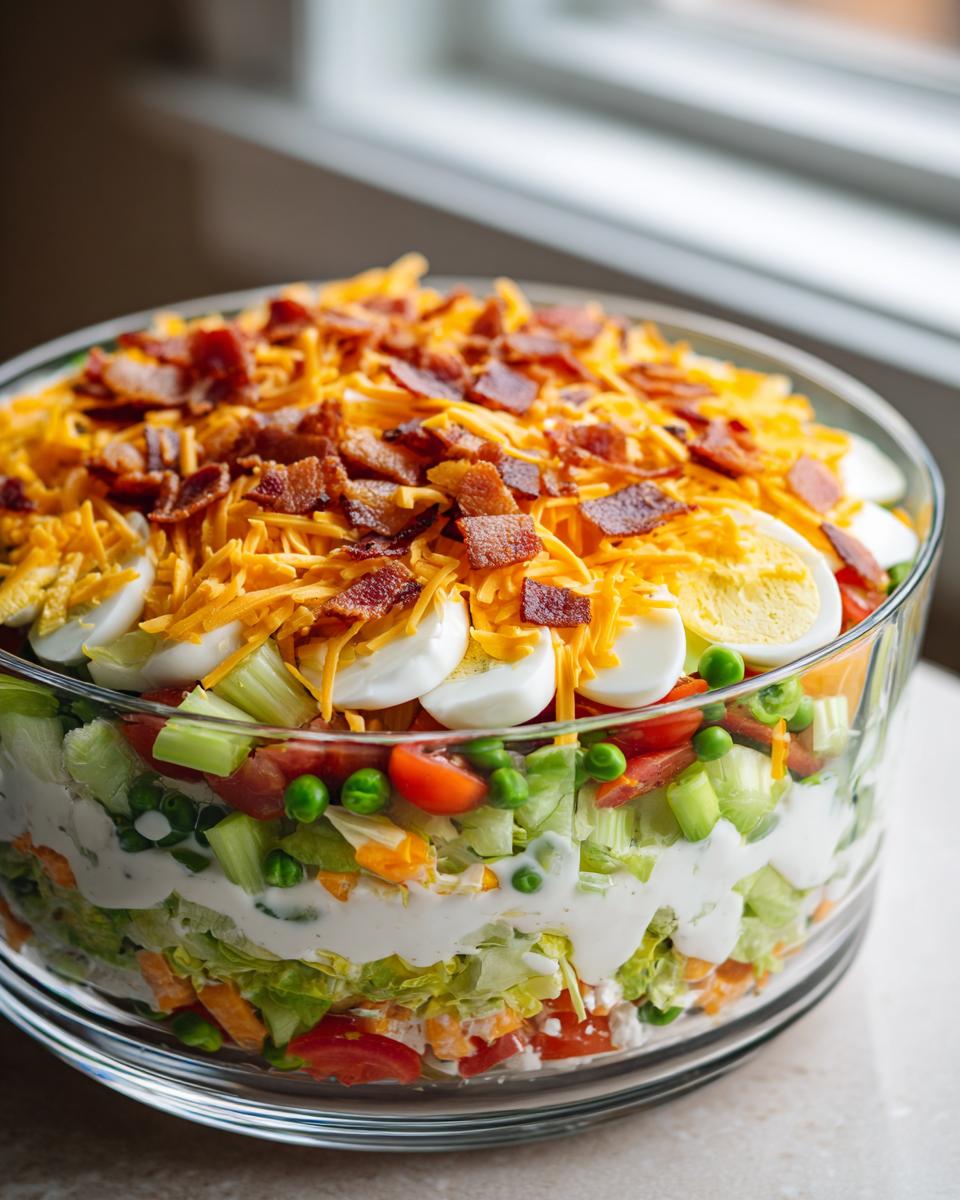
Okay, this is where the fun starts! It’s like building a beautiful, edible skyscraper, and the presentation is half the fun, especially when you use a clear glass bowl. Remember, we want those layers visible; it just looks so much more impressive on the buffet table! Don’t worry about making it *perfect* on the first try; the important thing is keeping the layers distinct until you chill it. If you’re bringing this to a summer party, make sure you check out my easy no-bake ice cream pie recipe for dessert!
Preparing the Dressing for Your Layered Vegetable Salad
First things first, even though we did measure everything out, we have to actually mix that creamy dressing! In a small bowl—and I mean small, we don’t want to dirty the whole kitchen here—whisk together your mayonnaise, vinegar, sugar, salt, and pepper together until it’s completely homogenous. If you don’t whisk long enough, you get those little sugar bursts, and we want smooth sailing for this Creamy Layered Salad.
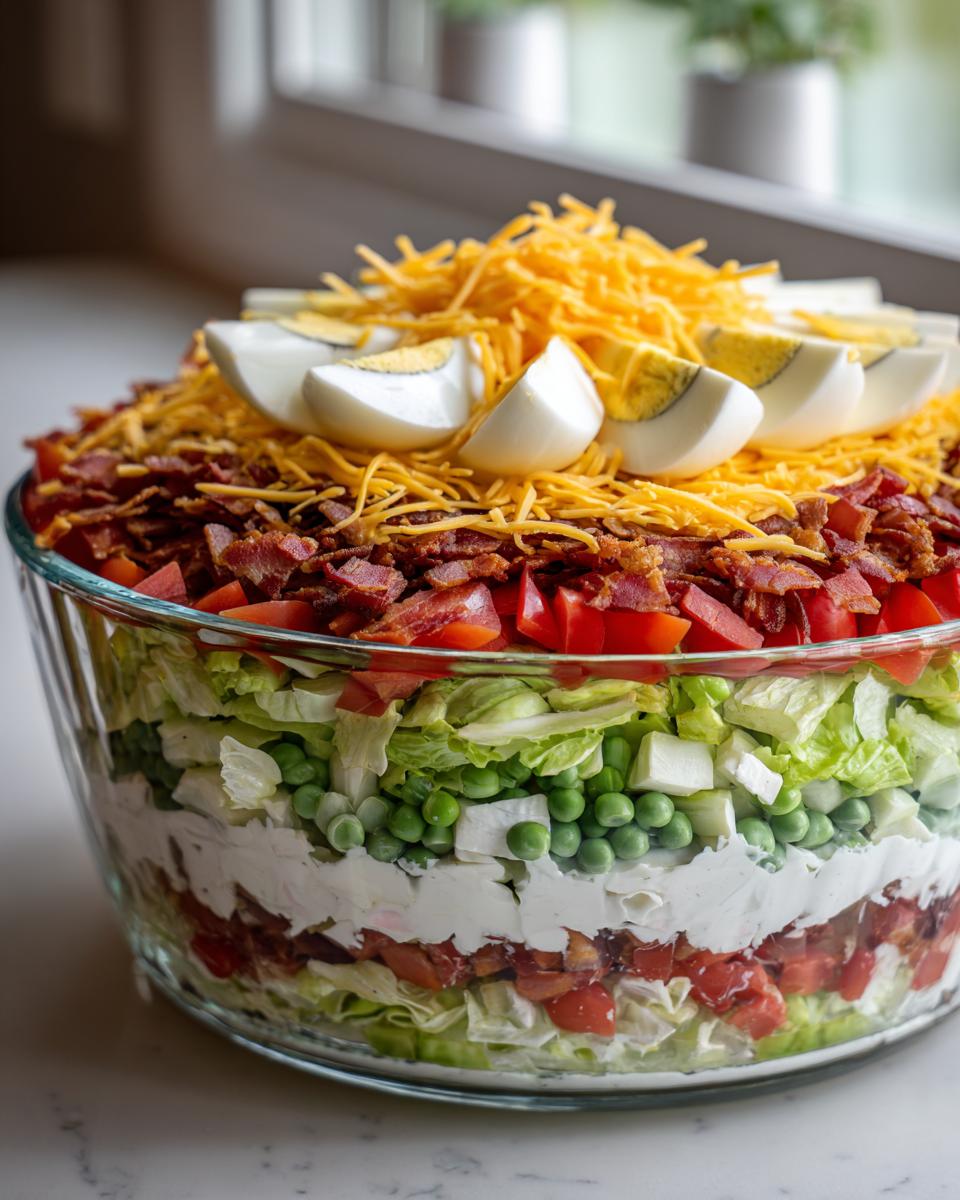
Building the Perfect 7 Layer Salad Structure
Now, we stack! You absolutely have to follow the order here so the dressing sits right on top and seals everything in. Start with your chopped lettuce, then the peas, then the celery, and then the red onion. Next up are the tomatoes. Then you gently place the chopped hard-boiled eggs. Finally, before the top coat, scatter that delicious sharp cheddar cheese evenly over everything. This cheese layer is the last thing the dressing touches, which keeps the fresh veggies from getting soggy later.
Chilling Time: The Secret to a Great Make Ahead Salad
Cover that bowl up tight—really tight! You need to chill this for at least four hours, but I’m telling you now, overnight is always better. When you let it sit, the mayo dressing settles in just right, the flavors meld together perfectly, and the whole thing firms up. That chilling time is non-negotiable if you want the best texture in this Make Ahead Salad. If you’re heading to a big feast soon, you might also want to check out tips from this classic recipe source!
Tips for Success with Your Retro Salad Recipe
Listen, this salad is classic for a reason, but we can learn from the past to make it work perfectly today! My biggest piece of advice for any Layered Vegetable Salad? Make sure your lettuce is bone dry before it goes anywhere near that bowl. A salad spinner is your best friend here; wet lettuce just dilutes any dressing, and we don’t want that!

Also, and this is huge for texture: deal with your bacon carefully. If you’re making this salad the day before, follow my note from earlier and keep the bacon crumbles separate. Cook it until it’s nice and crispy, drain it on paper towels, and then save it at room temperature. You only toss that salty crunch on right before you serve it, guaranteeing everyone gets that perfect snap against the creamy dressing. It keeps this Retro Salad Recipe exciting!
If you’re prepping other components for your meal, don’t forget to swing by my applesauce cookies for a sweet ending! For more ways to tackle this dish, check out this great guide.
Ingredient Notes and Substitutions for the 7 Layer Salad
Even though this is a classic recipe, I totally get that sometimes you need to swap things out based on what you have, or maybe you’re trying to please picky eaters! For me, the crunch of iceberg lettuce is essential—it holds up best against that rich dressing, so try not to swap it if you can help it. But if you absolutely must, romaine works in a pinch, just know it might wilt a tiny bit faster.
When it comes to cheese, sharp cheddar is my go-to because it adds a necessary salty tang to this Layered Vegetable Salad. If you only have mild, don’t panic, but maybe add just a tiny pinch of garlic powder to the dressing to boost the flavor profile! And please, if you bought pre-cooked bacon bits? That’s totally fine for a quick Potluck Side Dish Recipe, but I always recommend crumbling your own fresh bacon because those crispy bits are just better when they melt right into the dressing layer!
If you’re looking for dessert ideas after this big savory salad, you have to try my cinnamon roll muffins—they taste just like the real thing but are easier to serve!
Serving Suggestions for Your Holiday Salad Recipe
Since this 7 layer salad is so rich with bacon, cheese, and that creamy dressing, you really want to pair it with something straightforward for your main meal. It shines brightest next to smoky grilled foods, which is why it’s a perfect Salad with Bacon and Cheddar addition to any summer BBQ menu. Think grilled chicken breasts or simple pulled pork—nothing overly saucy competes with it!
For a proper Holiday Salad Recipe spread, serve it alongside baked ham or a simple roast turkey. It balances out the heavier starches perfectly. When serving, remember that a little dollop goes a long way! If you’re looking for another fantastic, sweet side dish that goes perfectly with ham, you have to try my candied sweet potatoes.
Storage and Reheating Instructions for Leftover 7 Layer Salad
Okay, so you made too much—which honestly, you probably did, because this salad is addictive! You want to store any leftovers tightly covered in the refrigerator. I usually use plastic wrap pressed right against the surface of the dressing before covering the whole bowl with a lid or foil.
Now, a heads up: this is a fresh salad, so we absolutely do not put this in the microwave! The texture *will* change overnight; that dressing keeps soaking into those nice crisp veggies, so it won’t be as crunchy the next day, but honestly, it still tastes amazing! If you’re looking for a totally different way to use up leftovers the next day, try tossing up a bowl of easy leftover turkey soup instead!
Frequently Asked Questions About Layered Vegetable Salad
I know when you’re making a recipe that has a specific number in the title, you want to make absolutely sure you’re hitting all the marks! People always have questions about substitutions or what exactly constitutes the classic build of our 7 layer salad. It’s about nailing that balance of creamy, crunchy, salty, and fresh.
Don’t worry if you need to skip an ingredient—I’ve got you covered for making small adjustments while keeping that classic potluck vibe alive. If you need a comforting main dish to serve alongside this salad, try my creamy chicken gnocchi soup!
What are the traditional seven layers in this salad?
That’s the million-dollar question! While every family has a slight variation, our truly classic version follows this stack in order to keep the lettuce happy: Lettuce on the bottom, then peas, celery, red onion, tomatoes, hard-boiled eggs, bacon, and finally, the cheddar cheese layer that seals everything up before the dressing goes on top. That seventh topping layer is usually the cheese or the bacon, depending on who you ask, but for our recipe, the cheese acts as the base for the dressing sealant!
Can I make this a vegetarian Layered Vegetable Salad?
Yes, you totally can, but you have to replace the texture that the bacon brings! Bacon is in there mostly for that salty crunch that plays so nicely against the sweet peas and creamy dressing. If you’re heading down the vegetarian route, I highly recommend toasting some pecans or walnuts really well and crumbling those over where the bacon would normally go. Alternatively, you can use crunchy sunflower seeds! They give you that necessary *snap* when you dig in, keeping your Layered Vegetable Salad interesting without any meat.
Sharing Your Cookin’ Corner Creations
Now that you have the recipe for the absolute best 7 layer salad—the kind that travels well and still tastes heavenly the next day—I’d just love to hear how it went!
Did you take it to a family reunion? Did the layers stay totally separate for your party? Don’t just eat it, tell me about it! Please leave a rating right below this post and let me know in the comments how your assembly went. Did you chill it overnight? Did you follow my tip about keeping the bacon separate?
I truly believe that these classic recipes are best when they’re shared, and seeing your beautiful, towering salads makes my day! Knowing that I’ve helped you bring a little bit of that nostalgic, loving American kitchen tradition to your table is what Cookin’ Corner is all about. If you snapped a picture of that stunning glass bowl centerpiece, please feel free to share it with me through the contact page so I can cheer you on!
And hey, if you loved the process of layering this dish, you might enjoy seeing how another home cook put theirs together; you can check out this preparation guide for comparison!
PrintClassic 7 Layer Salad: Easy Make-Ahead Potluck Side Dish

Make the ultimate classic 7 layer salad for any gathering. This recipe features fresh ingredients and vibrant layers for an easy side dish perfect for potlucks and holidays.
- Prep Time: 25 min
- Cook Time: 10 min
- Total Time: 35 min
- Yield: 8 servings 1x
- Category: Side Dish
- Method: Layering/Chilling
- Cuisine: American
- Diet: Vegetarian
Ingredients
- 1 head iceberg lettuce, chopped
- 1 cup frozen peas, thawed
- 1 cup chopped celery
- 1 cup chopped red onion
- 2 cups cherry or grape tomatoes, halved
- 4 hard-boiled eggs, sliced or chopped
- 8 slices bacon, cooked and crumbled
- 1 cup shredded sharp cheddar cheese
- 1 cup mayonnaise
- 2 tablespoons white vinegar
- 1 tablespoon granulated sugar
- 1 teaspoon salt
- 1/2 teaspoon black pepper
Instructions
- Prepare the dressing: In a small bowl, whisk together the mayonnaise, white vinegar, sugar, salt, and pepper until smooth. Set aside.
- Prepare the vegetables: Wash and chop the lettuce, celery, and onion. Halve the tomatoes. Thaw the peas. Slice the hard-boiled eggs. Cook and crumble the bacon.
- Assemble the layers in a large glass bowl or trifle dish in the following order: Lettuce, peas, celery, red onion, tomatoes, hard-boiled eggs, bacon, and finally, the cheddar cheese.
- Spread the prepared mayonnaise dressing evenly over the top layer of cheese, covering it completely to seal the layers.
- Cover the bowl tightly with plastic wrap. Refrigerate for at least 4 hours, or preferably overnight, to allow the flavors to meld and the dressing to set.
- Before serving, remove the plastic wrap. You can garnish with extra crumbled bacon or chopped parsley if desired. Serve directly from the bowl.
Notes
- Prepare this salad the night before your event; the chilling time is essential for the best flavor and texture.
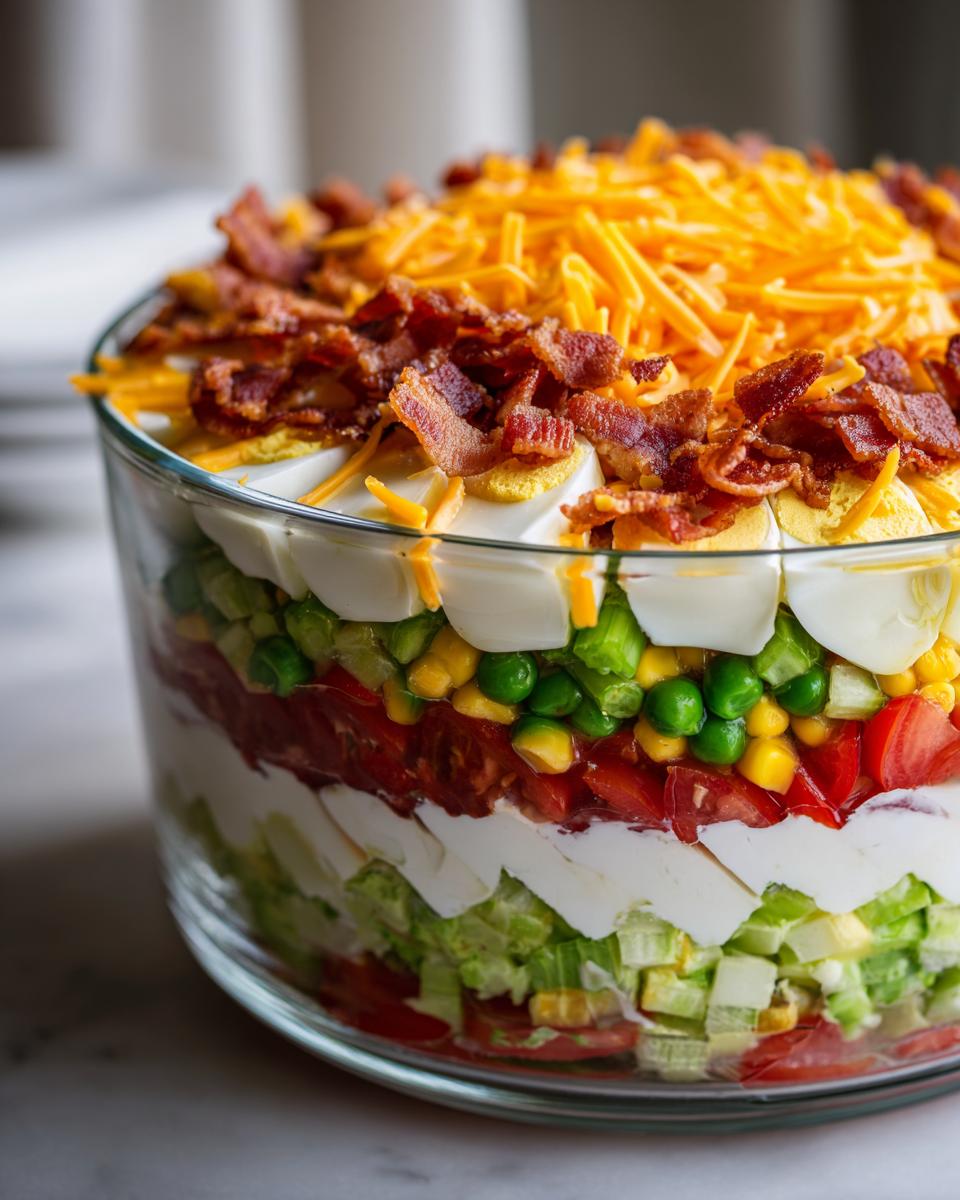
- Use a glass bowl to show off the distinct layers, which makes this a great centerpiece for any potluck.
- If you are making this ahead of time, do not add the bacon until just before serving if you want it to stay very crisp.
Nutrition
- Serving Size: 1 serving
- Calories: 350
- Sugar: 5
- Sodium: 450
- Fat: 30
- Saturated Fat: 10
- Unsaturated Fat: 20
- Trans Fat: 0
- Carbohydrates: 12
- Fiber: 3
- Protein: 10
- Cholesterol: 80