
Oh, friends, there is nothing—and I mean *nothing*—quite like splitting a perfectly toasted, homemade breakfast bread, watching that magnificent butter pool into a thousand little caves. That spongy texture, bursting with flavor? We’re talking about the legendary nooks and crannies, and I’m going to show you how to get them every single time with our simple stovetop method. Growing up in my Midwest kitchen, we learned early on that the best food takes a little patience, but never complicated steps. That’s the Cookin’ Corner promise! This tested, reliable method for making the perfect **english muffin** beats store-bought hands down, I promise you that.
- Why This Is the Best English Muffin Recipe From Scratch
- Gathering Ingredients for Homemade English Muffins
- Step-by-Step Guide: How to Make English Muffins
- The Secret to Perfect Nooks and Crannies Muffins
- Tips for Making Soft Fluffy English Muffins
- Storage and Making Freezer Friendly English Muffins
- Serving Ideas for Your Homemade English Muffin
- Frequently Asked Questions About English Muffins From Scratch
- Nutritional Estimate for One English Muffin
Why This Is the Best English Muffin Recipe From Scratch
I’ve tried fancy oven techniques and complicated folding methods, but nothing beats this straightforward approach for the absolute best english muffin. When I say this is the best recipe from scratch, I mean it. It took me months of testing to nail down the precise heat needed on the griddle!
Why should you ditch the plastic bag of store-bought ones and try this instead? Because we focus on what truly matters in your breakfast bread:
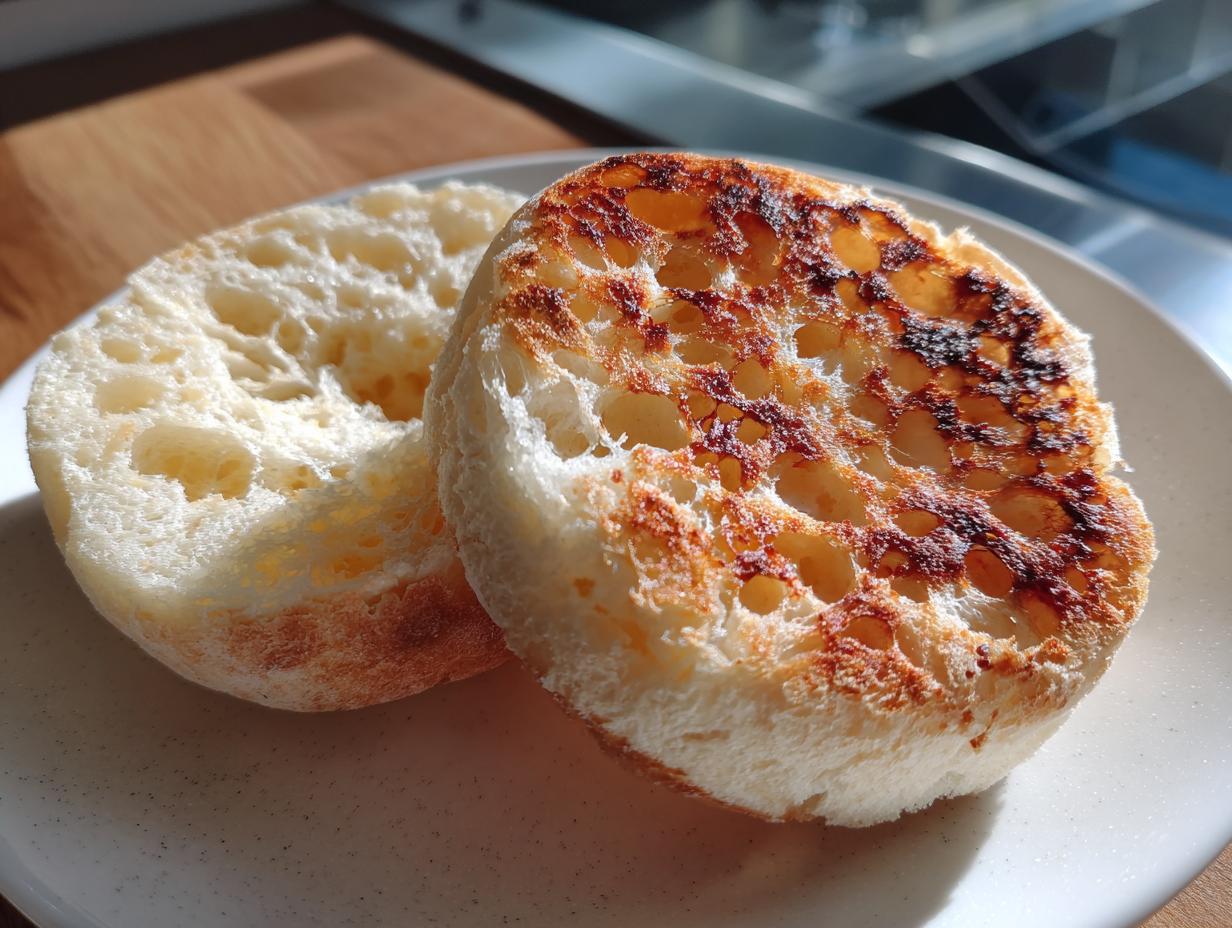
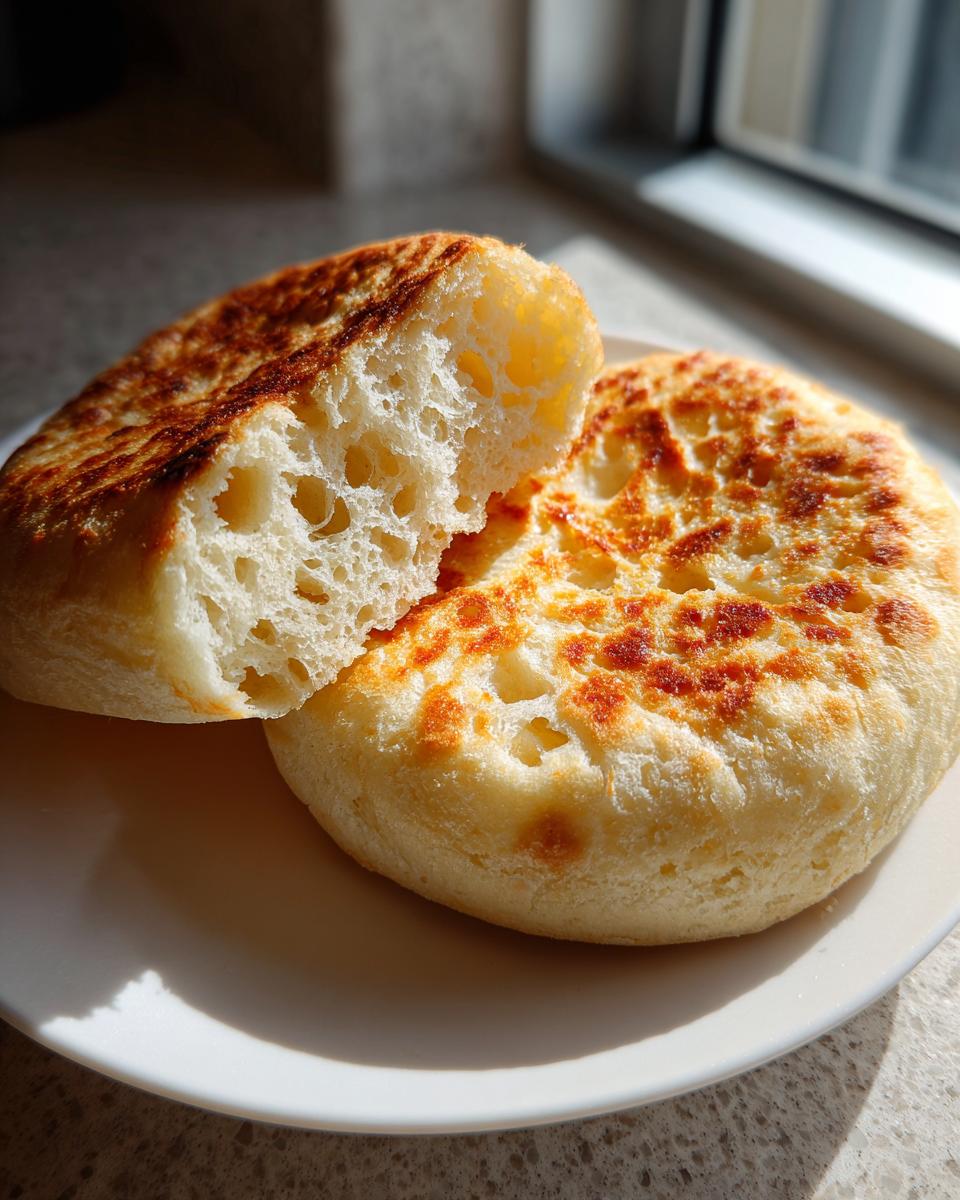
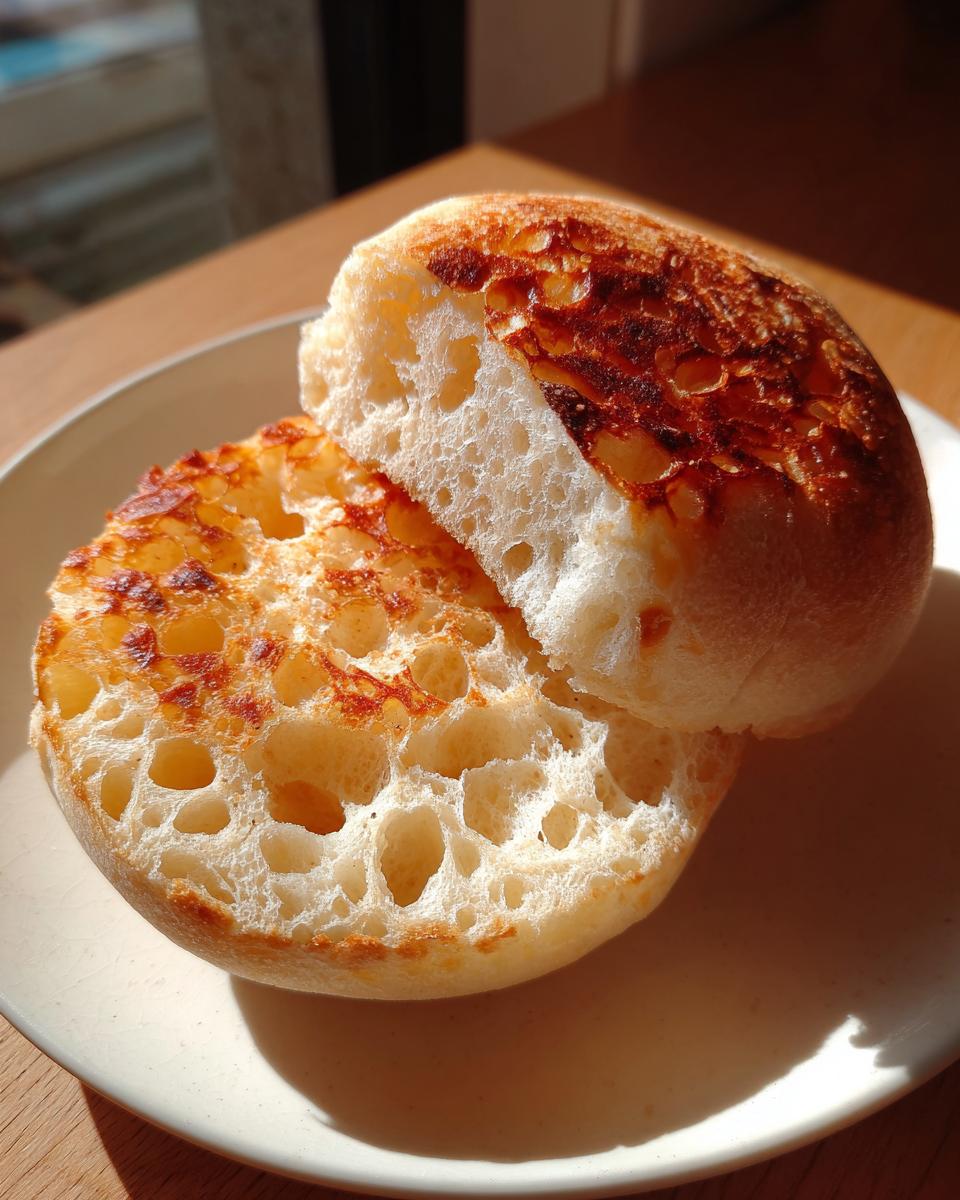
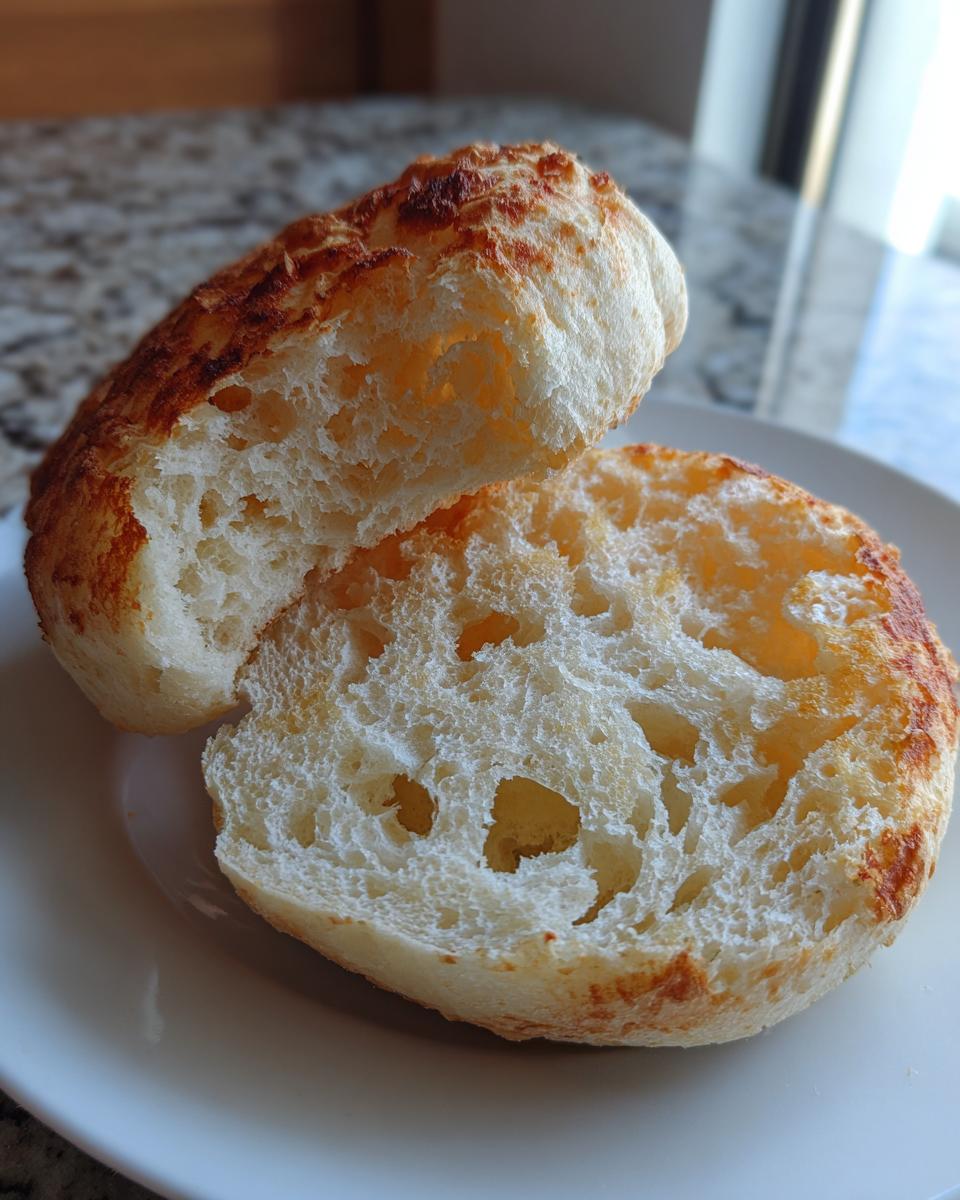
- You get those incredible, porous nooks and crannies muffins are famous for, ready to trap every last bit of melted butter.
- It’s all **stovetop english muffins**—no preheating the big oven just for breakfast! That saves time and keeps the kitchen cool.
- We use simple, common ingredients. There’s nothing fussy here, just pure, soft fluffy english muffins made with love.
This recipe is truly refined for the home cook who wants restaurant quality without the fuss. You’re going to love making these for your weekend brunch!
Gathering Ingredients for Homemade English Muffins
Okay, so for these amazing homemade english muffins, your ingredient list is surprisingly straightforward. That’s one of the reasons I love whipping them up when I suddenly decide I need warm breakfast bread!
You’ll need all-purpose flour, sugar, salt, baking soda, and baking powder for our dry mix. Then, for the liquids, make sure your buttermilk is actually at room temperature—this really helps wake up that yeast!
The crucial part is activating the yeast separately. Mix your active dry yeast with just two tablespoons of warm water. When it gets foamy, you know it’s ready to go. Don’t skip that little bubbly step; it’s how we guarantee a good rise!
Step-by-Step Guide: How to Make English Muffins
Alright, this part is where the magic starts to happen besides just mixing things! We aren’t kneading dough here, thank goodness. This is a very forgiving recipe, but you have to respect the sticky texture and the low-and-slow cooking method. Trust me, if you rush the heat, you end up with sad, scorched hockey pucks instead of light and airy english muffin perfection.
Mixing and Resting the Dough
First up, get all your dry ingredients whisked together in a good-sized bowl. Then, mix up your wet stuff—that buttermilk, melted butter, and your proofed yeast—in a separate little bowl. Pour the wet into the dry and grab a wooden spoon. You only want to mix until everything is *just* incorporated. Seriously, stop stirring as soon as you don’t see any dry streaks left! If you overmix this batter, you’ll get dense bricks, not fluffy clouds.
Once you stop mixing, cover that bowl up tight with plastic wrap. Find a nice warm spot in your kitchen—maybe near the oven, but off the burner—and let it chill out for a full hour. You’ll see it puff up a little, maybe not double, but it’ll definitely look happier and more robust.
Cutting and Preparing the English Muffin Rounds
After the rest, gently turn that sticky dough out onto a surface you’ve dusted well. I like using cornmeal for dusting because it adds a tiny bit of texture when cooked, but flour works just fine too. You can gently pat it out or use a rolling pin, but aim for about a half-inch thick. Not too thin—that’s where flat muffins come from!
Grab your round cutter, a 3-inch one is perfect, and start punching out those rounds. Don’t squish the dough down too hard when you cut, just press enough to get a clean separation. Gather up those scraps, gently pat them back together, and cut any more rounds you can. Dust both sides of every single round lightly with your cornmeal mix and let them sit for just 15 minutes before hitting the heat.
Cooking the Stovetop English Muffins to Perfection
This is the step people always mess up! You need a heavy-bottomed skillet—cast iron is my absolute favorite here—and it must be DRY. No oil, no butter, nothing on the cooking surface. Put it over medium-low heat. I mean it: medium-low! We are essentially toasting these slowly from the outside in.
Place your rounds on the hot griddle, leaving some breathing room. They need 8 to 10 minutes on that first side until they are golden brown. If they are browning too fast, turn that heat down immediately! Flip them carefully and cook the second side for another 8 to 10 minutes. You’re looking for a nice gold color across the whole outside. This slow cooking ensures the yeasty inside gets fully cooked through. If you need ideas for things to do while you wait, check out my thoughts on easy dinner ideas for later!
The Secret to Perfect Nooks and Crannies Muffins
We’ve talked about the cooking heat, which is factor number one for the best texture, but now we need to talk about the final, glorious step. If you want those beautiful pockets that define true **nooks and crannies muffins**, you absolutely must listen to me on this one point!
Once your **english muffin** rounds are cooked and cooled just slightly, resist the urge to grab a slicing knife—that just smooshes everything flat! You need to split them horizontally using a dinner fork. Poke around the edge a few times and gently twist to pull the two halves apart. That ripping action is what exposes all those amazing tunnels inside.

Seeing those holes ready to soak up melted butter is the best payoff after baking! If you want to see some other great quick recipes that use simple techniques, you can browse around here. Honestly, if you’ve got the slow cook heat and the fork-split down, you’ve got the greatest homemade english muffins.
Tips for Making Soft Fluffy English Muffins
You know I’ve mentioned overmixing before, but I have to tell you, I learned the hard way! I once tried to rush them by using the stand mixer on high, and wow, did I pay for it. The resulting flat disks were so dense I could have used them as paperweights. For soft fluffy english muffins, STOP mixing as soon as flour disappears!
Another big quality tip is making sure your buttermilk is happy and warm. If you don’t have buttermilk on hand? Don’t run to the store! Just mix a cup of regular milk with a tablespoon of white vinegar or lemon juice and let it sit for those five minutes until it curdles a bit. That little bit of acid reacts beautifully.
Honestly, these tiny touches—the room temperature ingredients and respecting the dough—are what separate a good batch from the ones you’ll be saving to freeze later, like these handy freezer-friendly ideas cover. If you want more simple baking ideas, I always have new quick recipes posted!
Storage and Making Freezer Friendly English Muffins
The best part about making these? You can—and really should—make a huge batch! These homemade english muffins are so wonderfully **freezer friendly**, which means you always have something delicious ready for breakfast sandwiches or a quick snack.
The most important rule for freezing: they have to cool down completely first. I mean bone cold on a wire rack. If you wrap them warm, you’ll end up with damp, sad muffins!
Once they are totally cool, stack them up and pop them into a heavy-duty freezer bag. They last great for up to three months, just like those recipes for freezing soup suggest. When you need one, just pull it out and pop it right into the toaster. That toasting step heats them through and crisps up the outside perfectly. You can see how some folks even make toddler versions for easy snacks!
Serving Ideas for Your Homemade English Muffin
Now that you have these glorious, tender, pocket-filled circles of joy, the real fun begins: eating them! Seriously, don’t wait too long to taste your first one. The smell during the toasting phase alone is enough to make you weak in the knees.
My absolute favorite way, the one I grew up on, is splitting it, lightly toasting that split face until it’s barely golden, and then slathering it with real butter and a spoonful of homemade strawberry jam. That’s pure nostalgia right in your hands, folks.
But we can’t stop at jam, can we? Especially if you’re looking to make a hearty breakfast:
- The Ultimate Breakfast Sandwich: Forget the drive-thru! Cook up a couple of perfectly sized sausage patties or crispy bacon slices. Add a runny fried egg and a slice of sharp cheddar. Built on these homemade english muffins, it’s unbeatable, especially for packing lunches or feeding the family on busy mornings.
- Eggs Benedict Base: Skip the flat, crumbly store-bought bases. These hold up beautifully under poached eggs and a drizzle of my foolproof Hollandaise sauce. They soak up just enough sauce without falling apart underneath the weight of the egg.
- Muffin Pizzas: If you have leftovers and you’re feeling savory but lazy, you won’t regret this! Top your split **english muffin** with a smear of marinara, a sprinkle of oregano, mozzarella, and maybe some chopped olives. Pop it under the broiler for a few minutes, and boom—instant dinner! I’ve shared my favorite quick, customizable english muffin pizza guide right here.
- A Southern Classic: If you’re feeling ultra-comforting, try making them smothered in sausage gravy. I love finding easy recipes for English Muffins and Gravy because the nooks catch all that creamy goodness!
Whatever you choose, remember that fork-split texture is your best friend!
Frequently Asked Questions About English Muffins From Scratch
I know baking bread can feel intimidating, especially something as specific as the perfect **english muffin**! But don’t worry, these questions pop up all the time. Baking is just follow-the-leader until you start trusting your instincts. Here are the answers to the most common things folks ask when they try making these english muffins from scratch for the first time.
Can I use regular milk instead of buttermilk in this easy english muffin recipe?
Yes, absolutely! If you don’t have buttermilk—and who always has that on hand?—you can make a super easy substitute. Just grab one cup of regular milk—whole milk is best, but 2% works fine—and stir in one tablespoon of white vinegar or fresh lemon juice. Let that mixture sit on the counter for about five minutes until it starts to look a little curdled. That sour little mixture acts just like buttermilk, giving you that perfect flavor lift for your easy english muffin recipe!
My homemade english muffins came out flat. What went wrong?
Oh, I’ve had those flat batches, and it’s usually down to one of three things, I’ve found. First, did your yeast bloom? If the yeast wasn’t active, you won’t get much rise. Second, did you overmix the dough? We talked about this, but mixing too long develops gluten and makes it tough, preventing that fluffy lift. The third big culprit is the heat! If your griddle is too high, the outside burns before the yeasty inside has time to puff up. You need low and slow for those homemade english muffins!
Can I make sourdough english muffins using this base recipe?
Ooh, I love that idea! Taking this recipe and turning it into a sourdough version is definitely possible, but it does change things up quite a bit since sourdough starter is very different from commercial yeast. Generally, you’d replace some of the flour and liquid with an equal amount of active, bubbly sourdough starter. Because the starter changes the hydration and the bulk fermentation time is much longer, you can’t simply swap it 1:1 without adjusting other liquids. It takes a bit more tinkering to get that classic soft texture, so I usually recommend nailing this recipe first before trying a full-on **sourdough english muffin** adaptation!
Nutritional Estimate for One English Muffin
Okay, let’s talk fuel! Part of the joy of making something spectacular like a homemade english muffin is knowing exactly what you’re putting into your body. Since this recipe is so straightforward, the nutrition is fairly clean, focusing mostly on carbs and a touch of protein.
Here is the estimated breakdown for just one serving (which is one muffin). Remember, this is based on the ingredients listed in my recipe card. Cooking methods and specific brands can change things a smidge, so take this as a great general guide, not strict medical advice!
- Serving Size: 1 muffin
- Calories: 180
- Fat: 4g
- Saturated Fat: 2g
- Carbohydrates: 32g
- Fiber: 1g
- Sugar: 2g
- Protein: 6g
- Sodium: 350mg
- Cholesterol: 15mg
See? Not too shabby for something that tastes this incredible toasted and slathered with butter. Enjoy responsibly, knowing you control every single ingredient that went into that tender crumb!
PrintHomemade Classic English Muffins with Nooks and Crannies

Make soft, fluffy English muffins from scratch on your stovetop. This recipe yields classic nooks and crannies perfect for holding melted butter.
- Prep Time: 20 min
- Cook Time: 25 min
- Total Time: 1 hour 45 min
- Yield: 8 servings 1x
- Category: Breakfast
- Method: Griddle Cooking
- Cuisine: American
- Diet: Vegetarian
Ingredients
- 2 cups all-purpose flour
- 1 tablespoon granulated sugar
- 1 teaspoon salt
- 1 teaspoon baking soda
- 1 teaspoon baking powder
- 1 cup buttermilk, room temperature
- 2 tablespoons unsalted butter, melted
- 1 teaspoon active dry yeast dissolved in 2 tablespoons warm water
- Extra flour or cornmeal for dusting
Instructions
- In a large bowl, whisk together the flour, sugar, salt, baking soda, and baking powder.
- In a separate small bowl, combine the buttermilk, melted butter, and the dissolved yeast mixture.
- Pour the wet ingredients into the dry ingredients. Mix with a wooden spoon until just combined. Do not overmix; the dough will be sticky.
- Cover the bowl with plastic wrap and let the dough rest in a warm place for 1 hour. The dough will rise slightly.
- Lightly dust a clean surface with flour or cornmeal. Turn the dough out onto the surface. Gently pat or roll the dough to about 1/2 inch thickness.
- Use a 3-inch round cutter to cut out the muffins. Gather the scraps, gently re-pat, and cut out the remaining muffins.
- Lightly dust both sides of the cut muffins with cornmeal or flour. Place them on a baking sheet lined with parchment paper. Let them rest for 15 minutes.
- Heat a dry, heavy-bottomed skillet or griddle over medium-low heat. You do not need to grease the cooking surface.
- Place the muffins on the hot griddle, leaving space between them. Cook for 8 to 10 minutes per side, until golden brown. The heat must remain low enough so the muffins cook through without burning the exterior.
- Remove the cooked muffins and set them aside. Repeat with the remaining dough.
- To achieve the signature texture, split the cooked muffins horizontally using a fork, not a knife.
- Toast the split muffins lightly before serving with butter or jam.
Notes
- For the best nooks and crannies, cook these stovetop english muffins slowly over medium-low heat.
- This recipe is freezer friendly; cool completely, place in an airtight bag, and freeze for up to 3 months. Reheat in a toaster.
- If you do not have buttermilk, mix 1 cup of regular milk with 1 tablespoon of white vinegar or lemon juice and let it sit for 5 minutes before using.
Nutrition
- Serving Size: 1 muffin
- Calories: 180
- Sugar: 2
- Sodium: 350
- Fat: 4
- Saturated Fat: 2
- Unsaturated Fat: 2
- Trans Fat: 0
- Carbohydrates: 32
- Fiber: 1
- Protein: 6
- Cholesterol: 15