
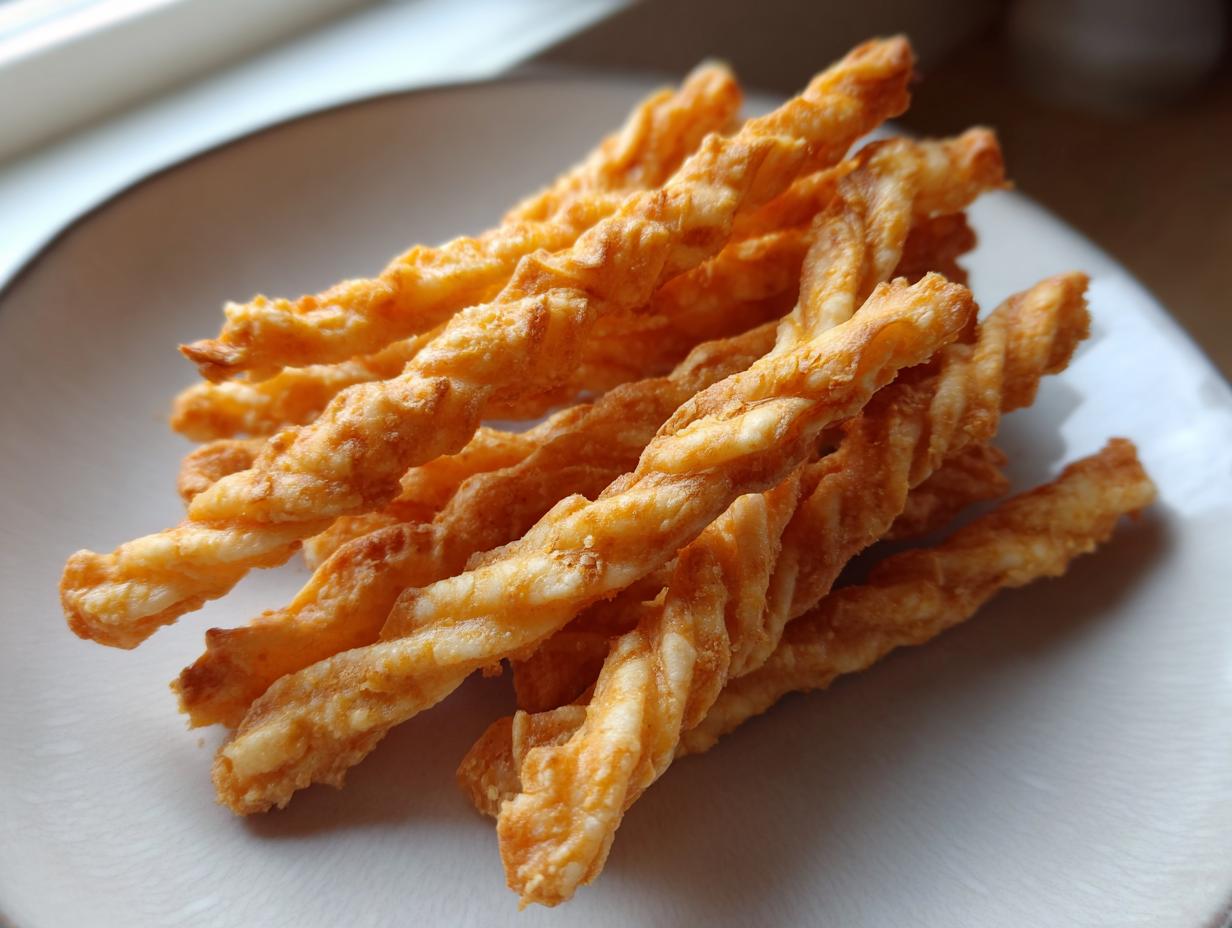
There’s just nothing that beats the sound of a truly perfect, homemade appetizer—that little shatter when you bite into something savory and rich. If you’re like me, you look for party finger foods that feel special but don’t take all day. That’s why I guard this recipe for classic, crispy Southern cheese straws so closely. This isn’t just some flaky cracker; this is the recipe that brings back memories immediately. We’re talking authentic, unapologetically buttery snacks, straight from the heart of American home cooking tradition. Trust me, once you make these, you’ll never look at a store-bought variety again. They are utterly addictive!
- Why This is the Best Cheese Straws Recipe for Entertaining
- Gathering Ingredients for Authentic Cheese Straws
- Step-by-Step Guide to Making Crispy Cheese Straws
- Tips for Perfect Southern Cheese Straws Recipe Execution
- Variations for Herbed Cheese Straws and Spicy Cheese Appetizers
- Make Ahead Party Appetizers: Storing Your Cheese Straws
- Serving Suggestions for These Buttery Cheese Crackers
- Frequently Asked Questions About Making Cheese Straws
- Nutritional Estimate for Classic Cheese Straws
Why This is the Best Cheese Straws Recipe for Entertaining
When you’re hosting, the last thing you want is a snack that wilts halfway through the evening. These homemade Savory Baked Snacks are reliable showstoppers because they are built for structure and flavor. They deliver that signature Southern snap that makes them so beloved at any gathering. We focus intensely on the technique here so you get the absolute best result every single time you bake a batch of these incredible Party Finger Foods.
Achieving Shatteringly Crispy Cheese Straws
The secret to achieving that ideal, shatteringly crispy texture isn’t luck, it’s temperature! You must keep your butter super cold, and I mean rock solid. When cold butter hits the heat, it creates steam pockets, which leads to flakiness, not sogginess. Handle the dough as little as possible too. Overworking it develops gluten, making your cheese straws chewy instead of brittle. This is truly the Best Cheese Straw Recipe because the steps respect the ingredients.
Flavor Profile: Sharp Cheddar and Subtle Spice in Your Cheese Straws
You can’t skimp on the cheese here, friends! We rely on freshly grated, sharp cheddar cheese, not the pre-bagged stuff. That sharpness cuts through the richness of the butter beautifully. I throw in just a pinch of cayenne and paprika for warmth—it’s not about heat, it’s about depth. These little Sharp Cheddar Bites have a sophisticated flavor that keeps everyone reaching for more.
Gathering Ingredients for Authentic Cheese Straws
When we talk about authentic Southern cheese straws, the ingredients list might look simple, but their condition is everything. This is where so many folks accidentally sabotage their snack! You need quality staples, and you need them prepared exactly right before they hit the bowl. If you are using bagged, pre-shredded cheddar, stop right now—you’re asking for a chewy straw, and we want crispness! I always make sure I have everything measured out and ready to go before I start combining, because time is of the essence once those butter cubes come out.
Ingredient Clarity for Perfect Dough
Listen closely here, because precision matters for the texture! Your butter has to be very cold and must be cut into pea-sized cubes. Absolutely no substitutes for sharp cheddar cheese; measure out 1 1/2 cups that you’ve grated yourself on a box grater. Finally, you’ll only use ice water, and only a splash at a time. This dedication to ingredient state is what separates a decent cracker from a magnificent, crisp, homemade savory snack.
Step-by-Step Guide to Making Crispy Cheese Straws
Okay, now that we have our perfect, cold ingredients ready, let’s talk process! This is where the magic happens, but you need to move with a little purpose. Remember, gentle speed is key to maximizing that crunch factor in your wonderful cheese straw dough. I like to line up my sheets and preheat the oven right at the start so we don’t waste any chilling time.
Mixing the Dough for the Best Cheese Straws Texture
First, whisk your dry stuff—flour, salt, and spices—together really well right in a big bowl. Next, toss in those cold butter cubes. Use a pastry blender or, my favorite, just your fingertips, to work the butter into the flour until it looks like coarse sand with some small, pea-sized butter clumps still visible. That’s what you want! Then fold in the cheddar, and add your ice water just a tablespoon at a time. Stop mixing the second it holds together. Seriously, resist the urge to knead or overmix!
Chilling and Cutting Your Cheese Straws
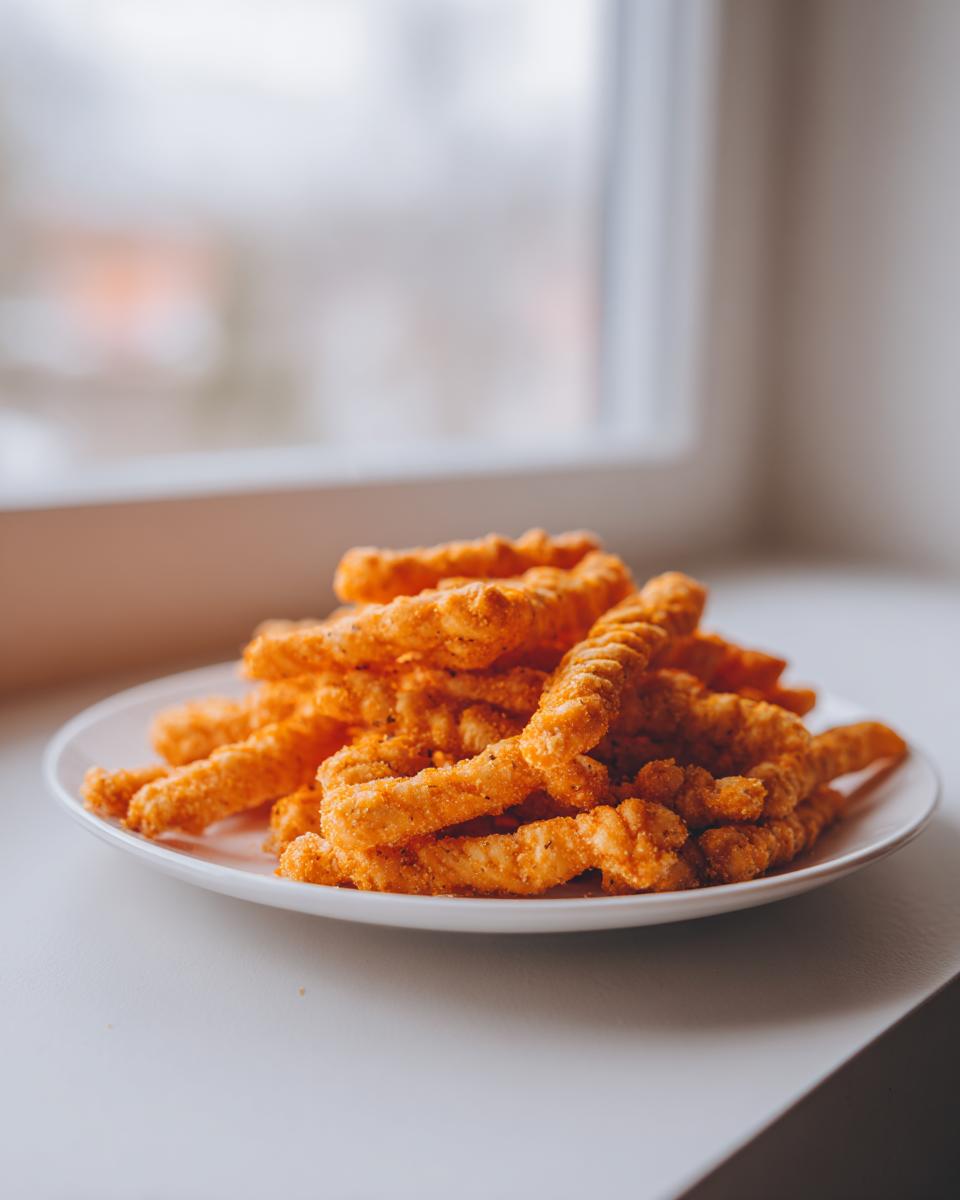
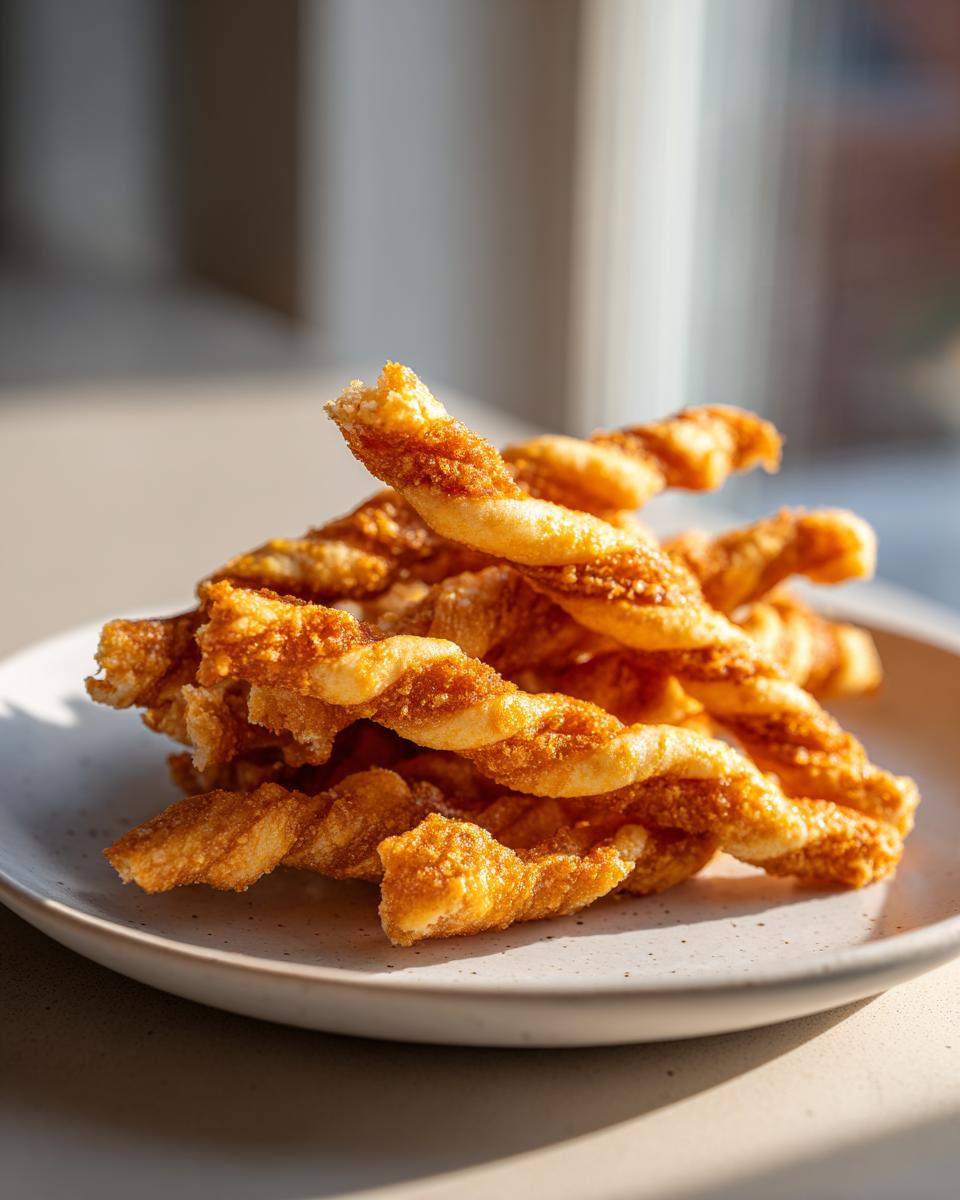
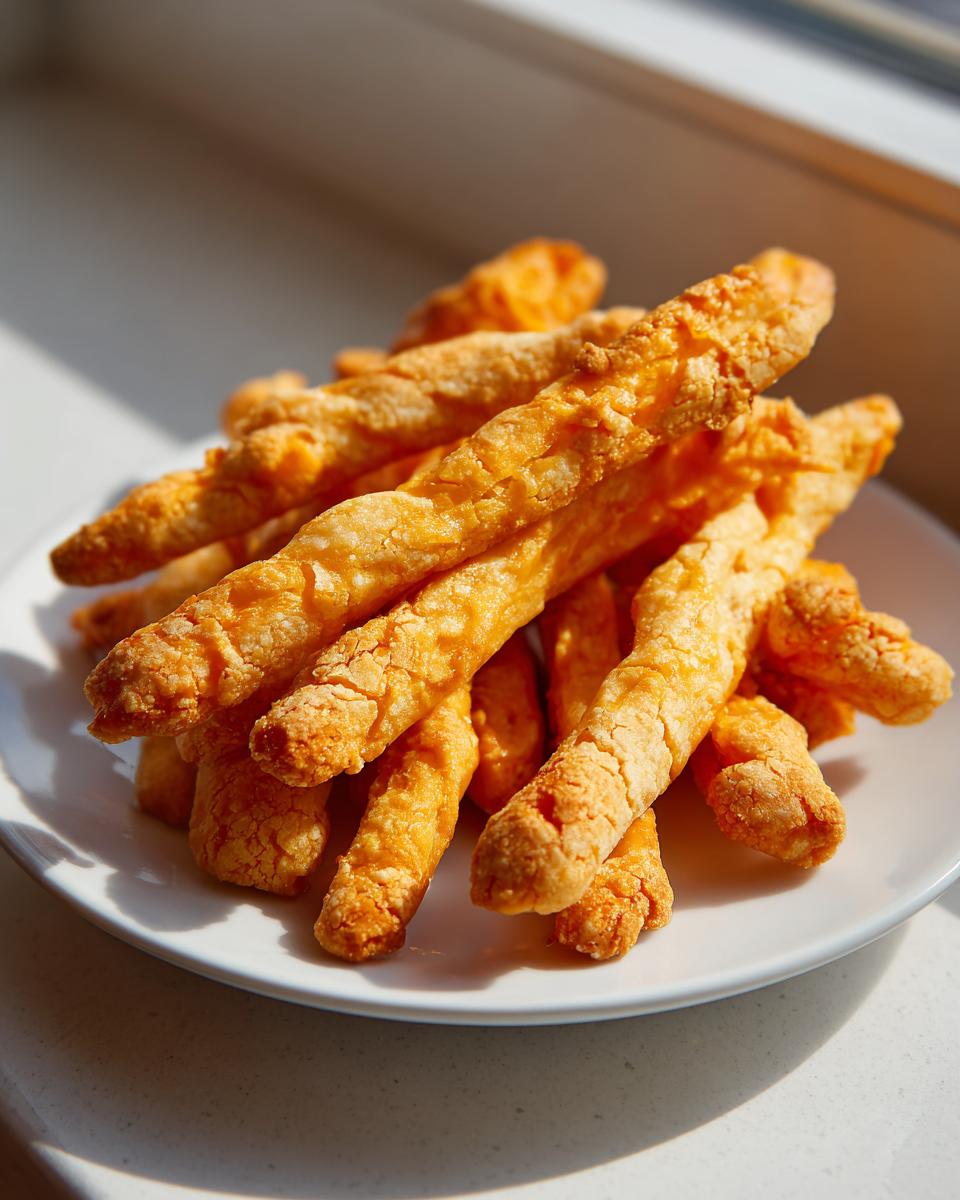
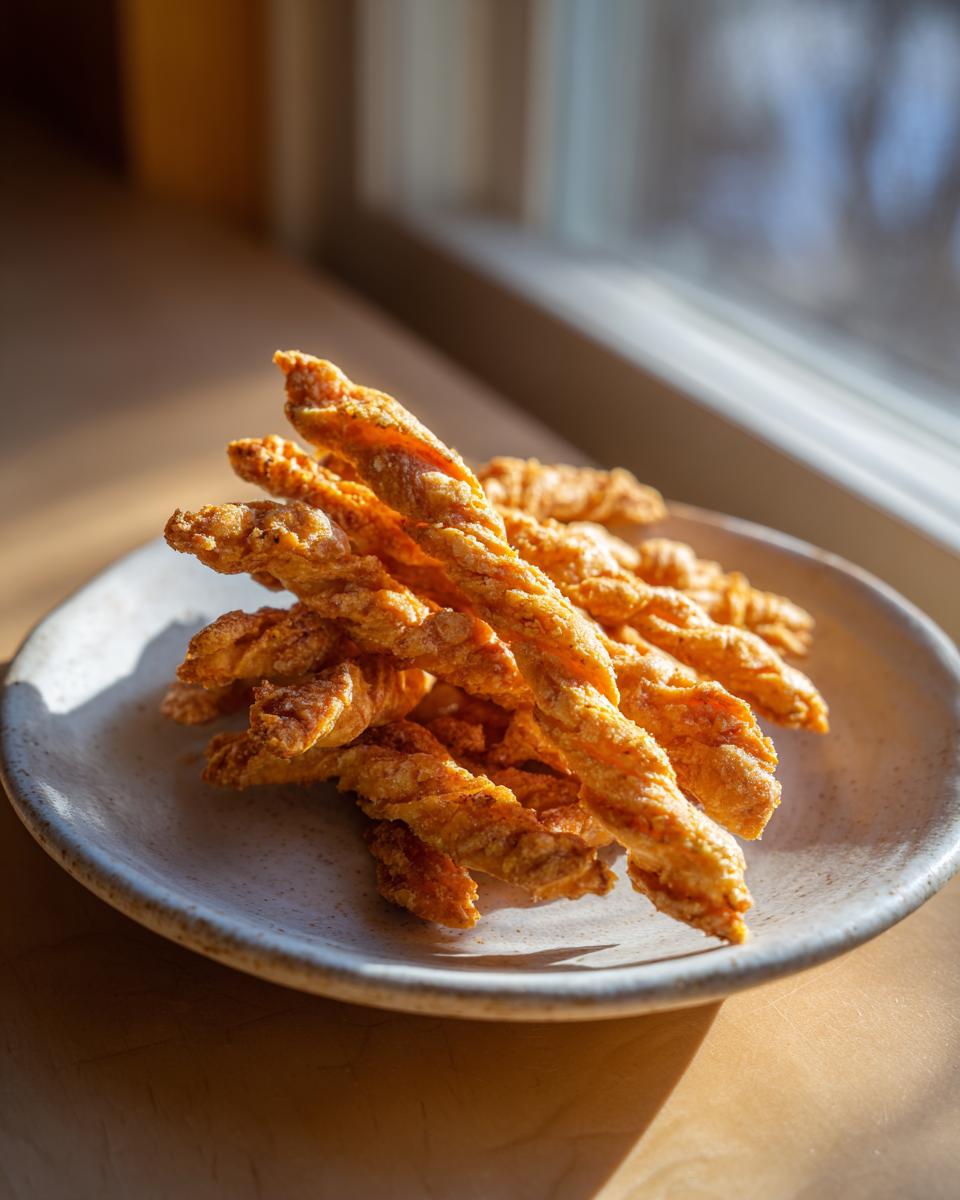
Once the dough is barely combined, divide it into two disks and wrap them tight. They need a solid 30 minutes in the fridge to firm up—don’t cheat this step! When chilling is done, pull out one disk at a time. Dust your surface lightly and roll it thin, aiming for about 1/8-inch thick; this is crucial for crispness. Slice them into strips that are about half an inch wide and four to six inches long. If you’re feeling fancy, give those strips a small twist before placing them on the parchment-lined sheets.
Baking Time and Cooling for Maximum Crispness
Preheat that oven to a nice hot 400 degrees Fahrenheit. Pop those trays in for about 10 to 14 minutes. Watch them closely because heat distribution varies, but you’re looking for that beautiful golden brown color all over. As soon as they come out, slide those straws right onto a wire rack. I know you’ll want to sneak one, but you absolutely must let them cool all the way down. That cooling process is the final transformation where they go from done to satisfyingly brittle and crisp!
Tips for Perfect Southern Cheese Straws Recipe Execution
Making truly authentic Southern Cheese Straws Recipe means sticking to a couple of non-negotiable rules that professional bakers often ignore. When you nail these little details, your savory snacks move from being just ‘good’ to being the ones folks ask for every year! It’s this attention to tradition that separates a good appetizer from a truly memorable one. These practices are how we turn simple flour and cheese into something akin to the perfect Homemade Savory Shortbread that crumbles just right.
The Importance of Freshly Grated Cheese in Cheese Straws
I cannot stress this enough: ditch the bagged, pre-shredded cheddar if you want true crispness! Those bags are coated with cellulose or potato starch—anti-caking agents designed to keep them from clumping. Guess what they also do? They stop your cheese straws from achieving that beautiful, flat, crispy bake we are aiming for. Always grate your own! Check out how the folks at House of Nash Eats approach this Southern staple; they nail the essential steps for real, authentic flavor.
Variations for Herbed Cheese Straws and Spicy Cheese Appetizers
While the sharp, classic cheddar straw is my number one baby, I know some of you like to mix it up, especially when you’re planning a whole spread of party finger foods. The beauty of this base recipe is how easily it morphs into other incredible Spicy Cheese Appetizers. For those of you who want to lean into the herbaceous side, try making Herbed Cheese Straws.
To get that earthy, slightly piney flavor that pairs so well with wine, simply fold in one teaspoon of dried rosemary or two teaspoons of mixed Italian herbs along with the flour and spices. If you want to step up the heat, keep that cayenne pepper in there, but maybe add a tiny pinch of smoked paprika—that gives you a gorgeous exterior color and a deeper warmth!
Make Ahead Party Appetizers: Storing Your Cheese Straws
One of the best things about these buttery snacks is that they are fantastic Make Ahead Party Appetizers! You don’t have to stress serving them piping hot. Once they are completely cool—and I mean stone cold—you can store your finished cheese straws in a container with a tight seal. They usually stay perfectly crisp at room temperature for several days.
If you’re planning way ahead for the holidays, you can actually freeze the cut dough strips before baking. Just arrange them on a baking sheet, stick that whole tray in the freezer until the strips are solid, and then transfer them to a freezer bag. When party time hits, just bake them straight from frozen! You might need to add about 3 to 5 extra minutes to the baking time, but they come out just as flaky.
Serving Suggestions for These Buttery Cheese Crackers
These Buttery Cheese Crackers are such a versatile little homemade treat! They are obviously incredible on their own as a game-day snack, but they really shine when paired up with something creamy. They are the perfect dipping vehicle! Try serving them alongside a rich, sharp dip—I swear by a savory pepperoni snack dip.
Honestly, though, my favorite way to serve them is crumbled up on top of a warm bowl of soup. Forget croutons! Throwing a handful of these over a creamy broccoli cheddar soup or a smooth tomato bisque gives those dishes the absolute best texture contrast. It’s such a simple upgrade!
Frequently Asked Questions About Making Cheese Straws
It’s totally normal to have a few sticking points when you start making a recipe from scratch, especially when getting that perfect crunch! I’ve gathered the questions I hear most often about turning simple ingredients into these addictive Homemade Cheesy Appetizers. Hopefully, these quick tips will set your mind at ease so you can focus on enjoying your party!
Can I use pre-shredded cheese in my cheese straws?
Oh, honey, please don’t! I know it’s tempting because it saves those few minutes, but that’s the quickest way to sabotage your lovely cheese straws. Pre-shredded cheese has starches and anti-caking agents added. These stop the cheese from melting properly and they absolutely prevent that beautiful, crisp texture we’re chasing. Always, always grate your sharp cheddar fresh. It’s worth the five extra minutes, trust me!
How do I keep my homemade cheesy appetizers from getting soft?
Humidity is the *enemy* of crispness, especially with savory baked snacks like these. Once your cheese straws have cooled completely—and this is vital, they must be room temperature—store them in a container with a truly tight-fitting lid. If you are storing them for more than a couple of days, sometimes you can sneak a small square of paper towel into the container to absorb any ambient moisture. Never store them in the fridge unless it’s pouring rain outside, because cold air encourages them to soften!
Nutritional Estimate for Classic Cheese Straws
Now, I always tell folks not to worry too much about the numbers when it comes to a perfect snack like this—these are for enjoying! But for those of you who like to keep track, here’s a general estimate for our classic, buttery cheese straws. Keep in mind that using a super sharp cheese versus a milder one, or adding extra spice, will change things slightly. These figures are just ballpark estimates, but hopefully, they give you a good idea of what you’re dipping into!
- Serving Size: 4 straws
- Calories: Approximately 110
- Fat: About 8g
- Carbohydrates: Around 7g
- Protein: 3g
Remember, this estimate is based on the ingredients listed in the recipe and how much might be in a standard serving. If you skip the cayenne pepper for the Parmesan herb straws variation, for example, the sodium might shift just a tiny bit. Eat and enjoy!
PrintClassic Crispy Southern Cheese Straws Recipe

Make these buttery, sharp cheddar cheese straws from scratch for the best party finger foods. This recipe delivers the shatteringly crispy texture you expect from authentic Southern cheese crackers, perfect for any gathering.
- Prep Time: 20 min
- Cook Time: 14 min
- Total Time: 34 min
- Yield: About 4 dozen 1x
- Category: Appetizer
- Method: Baking
- Cuisine: American
- Diet: Vegetarian
Ingredients
- 2 cups all-purpose flour
- 1 teaspoon salt
- 1/2 teaspoon cayenne pepper (optional, for a little spice)
- 1/2 teaspoon paprika
- 1 cup (2 sticks) cold unsalted butter, cut into small cubes
- 1 1/2 cups freshly grated sharp cheddar cheese
- 1/4 cup ice water, or as needed
Instructions
- In a large bowl, whisk together the flour, salt, cayenne pepper, and paprika.
- Cut the cold butter into the flour mixture using a pastry blender or your fingertips until the mixture resembles coarse crumbs with some pea-sized pieces of butter remaining.
- Stir in the grated sharp cheddar cheese until evenly distributed.
- Add the ice water one tablespoon at a time, mixing just until the dough comes together. Do not overmix. You may not need all the water.
- Divide the dough in half, flatten each half into a disk, wrap in plastic wrap, and chill in the refrigerator for at least 30 minutes.
- Preheat your oven to 400 degrees Fahrenheit (200 degrees Celsius). Line two baking sheets with parchment paper.
- On a lightly floured surface, roll out one disk of dough to about 1/8-inch thickness.
- Use a knife or pizza cutter to cut the dough into strips about 1/2-inch wide and 4 to 6 inches long. You can twist the strips slightly for a classic look.
- Place the strips on the prepared baking sheets, leaving a small space between them.
- Bake for 10 to 14 minutes, or until the cheese straws are golden brown and crisp. Baking time varies based on thickness.
- Transfer the baked cheese straws to a wire rack to cool completely. They will crisp up more as they cool.
- Repeat with the remaining dough. Store cooled cheese straws in an airtight container at room temperature.
Notes
- Use freshly grated sharp cheddar cheese for the best flavor and texture. Pre-shredded cheese often contains anti-caking agents that prevent optimal crispness.
- Keep the butter very cold throughout the mixing process to achieve flaky layers.
- For make-ahead party appetizers, you can cut the dough strips and freeze them on the baking sheet before baking. Bake directly from frozen, adding a few extra minutes to the cook time.
- If you want a Parmesan herb straws variation, substitute 1/2 cup of the cheddar with grated Parmesan and add 1 teaspoon of dried rosemary to the dry ingredients.
Nutrition
- Serving Size: 4 straws
- Calories: 110
- Sugar: 0.2
- Sodium: 180
- Fat: 8
- Saturated Fat: 5
- Unsaturated Fat: 3
- Trans Fat: 0.2
- Carbohydrates: 7
- Fiber: 0.3
- Protein: 3
- Cholesterol: 25