
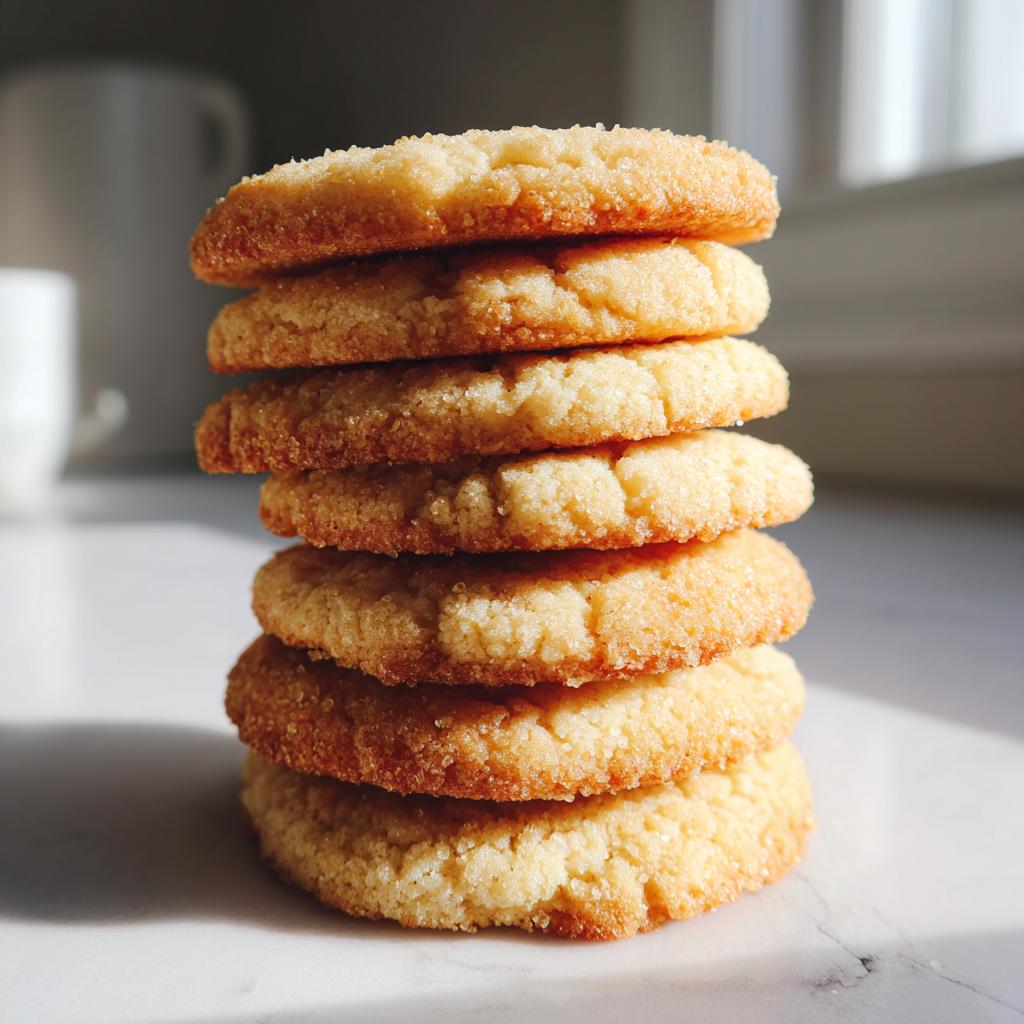
Oh, the comfort of a perfectly baked sweet, right? Sometimes the fancy pastries just don’t hit the spot the way the genuine, simple classics do. For me, Sarah Jane Thompson, nothing shouts ‘home’ louder than the scent of real butter baking low in the oven. That’s why I’m sharing this Classic Melt-in-Your-Mouth Butter Cookies recipe with you today. It’s the one I turn to when I need those incredibly rich, buttery shortbread cookies that just disappear the second they touch your tongue.
This isn’t some complicated Danish Butter Cookies Recipe knock-off; this is pure American heart baked into a simple cookie. Growing up in my Midwest kitchen, we didn’t have fancy equipment, but we always had butter, and we always had love. This recipe uses basic pantry staples, but the result feels like a luxurious vacation. If you’re looking for Simple Cookie Recipes that taste like they came straight from my family’s recipe cards, you’ve found your winner.
Trust me on this one: taking the time to make Homemade Butter Cookies makes every occasion feel special, whether it’s a chaotic Tuesday or the big holiday cookie exchange. We’re aiming for those cookies that are soft, tender, and utterly decadent. I promise you, once you master this Easy Butter Cookie Recipe, you’ll never look back. If you want to skip the chilling for now and try something totally different, check out these easy no-bake avalanche cookies, but come right back—these real butter beauties are worth the patience!
- Why This Classic butter cookie Recipe Works Every Time
- Ingredients for Your Melt in Your Mouth Cookies
- Step-by-Step Instructions for Perfect butter cookie Dough
- Baking Your Classic Butter Cookies
- Tips for Success with Homemade Butter Cookies
- Storage and Reheating Instructions for Your butter cookie Batch
- Frequently Asked Questions About Making butter cookie
- Nutritional Estimate for This butter cookie Recipe
- Share Your Homemade Sweets Creations
- Nutritional Estimate for This butter cookie Recipe
- Share Your Homemade Sweets Creations
Why This Classic butter cookie Recipe Works Every Time
There’s a reason this recipe lands in the ‘Best Butter Cookie Recipe’ category, and it has everything to do with technique, not trendy ingredients. We’re aiming for the pinnacle of Rich Buttery Treats: cookies so tender they barely hold together on the fork. When people ask me how I get that famous ‘melt in your mouth cookies’ texture, I just point back to the first step. This isn’t just another Easy Butter Cookie Recipe; it’s a tried-and-true method passed down through generations in my Midwest kitchen.
The secret is that everything has to be patient, especially when mixing. You can’t rush the fundamentals if you want the best results. If you’re looking for a fantastic base for decorating later, make sure you check out my notes on how I get my sugar cookies perfectly soft—the technique is similar here!
Achieving the Perfect Soft Butter Cookies Texture
Listen, step one—creaming the butter and sugar—is where the magic happens for that soft texture. You aren’t just combining them; you’re beating air into the fat. That trapped air expands in the oven, which keeps the cookie from becoming dense and hard. It should look pale and fluffy—almost like pale whipped cream! The single egg yolk is also crucial here; it adds richness and a little bit of binding without adding too much liquid, which would create a chewier cookie instead of our desired soft crumb.
Simple Cookie Recipes Using Basic Pantry Cookies Staples
I love that this recipe relies on what you already have. We aren’t running out to the specialty store for anything fussy! It’s just flour, sugar, butter, salt, vanilla, and one yolk. That’s it! This simplicity is what makes it such a wonderful go-to for quick baking sessions. They are absolutely perfect for filling up those decorative holiday tins—the ultimate Cookie Tin Fillers because they hold their shape beautifully yet still feel luxurious.
Ingredients for Your Melt in Your Mouth Cookies
Okay, gathering your supplies is the next big step! Since this is a recipe where the quality of the ingredients truly shines, I need you to be precise here. Remember, in baking, especially with simple butter cookie recipes, there’s nowhere to hide lackluster ingredients. These measurements are what give you those perfectly balanced, melt in your mouth cookies every time. Get these elements ready before you even turn on the mixer!
First thing’s first: make sure that butter is truly softened. I mean room temperature soft, not half-melted soft—that’s a recipe for disaster! You’ll want:
One full cup of unsalted butter, softened to just the right stage. Then, half a cup of granulated sugar to give us our sweetness without getting too coarse. You need just one large egg yolk—this is key for that creamy interior, so don’t be tempted to throw in the whole egg! A teaspoon of pure vanilla extract brings out that lovely warmth. For the dry components, measure out two and a half cups of all-purpose flour and a quarter teaspoon of salt to balance everything out. Keep those measurements exact, and you’ve already won half the battle for magnificent Classic Butter Cookies!
Step-by-Step Instructions for Perfect butter cookie Dough
Alright, now that we have our beautiful ingredients lined up, it’s time to make the dough! This is where we build the foundation for those rich, decadent layers. Don’t rush this part; the care you put in now completely dictates how amazing your butter cookie turns out later. We’re moving methodically, just like we learned at home, to ensure we get that perfect blend of rich flavor and tender structure.
The most important thing to remember during this whole process is restraint! We are mixing just enough to combine, not enough to beat the life out of the gluten.
Creaming Butter and Sugar for the Best butter cookie Base
This is Step 1, and it sets the tone for the entire batch—it’s truly the key to the Best Butter Cookie Recipe! Take that softened butter and the sugar. You need a stand mixer or a good hand mixer for this, or just some serious arm power! Beat them together on medium speed until the mixture goes from dull yellow sludge to something pale, light, and fluffy. I usually watch it for about three to four minutes. When it looks creamy, almost like very soft frosting, you’re there. Then, gently mix in that single egg yolk and the vanilla until it just disappears. Stop beating as soon as it’s combined, trust me!
Chilling and Rolling Out the butter cookie Dough
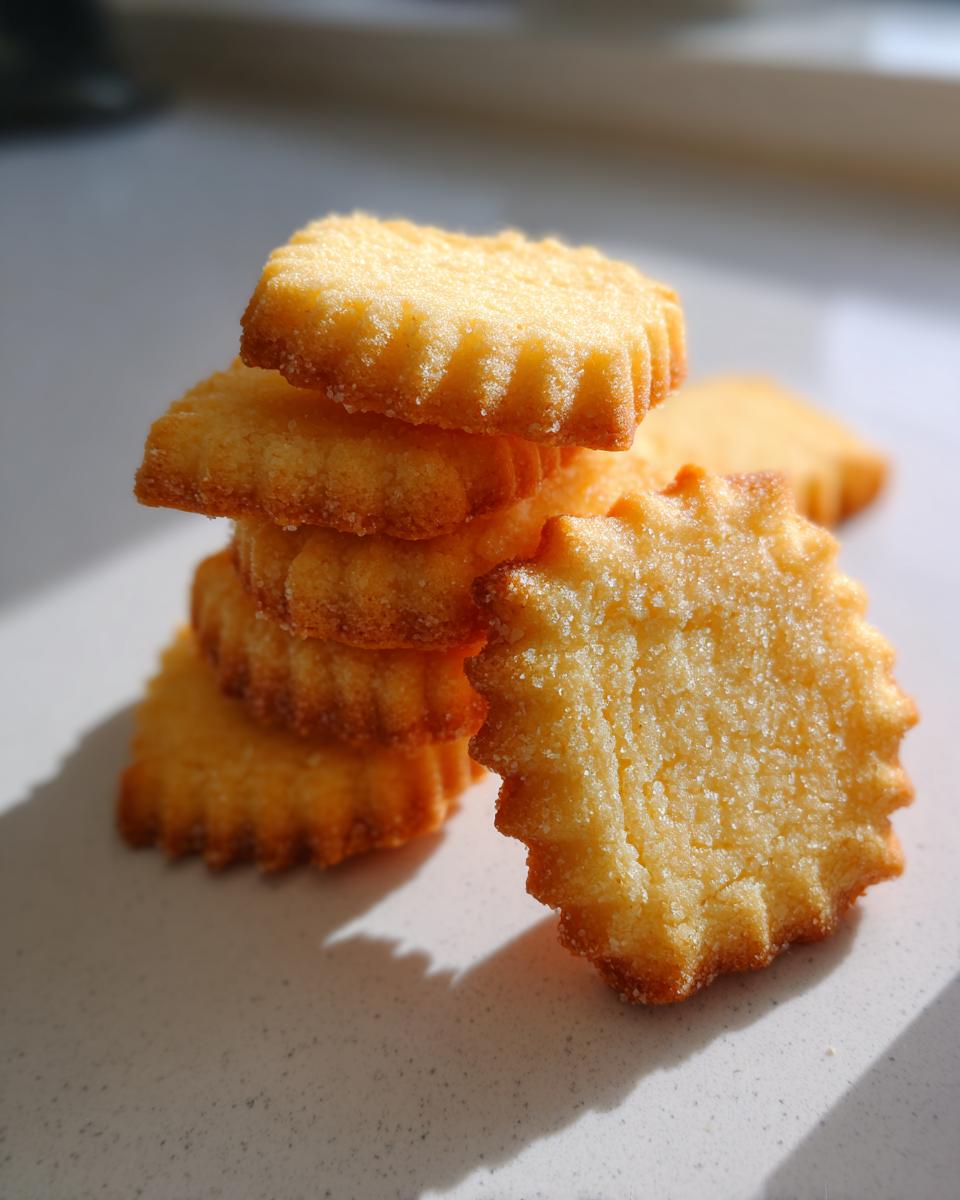
Now, here’s the part where patience pays off massively. Once the flour and salt are mixed in—and I mean mixed only until *just* combined, seriously, stop mixing when you still see a few flour streaks—wrap that soft dough tightly in plastic wrap. It has to go into the fridge for at least 30 minutes. When I first tried this, I skipped chilling, thinking I was saving time, and the cookies spread into flat puddles! Don’t make my mistake! Chilling solidifies the butter, which keeps those beautiful cut-out shapes holding their crisp lines when they hit the heat. Once chilly, roll it out on a lightly floured surface to about 1/4 inch thickness. Too thin, and they get too crispy; too thick, and the centers won’t bake through evenly.
Need a break from rolling and slicing? If you want to try a completely different direction next week, I have a fantastic recipe for herb-crusted prime rib roast that’s surprisingly straightforward!
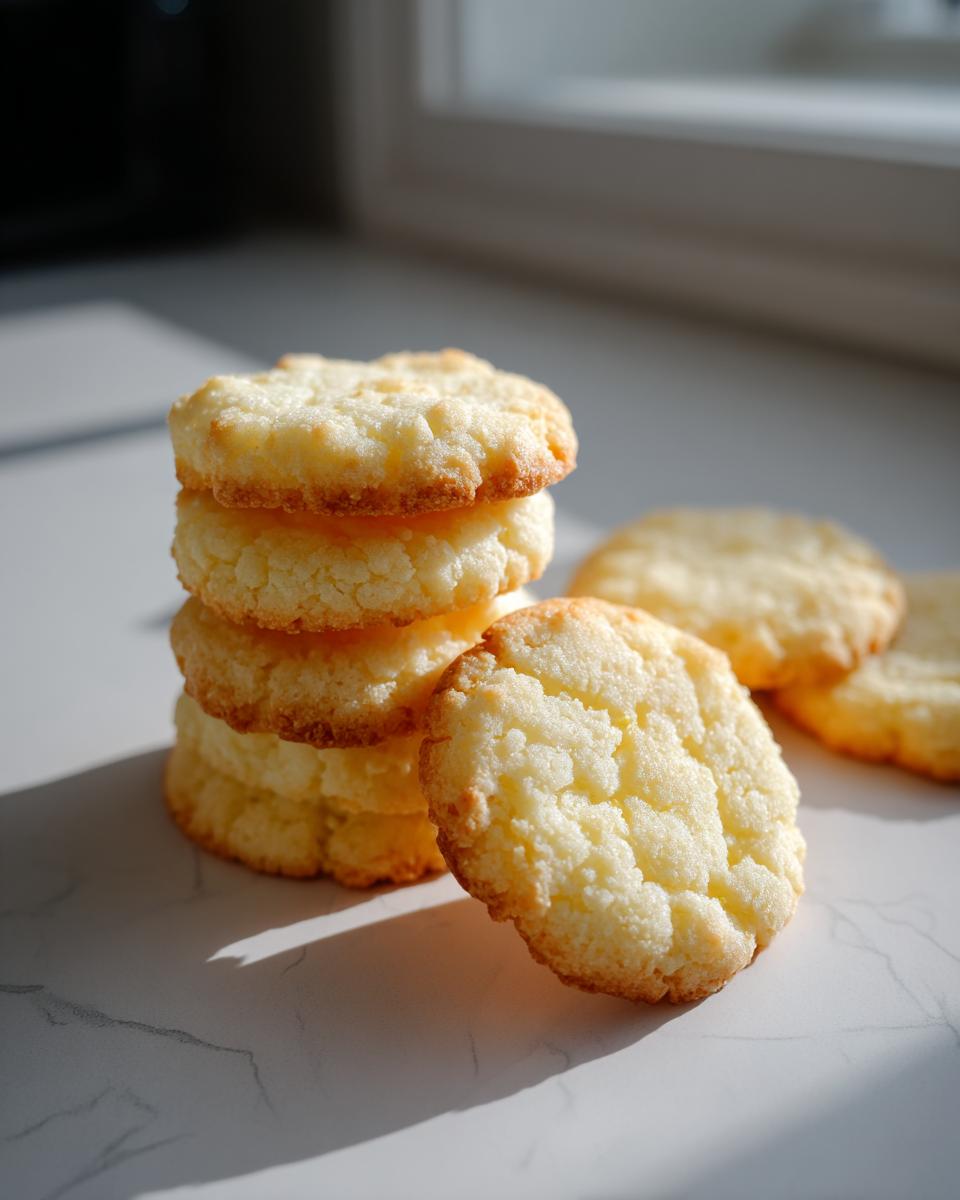
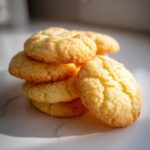
Baking Your Classic Butter Cookies
Okay, the dough is chilled, the shapes are cut, and the oven is preheated—now for the best part! Baking these Classic Butter Cookies is surprisingly fast, which is wonderful because smelling warm, rich butter coming from your oven is one of life’s simplest joys. We need a steady, medium heat for these treats. Set your oven temperature to 350°F (175°C). This temperature is just right to melt the butter enough to create that gorgeous ‘melt in your mouth’ texture without causing the cookies to spread into one giant sheet.
Line those baking sheets with parchment paper. I know, I know, sometimes it feels like an extra step, but trust me, struggling to peel a delicate, buttery cookie off a hot pan is nobody’s idea of fun! Plus, parchment ensures even baking from the bottom up, which helps us achieve that perfect look.
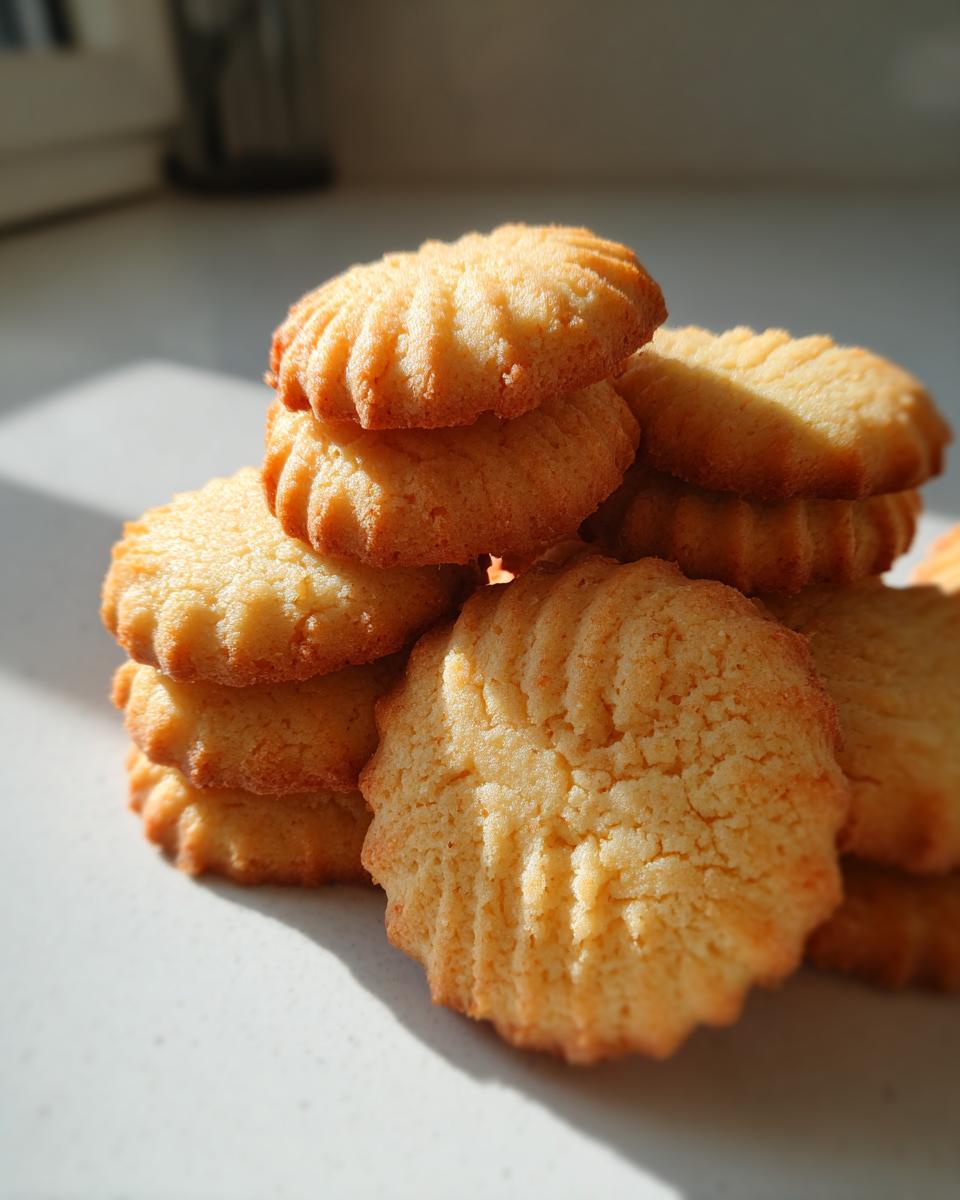
The baking time is crucial. These aren’t like thick drop cookies; they are fairly thin once rolled, so they cook fast! Set your timer for 10 minutes, no less, and then keep a very close eye on them. You are looking for just the slightest hint of color. We want Vanilla Butter Cookies that are light gold, not deep brown. The visual cue I always look for is seeing the edges start to turn just lightly golden. If the whole cookie looks pale, give it one or two more minutes.
When they come out, they’ll look a little fragile, almost too soft. That’s exactly what we want! Leave them right there on the hot baking sheet for about five full minutes. This resting period is essential; it allows them to set up before you try to touch them. If you try to move them immediately, they might snap right in half! Once they firm up a little, gently transfer them to a wire cooling rack so they can cool completely. If you like a nice crisp edge to contrast with that soft center, letting them cool completely before stacking them is the way to go. And if you want more holiday ideas that look gorgeous, you should check out my recipe for easy holiday snickerdoodles—they are always a huge hit!
Tips for Success with Homemade Butter Cookies
Look, even though this is one of the most straightforward butter cookie recipes you’ll ever find, a few small tweaks can take them from ‘good’ to ‘the best you’ve ever had.’ These little insider secrets I’ve gathered over the years are what separate a regular cookie from one that makes someone ask for the recipe right away. We want these to be impressive Cookie Recipes for Gifting, right? Then let’s lock in the flavor!
Flavor Variations: Beyond Vanilla butter cookie
While the classic vanilla flavor in this recipe is fantastic—seriously, it lets the pure butter shine through—you can easily dress this up. If you find yourself craving something deeper, try substituting just a splash of the vanilla extract with pure almond extract. A little bit goes a long way, and it gives the cookie a lovely, upscale baker’s touch. You could also grate in a little fresh lemon or orange zest before chilling the dough. Wow, that citrus brightens everything up!
If you want to go even further and really lean into those deep, nutty notes people rave about, you have to try browning the butter. This is a game-changer. You melt your butter slowly until it starts to foam and little brown bits form at the bottom, smelling nutty and rich. Let it cool slightly so it’s soft again, but not liquid, then use it in place of the softened butter in the recipe. Those Brown Butter Cookies have an incredible depth of flavor that makes them seem way more complicated than they are. It elevates these simple cookies instantly!
Making butter cookie Dough for Holiday Butter Cookies
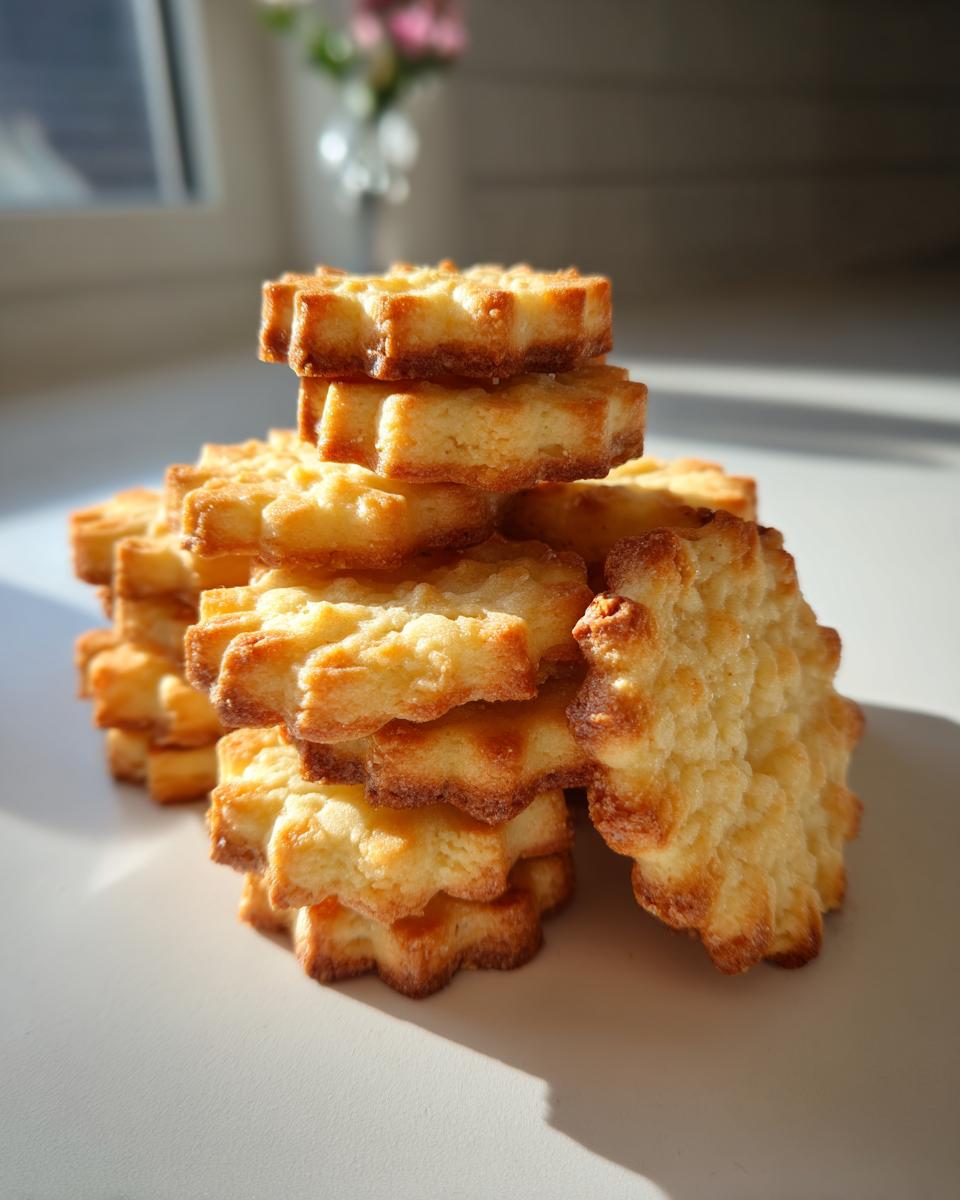
Since these bake up so beautifully and hold their shape so well, they are perfect for the holidays! If you’re planning ahead for Christmas baking, think about presentation. Instead of standard cutters, use ones that fit seasons, like little wreaths or stars. The dough handles them so well.
For extra flair, before baking, you can lightly brush the tops with an egg wash (just one egg whisked with a tablespoon of water) and then sprinkle them with coarse decorating sugar in festive colors. That crunch on top contrasts perfectly with the soft, Melt in Your Mouth Cookies texture underneath. These beautiful, easy treats are wonderful Cookie Recipes for Gifting; people always appreciate something made with this much butter!
Storage and Reheating Instructions for Your butter cookie Batch
One of the things I love most about these Classic Butter Cookies is how incredibly sturdy they are when it comes to storage. They aren’t like some delicate drop cookies that fall apart if you look at them wrong. Because of that wonderful high-butter content, they stay flavorful and tender for days, which is why they are my top choice for Cookie Recipes for Gifting.
You absolutely must let them cool completely—and I mean bone dry—before you even think about putting them into a container. If there’s any residual warmth, they’ll steam themselves, and we definitely don’t want soggy Melt in Your Mouth Cookies!
Once they are totally cooled, you want an airtight container. Layer them with wax paper or parchment sheets between the layers—this prevents them from sticking together, especially if you decorated them with any sprinkles or light glaze elements. Keep the tin or container stored at cool room temperature. Seriously, do not put these in the fridge!
Why no fridge? Cold air dries out butter cookies very quickly, and you lose that signature soft texture we worked so hard to achieve. If stored properly, these cookies stay perfectly buttery and delicious for at least five to seven days. They are wonderful to have on hand for unexpected guests or just when you need that little buttery treat with your afternoon coffee. If you’re making a big batch for holiday gifting, you can even wrap small stacks of them tightly in cellophane bags tied with a pretty ribbon. It’s such a thoughtful gift, and you can whip up a stunning batch of homemade jam to go alongside them if you want to be extra impressive!
Frequently Asked Questions About Making butter cookie
I know you might have a few questions bubbling up when you look at a classic recipe like this. That’s smart baking! It shows you care about the tiny details that turn good cookies into great ones. Because these are such an iconic treat—sometimes people mistake them for Buttery Shortbread Cookies, though ours are softer—I wanted to touch on a few common things folks ask me about getting that perfect butter cookie.
We want these to be approachable, part of your regular rotation, so let’s keep this Easy Butter Cookie Recipe foolproof!
Can I use salted butter instead of unsalted butter in this butter cookie recipe?
That is such a good question, and really cuts to the heart of kitchen flexibility! Yes, you absolutely *can* substitute salted butter for the unsalted butter called for here. But, because we need to maintain the balance for that perfect melt-in-your-mouth texture, you must adjust the added salt!
The recipe calls for 1/4 teaspoon of salt. If you use salted butter, you should skip adding that extra salt entirely. If your butter is heavily salted, you might even want to reduce the added salt to just a tiny pinch, or skip it altogether. Unsalted butter gives me more control over the final flavor profile, which is why I insist on it, but using salted butter is fine as long as you adjust that salt measurement! It still makes a fantastic cookie.
How do I make my butter cookie edges crispy?
Oh, I know what you’re going for—that delightful little crunch around the circumference that gives way to that cloud-like center! That contrast is divine. To encourage those Crispy Edge Cookies while keeping the middle soft, it really comes down to two things: rolling thickness and bake time. If you roll your dough slightly thinner—say, down to a scant 1/4 inch instead of a full 1/4 inch—the edges will crisp up faster than the center bakes through.
Also, watch the timer closely! Pull the cookies out exactly when the edges look light golden, even if the very center still looks a bit pale. That residual heat from the hot baking sheet will carry over and finish baking the center perfectly as they cool for those five minutes. Don’t wait for the whole cookie to brown!
If you’re interested in trying a different style of simple cookie that might lean more towards crispness, be sure to look at my guide for the ultimate chewy lemon cookies—though keep in mind that’s a different structure entirely!
Nutritional Estimate for This butter cookie Recipe
I always believe in transparency here at Cookin’ Corner. When you are making something as rich as these classic butter cookies, it’s good to know what you’re working with. Since everyone’s oven runs differently and brands vary, remember that these numbers are just an estimate based on the standard ingredients listed above. They are meant to give you a gentle idea of what’s in your delicious, buttery creation!
Keep in mind this breakdown is for one cookie, based on a yield of about three dozen cookies.
- Serving Size: 1 cookie
- Calories: 110
- Sugar: 5g
- Sodium: 35mg
- Fat: 7g
- Saturated Fat: 4g
- Unsaturated Fat: 3g
- Trans Fat: 0g
- Carbohydrates: 10g
- Fiber: 0g
- Protein: 1g
- Cholesterol: 25mg
See? Mostly good fats from that wonderful butter! It just goes to show that you can have incredible flavor without needing a ton of processed stuff. This is the beauty of keeping to Basic Pantry Cookies staples.
Share Your Homemade Sweets Creations
Now it’s your turn! Honestly, the biggest joy for me, Sarah Jane, is seeing these recipes come to life in kitchens all over the country. When you whip up this batch of butter cookie magic, I really want to hear about it!
Did you use cookie cutters? Did you try the fresh lemon zest variation? Or maybe you stuck to the pure, classic vanilla. Whatever you did, please take a moment to rate the recipe below and leave a comment telling me how they turned out! Knowing that you made these simple, rich buttery treats for your family or for gifting makes all the testing and typing worth it. If you have any final questions or want to share a picture, don’t hesitate to reach out via my contact page. Happy baking, friend, and thank you for keeping the home cooking tradition alive!
PrintClassic Melt-in-Your-Mouth Butter Cookies
Learn how to make rich, buttery cookies that melt in your mouth using simple pantry ingredients. This recipe gives you those satisfying homemade butter cookies everyone loves.
- Prep Time: 20 min
- Cook Time: 12 min
- Total Time: 52 min
- Yield: 3 dozen 1x
- Category: Dessert
- Method: Baking
- Cuisine: American
- Diet: Vegetarian
Ingredients
- 1 cup unsalted butter, softened
- 1/2 cup granulated sugar
- 1 large egg yolk
- 1 teaspoon vanilla extract
- 2 1/2 cups all-purpose flour
- 1/4 teaspoon salt
Instructions
- In a large bowl, cream together the softened butter and granulated sugar until light and fluffy. This step is key for a melt-in-your-mouth texture.
- Beat in the egg yolk and vanilla extract until just combined.
- Gradually add the flour and salt to the butter mixture. Mix on low speed until a soft dough forms. Do not overmix.
- Wrap the dough in plastic wrap and chill in the refrigerator for at least 30 minutes.
- Preheat your oven to 350°F (175°C). Line baking sheets with parchment paper.
- Roll the chilled dough out to about 1/4 inch thickness on a lightly floured surface. Cut into desired shapes using cookie cutters.
- Place the cut-out cookies onto the prepared baking sheets. Prick the tops lightly with a fork if desired for a classic look.
- Bake for 10 to 12 minutes, or until the edges are lightly golden brown.
- Let the cookies cool on the baking sheet for 5 minutes before transferring them to a wire rack to cool completely.
Notes
- For extra rich flavor, substitute 1/4 cup of the butter with browned butter. Let the butter cool slightly before creaming with the sugar.
- These cookies are perfect for cookie tin fillers and make great Christmas cookie baking additions.
- If you want softer cookies, reduce the baking time by one minute.
Nutrition
- Serving Size: 1 cookie
- Calories: 110
- Sugar: 5
- Sodium: 35
- Fat: 7
- Saturated Fat: 4
- Unsaturated Fat: 3
- Trans Fat: 0
- Carbohydrates: 10
- Fiber: 0
- Protein: 1
- Cholesterol: 25