
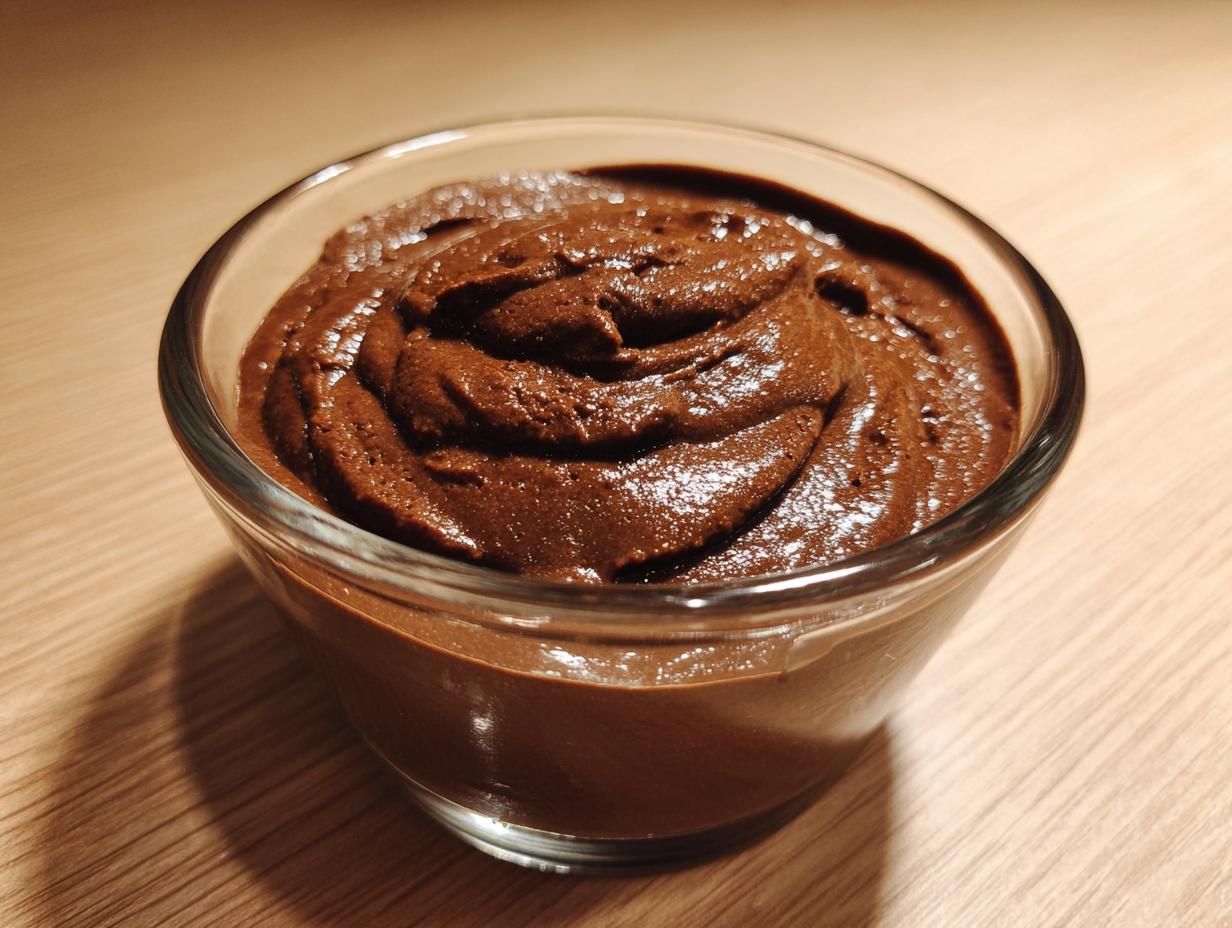
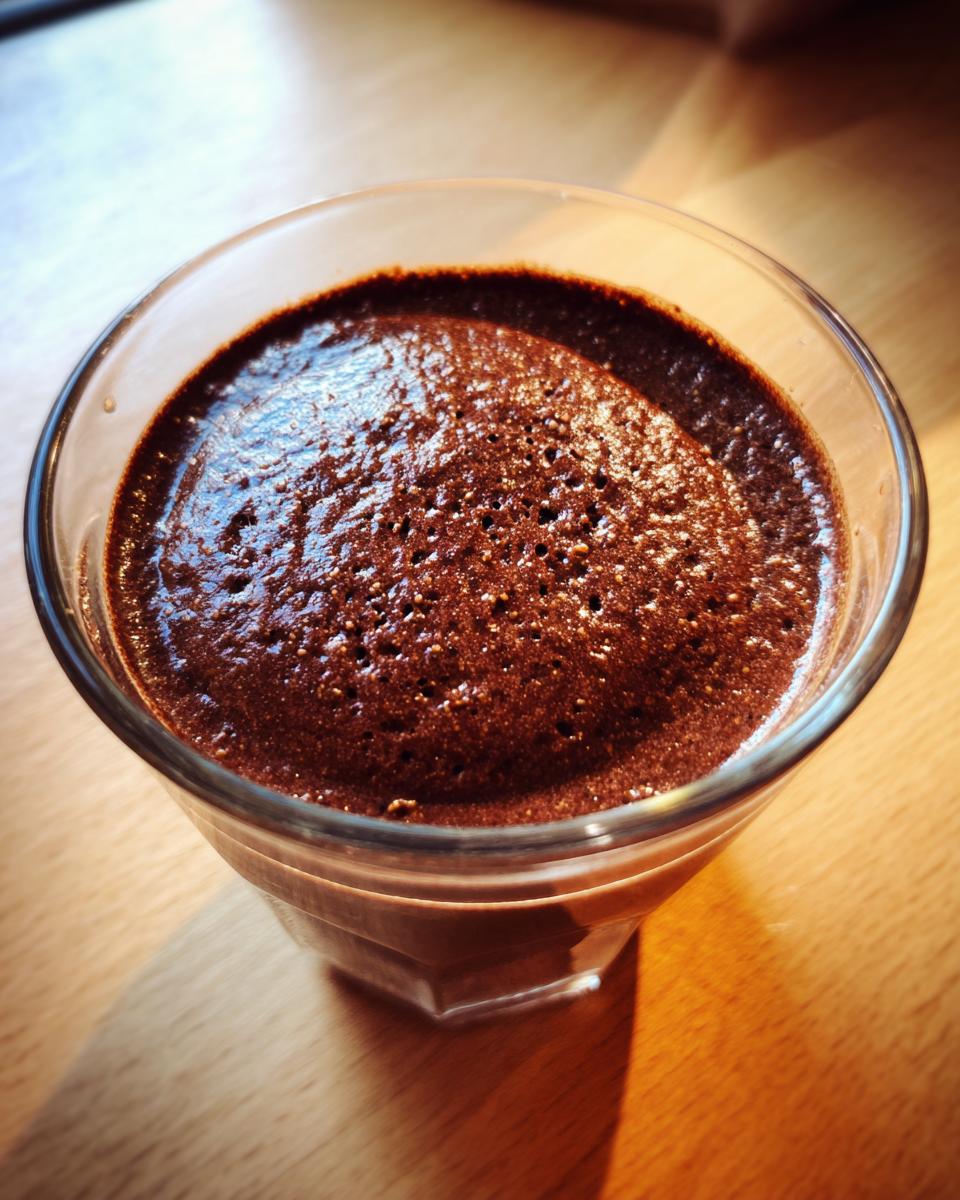
Some flavors just wrap you up like your favorite old blanket, and for me, that’s always been a bowl of deep, rich chocolate pudding. Forget those grainy, sad versions from a box; we’re making the real deal here. I’m Sarah Jane Thompson, and in my quest to bottle up that authentic American comfort food feeling, I landed on what I truly believe is the Best Ever Creamy Homemade Chocolate Pudding From Scratch. The best part? It tastes like it simmered all day, but really, it’s done and chilling in under 30 minutes total. This homemade chocolate pudding is silky, decadent, and proves you don’t need anything complicated to make dessert magical!
- Why This Homemade Chocolate Pudding Recipe is a Family Favorite Dessert
- Ingredients for Rich Chocolate Pudding Recipe
- How to Prepare Creamy Chocolate Pudding From Scratch
- Tips for Success Making Homemade Chocolate Pudding
- Storage & Reheating Instructions for Your Easy Chocolate Pudding Dessert
- Variations on This Rich Chocolate Pudding Recipe
- Serving Suggestions for This Comfort Food Dessert
- Frequently Asked Questions About Homemade Chocolate Pudding
- Nutritional Estimate for This Quick Homemade Dessert
Why This Homemade Chocolate Pudding Recipe is a Family Favorite Dessert
There’s just something about pudding that instantly takes you back to childhood, isn’t there? That’s why this homemade chocolate pudding has earned its permanent spot as our family’s go-to Comfort Food Dessert. Frankly, I think it’s criminal how much better this tastes than anything you shake out of a box. We aren’t settling for anything less than spectacular!
- It boasts a truly rich, deep chocolate flavor that you just can’t fake with mixes.
- The texture is everything: it’s unbelievably velvety and smooth—pure dessert heaven!
- It proves that a simple, Better Than Boxed Chocolate Pudding experience is totally achievable on a weeknight.
Achieving Velvety Chocolate Pudding Texture
The texture is non-negotiable in my kitchen, and that silky smooth result comes down to two non-scary steps. First, we use cornstarch properly to create that wonderful thickness. Second, and this is the magic trick, we temper the egg yolks really slowly. Tempering means you gently warm the yolks with some of the hot milk before adding them to the pot entirely. Trust me, do this right, and you get that luscious, Silky Smooth Pudding instead of scrambled bits. It’s worth the extra minute!
Ingredients for Rich Chocolate Pudding Recipe
When you’re making a Rich Chocolate Pudding Recipe from scratch, the quality of your basics really shines! You probably have most of this sitting in your pantry right now. I always stress using Dutch-process cocoa powder because it gives you that deeper, darker color and richer chocolate profile everyone craves in a classic Stovetop Pudding Recipe.
- 1/2 cup granulated sugar
- 1/3 cup unsweetened Dutch-process cocoa powder (don’t skip this part!)
- 1/4 teaspoon salt
- 1/4 cup cornstarch
- 3 cups whole milk (stay with whole milk if you can for creaminess!)
- 2 large egg yolks (save those whites for meringue later!)
- 2 tablespoons unsalted butter
- 1 teaspoon vanilla extract
Oh, and here’s a little secret I picked up: if you really want to elevate this into a Decadent Chocolate Treat, swap out 1 ounce of that butter for finely chopped bittersweet chocolate. Just crush it up super fine before adding it at the end!
How to Prepare Creamy Chocolate Pudding From Scratch
Okay, this is where the real magic happens, but please, don’t stress! If you can whisk and stir patiently for about fifteen minutes, you can master this Creamy Chocolate Pudding From Scratch. Since this is a stovetop recipe, you need to be present, but it moves pretty fast once you get going. We are aiming for that perfect, thick, not-at-all-gloppy texture every time. Let’s get this Quick Homemade Dessert going!
Combining Dry Ingredients and Milk
First things first: grab your saucepan! The key to avoiding that dreaded lumpy mess is mixing your dry bits *before* anything wet touches them. Take your sugar, cocoa powder, salt, and that lovely cornstarch and whisk them around until they look completely uniform. I mean it—no pale pockets of cornstarch hiding anywhere! Once you’re sure they’re blended well, start slowly drizzling in that three cups of whole milk, whisking the whole time until you have a perfectly smooth, chocolatey liquid base for your homemade chocolate pudding.
Thickening the Stovetop Pudding Recipe
Now, set that pan over medium heat. You MUST stir constantly here. Don’t walk away to check your phone! We need that constant motion for a good 8 to 10 minutes until it starts getting thick and gently bubbling. This is the moment of truth for your Quick Easy Recipes—we temper the yolks now! Whisk your yolks really fast in a separate bowl, then pour about half a cup of the *hot* pudding mixture into the yolks while whisking like crazy. Slowly, slowly introduce them back into the main pot. Continue cooking for just one or two more minutes, just until it’s super thick. That careful tempering ensures you get that amazing, rich body, not a batch of scrambled eggs!
Tips for Success Making Homemade Chocolate Pudding
You’ve seen the recipe, but getting that perfect spoonful of Silky Smooth Pudding takes just a few little tricks Sarah Jane swears by. Never, ever, stop stirring when it’s on the heat after you add the milk! Seriously, if you let it sit for even thirty seconds, the cornstarch will stick to the bottom and try to burn, giving you a grainy texture later on. That’s the main textural secret for this Better Than Boxed Chocolate Pudding.
Speaking of flavor depth, remember that little note about adding an ounce of chopped bittersweet chocolate? That’s my non-negotiable step for making this a truly memorable Chocolate Lovers Delight. Melt that dark chocolate right in with the butter at the end. It boosts the cocoa notes without making it overly sweet. It’s the kind of detail that turns an ordinary dessert into something your family begs you to make every week!
Storage & Reheating Instructions for Your Easy Chocolate Pudding Dessert
The waiting part is tough, I know! You’ve just made this incredible Easy Chocolate Pudding Dessert on the stovetop, and it smells heavenly, but you have to let it chill. This dessert really needs at least two full hours in the refrigerator, minimum. That chilling time allows the cornstarch and egg structure to fully set up, transforming that warm, thick liquid into the spoonable, velvety delight we’re going for.
Now, here is the most important trick for storage, something my grandmother taught me about every custard ever made: you absolutely must prevent that skin from forming! As soon as you pour the pudding into your serving bowls or container, grab a sheet of plastic wrap. Gently press the plastic wrap directly onto the entire surface of the pudding. Don’t leave an air gap between the plastic and the surface—that gap is what steam collects in and causes that rubbery film we hate. I usually use a little spritz of cooking spray on the plastic wrap surface facing the pudding just to guarantee it never touches!
How long does it keep? Well, this Simple Pantry Dessert is definitely best eaten within the first day, but you can safely enjoy it for up to three days stored properly in the fridge. Reheating isn’t generally recommended because it changes the texture; we want this cold and luxurious. If you absolutely must warm it, do it gently in the microwave for just a few seconds at a time, whisking vigorously between intervals. But honestly, this dessert is meant to be enjoyed chilled!
Variations on This Rich Chocolate Pudding Recipe
This Rich Chocolate Pudding Recipe is fantastic straight up, but I love playing with it once I’ve mastered the basic structure. Since we are using such standard ingredients for our homemade chocolate pudding, there are so many fun ways to jazz it up without turning it into something complicated. Remember, we still want that classic comfort, just maybe with a little extra flair!
If you’re a coffee person, you absolutely must try turning this into a mocha treat. Just dissolve a teaspoon of instant espresso powder right in with your dry ingredients—that cocoa and coffee combo is just heavenly! It deepens the chocolate flavor so much; people won’t know what hit them.
Also, don’t feel strictly tied to whole milk, though I highly recommend it for that ultimate decadence. If you happen to be out, using 2% milk works totally fine, though the final pudding might set up just a *tiny* bit softer. And I’ve heard whispers that some folks have even tried this lovely base with almond or oat milk, but I haven’t done a proper test run yet! If you experiment with those alternatives, let me know how your Silky Smooth Pudding turns out!
For something really special—maybe for a weekend? Throw in a splash of high-quality liqueur when you add the vanilla. A little dark rum or even some good bourbon goes beautifully with the Dutch cocoa. Just please keep those boozy additions for the adults!
If you’re looking for other ways to use chocolate in your menus, check out my recipe for Chocolate Raspberry Cake. But for now, stick to making this pudding, because it’s just perfection!
Serving Suggestions for This Comfort Food Dessert
You’ve nailed the stovetop part, and now it’s chilling—the hardest part of any Easy No Bake Chocolate Pudding recipe! But the serving is where you can truly turn this into a showstopper, even if you whipped it up on a Tuesday night. This Easy Chocolate Pudding Dessert really sings with just a few simple additions.
My absolute favorite topping, and the most classic choice, is a big swirl of unsweetened whipped cream. The slight tanginess and lightness of the cream cut right through the richness of the dark chocolate perfectly. Don’t even bother with the aerosol cans—a quick whip of heavy cream with a touch of powdered sugar is so fast, and it tastes miles better.
If you want something chunkier, think about texture! A sprinkle of milk chocolate shavings on top if you love extra chocolate, or even some chopped hazelnuts or toasted pecans add a wonderful crunch. And if you’re looking for color, don’t forget fresh berries; raspberries or a few sliced strawberries look gorgeous against that deep brown background.
For those of you looking for super Weeknight Dessert Ideas, sometimes all you need is a single, perfect maraschino cherry right on top. It’s silly, nostalgic, and instantly makes the dessert feel special without adding any extra cooking time. Go ahead, treat yourself—you deserve this comforting bowl!
Frequently Asked Questions About Homemade Chocolate Pudding
It’s natural to have questions when you switch from the box to making something truly special like this Homemade Chocolate Pudding Recipe! I’ve gathered up the top queries folks have when trying this recipe for the first time. Hopefully, this helps you jump straight into that amazing, silky texture we talked about!
Can I make this homemade chocolate pudding without egg yolks?
That’s a tough one, because those egg yolks are doing some serious work in here! They are what gives the pudding that gorgeous richness and helps it bind into that perfect, thick consistency. If you absolutely cannot use them, you can probably skip them, but you must increase the cornstarch slightly—maybe add an extra tablespoon. Fair warning, though: the result will be noticeably thinner and won’t have that ultimate luxurious mouthfeel. It’ll be more like a standard, thinner pudding, rather than the Classic Chocolate Pudding texture we are aiming for.
How can I make this a decadent chocolate treat using melted chocolate instead of just cocoa powder?
Oh, I love that thinking! If you want my absolute favorite flavor boost for a truly Decadent Chocolate Treat, just melt down an ounce—maybe slightly more if you’re feeling wild—of high-quality bittersweet chocolate. You add this right at the end when you stir in the butter and vanilla (Step 7 in the instructions). It melts right into the hot mixture, taking the flavor from “great” to “stop-the-presses amazing.” It deepens the color and makes the whole thing taste richer instantly!
Is this really a quick homemade dessert? It seems like stovetop recipes take forever.
It is! Honestly, this is why I love it so much for my Weeknight Dessert Ideas. The active cooking time on the stove is only about 15 minutes total—maybe 18 if you’re moving slowly. The vast majority of the time required is just chilling in the fridge. So, you can have the ingredients mixed and cooked before the kids even finish their dinner plates, and by after-dinner cleanup time, it’s already starting to set up!
Can I use different kinds of milk in this recipe?
You sure can try! I always push for whole milk because that fat content is what guarantees that super Creamy Chocolate Pudding From Scratch finish. If you use skim or 2%, it will still work wonderfully, but the set will be a little softer. If you’re trying dairy-free alternatives, just know that results vary! Oat milk often works well because it’s naturally creamy, but anything too watery might make your Quick Homemade Dessert a little too runny.
Nutritional Estimate for This Quick Homemade Dessert
Okay, so while this Quick Homemade Dessert is pure comfort, I always like to give you an idea of what’s in that delicious bowl! Since we’re using whole milk for that ultimate creamy texture, the numbers are based on that. These are just my best estimates, mind you, but here’s the general breakdown per serving:
- Calories: 310
- Total Fat: 12g
- Total Carbohydrates: 46g (with 35g of that being sugar)
- Protein: 8g
Remember, if you switch to lower-fat milk or load up on toppings, these estimates will definitely change! But for the base recipe, it’s a solid, classic treat.
PrintBest Ever Creamy Homemade Chocolate Pudding From Scratch
This recipe delivers a rich, velvety homemade chocolate pudding that tastes far better than any boxed mix. It uses simple pantry staples and cooks quickly on the stovetop for a comforting, decadent dessert.
- Prep Time: 10 min
- Cook Time: 15 min
- Total Time: 25 min
- Yield: 4 servings 1x
- Category: Dessert
- Method: Stovetop
- Cuisine: American
- Diet: Vegetarian
Ingredients
- 1/2 cup granulated sugar
- 1/3 cup unsweetened Dutch-process cocoa powder
- 1/4 teaspoon salt
- 1/4 cup cornstarch
- 3 cups whole milk
- 2 large egg yolks
- 2 tablespoons unsalted butter
- 1 teaspoon vanilla extract
Instructions
- In a medium saucepan, whisk together the sugar, cocoa powder, salt, and cornstarch until no lumps remain.
- Gradually whisk in the whole milk until the mixture is smooth.
- Place the saucepan over medium heat. Cook, stirring constantly with a whisk, until the mixture thickens significantly and begins to bubble gently. This usually takes 8 to 10 minutes.
- In a small bowl, lightly whisk the two egg yolks.
- Temper the egg yolks: Slowly pour about 1/2 cup of the hot pudding mixture into the egg yolks while whisking constantly. This prevents the yolks from scrambling.
- Pour the tempered yolk mixture back into the saucepan with the remaining pudding. Continue to cook over medium heat, stirring constantly, for 1 to 2 minutes more until the pudding is very thick. Do not let it boil rapidly after adding the yolks.
- Remove the saucepan from the heat. Stir in the butter and vanilla extract until the butter is fully melted and incorporated.
- Pour the pudding into individual serving bowls or a large serving dish. Press plastic wrap directly onto the surface of the pudding to prevent a skin from forming.
- Chill in the refrigerator for at least 2 hours, or until completely cold and set.
Notes
- For a deeper chocolate flavor, substitute 1 ounce of finely chopped bittersweet chocolate with the butter in step 6.
- If you prefer a lighter texture, use 2% milk instead of whole milk, but the pudding may set slightly softer.
- This stovetop pudding recipe is best eaten within three days for optimal texture.
Nutrition
- Serving Size: 1 serving
- Calories: 310
- Sugar: 35
- Sodium: 180
- Fat: 12
- Saturated Fat: 7
- Unsaturated Fat: 5
- Trans Fat: 0
- Carbohydrates: 46
- Fiber: 3
- Protein: 8
- Cholesterol: 75