

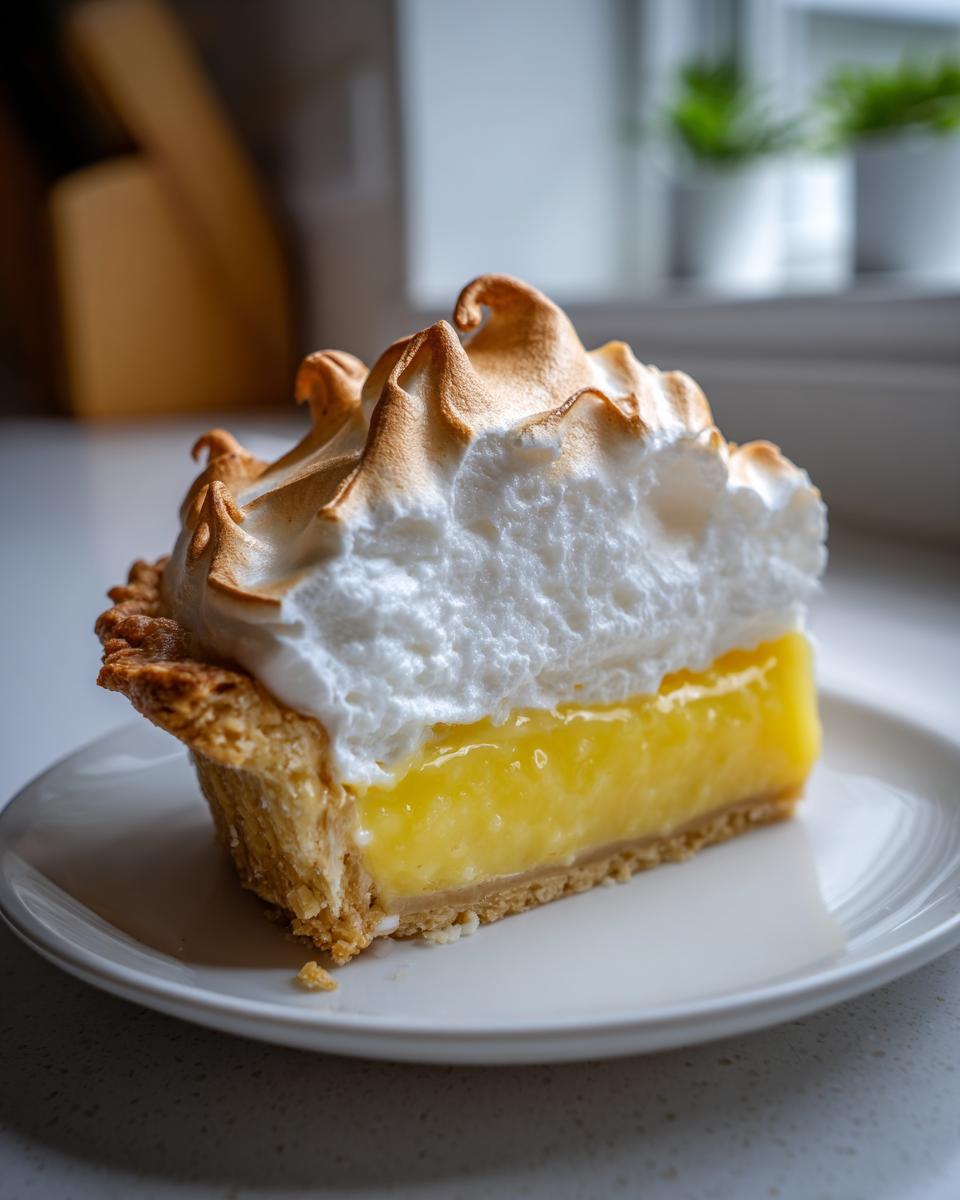
Oh, my heart! Nothing screams American home cooking tradition quite like a slice of absolute perfection, and I’m talking about the iconic, showstopping lemon meringue pie. Forget those soupy fillings you see sometimes; we are making the real deal here, completely from scratch. This isn’t just another dessert; it’s a legacy recipe that I tested over and over again to make sure your filling sets up beautifully and that meringue stays tall and proud. Trust me, when you master the stability tips in this recipe, you’ll have the brightest, most zesty summer citrus dessert ready for any gathering!
- Why This Classic Lemon Meringue Recipe Delivers Showstopper Results
- Ingredients for the Ultimate Homemade Lemon Meringue Pie From Scratch
- Step-by-Step Instructions for the Classic Lemon Meringue Recipe
- Expert Tips for No Weep Lemon Meringue Success
- Storage and Cooling for the Best Lemon Meringue Pie
- Serving Suggestions for Your Zesty Lemon Dessert
- Frequently Asked Questions About This Lemon Meringue Pie Recipe
- Estimated Nutritional Data for Lemon Meringue
- Share Your Classic Lemon Meringue Creations
Why This Classic Lemon Meringue Recipe Delivers Showstopper Results
When you pull this pie out, people gasp—it’s a true showstopper dessert, I promise. I’ve folded all my experience into this recipe so you don’t have to worry about failures, just glory!
- This recipe is built on tradition, meaning you get that perfect tart and sweet pie balance that bakers chase.
- We include mandatory tips that tackle weeping and shrinking meringue before you even start whipping!
- It’s 100% from scratch, just like pie used to be made.
Achieving the Perfect Tart and Sweet Lemon Meringue Balance
The secret to that incredible brightness is simple: you have to use fresh lemon juice, not that stuff from the bottle! We use just enough sugar to balance the intense tartness of that fresh juice. It’s a vibrant, zesty lemon dessert that wakes up your whole mouth, but never feels too sour.
Ingredients for the Ultimate Homemade Lemon Meringue Pie From Scratch
Okay, let’s get down to business because making a homemade lemon pie from scratch means skipping every shortcut! This pie relies on simple pantry staples, handled with care. Don’t substitute anything here; the precision is what makes this filling so sturdy and the topping so light. Remember, everything needs to be ready to go before you start cooking, especially the whipping bowl that needs to be spotlessly clean!
For the Buttery Pie Crust Tutorial (Pre-Baked)
Make sure you have your crust ready before you start the filling. Following a good buttery pie crust tutorial is the foundation for a successful pie! This recipe assumes you have a nice 9-inch crust already baked nice and golden and totally cooled down. You don’t want any warmth transferring to that luscious filling!
- 1 recipe for a 9-inch buttery pie crust, baked
For the Zesty Lemon Curd Recipe
Get ready for the brightest flavor! This is where all the intense goodness comes from, making up the core of our lemon curd recipe.
- 1 1/2 cups granulated sugar
- 1/3 cup cornstarch
- 1/4 teaspoon salt
- 1 1/2 cups cold water
- 4 large egg yolks, lightly beaten
- 1/2 cup fresh lemon juice
- 1 tablespoon lemon zest
- 2 tablespoons unsalted butter
For the Fluffy Meringue Topping
This meringue is what everyone talks about—it stands up tall and gets those perfect golden peaks. Those egg whites must be room temperature, and don’t forget the cream of tartar for extra stability! It’s key for that fluffy meringue topping.
- 4 large egg whites, at room temperature
- 1/2 teaspoon cream of tartar
- 1/2 cup granulated sugar (for meringue)
Step-by-Step Instructions for the Classic Lemon Meringue Recipe
This is where the magic happens! I know baking a pie from scratch can feel a little intimidating, especially with that custard that needs to set just right, but stick with me. Precision in the filling means you get that amazing, bright flavor, and patience with the meringue ensures it doesn’t disappear on you. Just follow the timing I use here, and you’ll have the best lemon meringue pie recipe you’ve ever made.
Preparing the Lemon Filling and Tempering Yolks
First things first, make sure that crust is totally cool. For the filling, grab a medium saucepan and whisk that 1 1/2 cups of sugar, cornstarch, and salt together—make sure there are no lumps hiding there! Add the cold water and whisk until it looks smooth as silk. Now, set it over medium heat and stir constantly. You need to bring it to a boil and let it boil for exactly one minute. Take it off the heat!
Now for tempering, which sounds fancy but it’s just being careful with your eggs. Lightly beat your four egg yolks in a separate bowl. Take about a cup of that hot sugar mixture and SLOWLY whisk it into the yolks. Don’t dump it! We call this tempering. Once that’s mixed, pour that warmed yolk mixture right back into the saucepan. Put it back on medium heat and stir like crazy until it thickens again and bubbles. Remember, don’t let it boil heavily now! Take it off the heat immediately. Finally, stir in your lemon juice, zest, and that two tablespoons of butter until it’s all melty and gorgeous. Pour that hot filling right into your cooled crust!
How to Make Perfect Meringue: Whipping for Stiff Peaks
While the filling is settling in, we tackle the topping. Make sure your bowl and whisk attachment are spotless—I mean squeaky clean—no grease allowed or your meringue will sulk. Get those room temperature egg whites in there and start beating them on medium speed until soft peaks form. You know, the tips flop over a little when you lift the whisk.
This is the critical part for how to make perfect meringue: start adding the remaining 1/2 cup of sugar one tablespoon at a time. Beat it well between each addition. Once all the sugar is incorporated, add your cream of tartar and crank that speed up to high! Keep beating until you have stiff, glossy peaks that stand straight up when you check them. That’s beautiful volume!
Assembling and Baking Your Lemon Meringue
Take your beautiful, fluffy, stiff meringue and gently spread it all over that hot lemon filling. Here is a pro tip that stops shrinking: make absolutely sure the meringue touches the crust edge everywhere! You are sealing that filling in. Then, play around with the back of a spoon to make some dramatic swirls—those will toast up perfectly.
Pop the pie into a 350°F oven for just 12 to 15 minutes. You’re just looking for those pretty golden-brown tips. Remember, we aren’t adding more heat to the filling; we just want the peaks kissed by the heat. Once they are lightly golden, pull it out!
Expert Tips for No Weep Lemon Meringue Success
We all know the heartbreak of checking on a beautiful pie only to see the meringue weeping sugary tears or shrinking away from the crust. It’s the number one complaint about this dessert, but I’ve got the answers right here! If you follow these essential no weep lemon meringue tips, you’re setting yourself up for success every single time. I learned this the hard way, so you don’t have to! This pie is meant to be a *showstopper*, not a soggy mess.
Crucial Steps for a Stable Lemon Meringue
First, when you get ready to whip those egg whites, your bowl and whisk attachment have to be surgically clean, seriously! Any speck of grease or fat—even a trace of yolk—will stop those whites from reaching their full, glorious volume. Wipe everything down with a bit of vinegar or lemon juice first, trust me on this one.
Next, when you’re cooking that cornstarch filling, you absolutely must boil it for the full minute after it thickens. That boiling time cooks the starch, making it stable so that when the lemon juice hits it, it sets solid later. A quick simmer won’t cut it; you need that full minute of bubbling!
Also, remember what I said above about sealing the meringue to the edge of the crust? That seals in the steam and keeps the meringue glued to the filling. For more great advice, check out this recipe from my friends over at The Recipe Rebel!
Storage and Cooling for the Best Lemon Meringue Pie
Okay, you’ve baked your masterpiece, and it looks absolutely gorgeous with those golden peaks! Resist the urge to cut into it right away, please! Step 13 tells you to cool it for at least four hours at room temperature. This longest wait is actually crucial for an easy lemon meringue recipe because it lets that hot filling magically set up.
If you try to slice it too soon, all that beautiful lemon curd will turn back into soup! Don’t put it in the fridge right away; let it cool on the counter, away from any drafts, because sudden temperature changes help the meringue start weeping. Trust me, patience here makes slicing clean way easier later!
Serving Suggestions for Your Zesty Lemon Dessert
I mean, honestly, once this pie is out of the oven, it deserves a spotlight! This is the perfect centerpiece for anything sunny, whether you’re celebrating a graduation or just having an ordinary Tuesday that needs cheering up.
Because it’s so bright and zesty, it’s just heavenly as a summer citrus dessert. It cuts right through the heat of the day, you know? It’s also fantastic for those early celebrations when we start breaking out the lighter flavors—definitely one of my favorite spring baking recipes.
When I serve it, I like keeping the plate simple to let that snowy meringue shine. Sometimes, I’ll grate just a tiny bit of fresh lemon zest over the top before bringing it to the table—it just wakes up the aroma even more! If you want some extra brightness inspiration for pairing, check out what my friends over at Hayley Recipes are doing with their lemon meringue!
Frequently Asked Questions About This Lemon Meringue Pie Recipe
I get so many emails and comments because everyone wants their pie to turn out just right! Dealing with that delicate meringue and that jiggly filling can cause some nerves, I get it. Let’s tackle some of the questions I hear most often about this wonderful classic lemon pie so you can bake with total confidence!
Can I make mini lemon meringue tarts instead of a full pie?
Oh, you totally can! I love making these when I’m serving a crowd because everyone gets their own perfect little slice of sunshine. If you switch over to making mini lemon meringue tarts, you just need to watch that baking time very closely in step 12. Smaller tarts will bake a lot faster—maybe only 8 to 10 minutes to brown that meringue—so don’t walk away from the oven!
What is the best way to store leftover lemon meringue?
This is tricky because the meringue loves humidity, and the fridge hates it! If you have leftovers (if you’re lucky enough to have any!), you need to store it loosely covered in the refrigerator. Don’t seal it tight with plastic; that traps moisture and encourages weeping faster than anything else. If you cover it loosely with plastic wrap, make sure that plastic isn’t actually touching the meringue peaks. It will last about two or maybe three days, but honestly, this pie never makes it past one day in my house!
How do I ensure my meringue is tall and fluffy?
This all comes down to two non-negotiable rules from my kitchen! First, those egg whites have to be at room temperature; cold whites just won’t whip up to their full volume. Second, you must beat them until you have stiff, glossy peaks that stand straight up when you pull the whisk out. That’s the secret to the best lemon meringue—full aeration before they even see the oven!
Estimated Nutritional Data for Lemon Meringue
Now, after all that wonderful baking and eating, you might want to peek at the numbers. Keep in mind these are just estimates based on the ingredients listed for this spectacular lemon meringue pie. I always tell people that homemade food made with love usually tastes better than any label says, but knowledge is power, right?
Here are the estimated details per slice:
- Serving Size: 1 slice
- Calories: 380
- Sugar: 45g
- Sodium: 150mg
- Fat: 18g
- Saturated Fat: 4g
- Unsaturated Fat: 14g
- Trans Fat: 0g
- Carbohydrates: 52g
- Fiber: 1g
- Protein: 6g
- Cholesterol: 110mg
Just remember, these are based on calculating the whole batch and dividing it by 8 servings. If you cut bigger wedges—and who could blame you?—the numbers will change! Enjoy every bite of this truly classic dessert!
Share Your Classic Lemon Meringue Creations
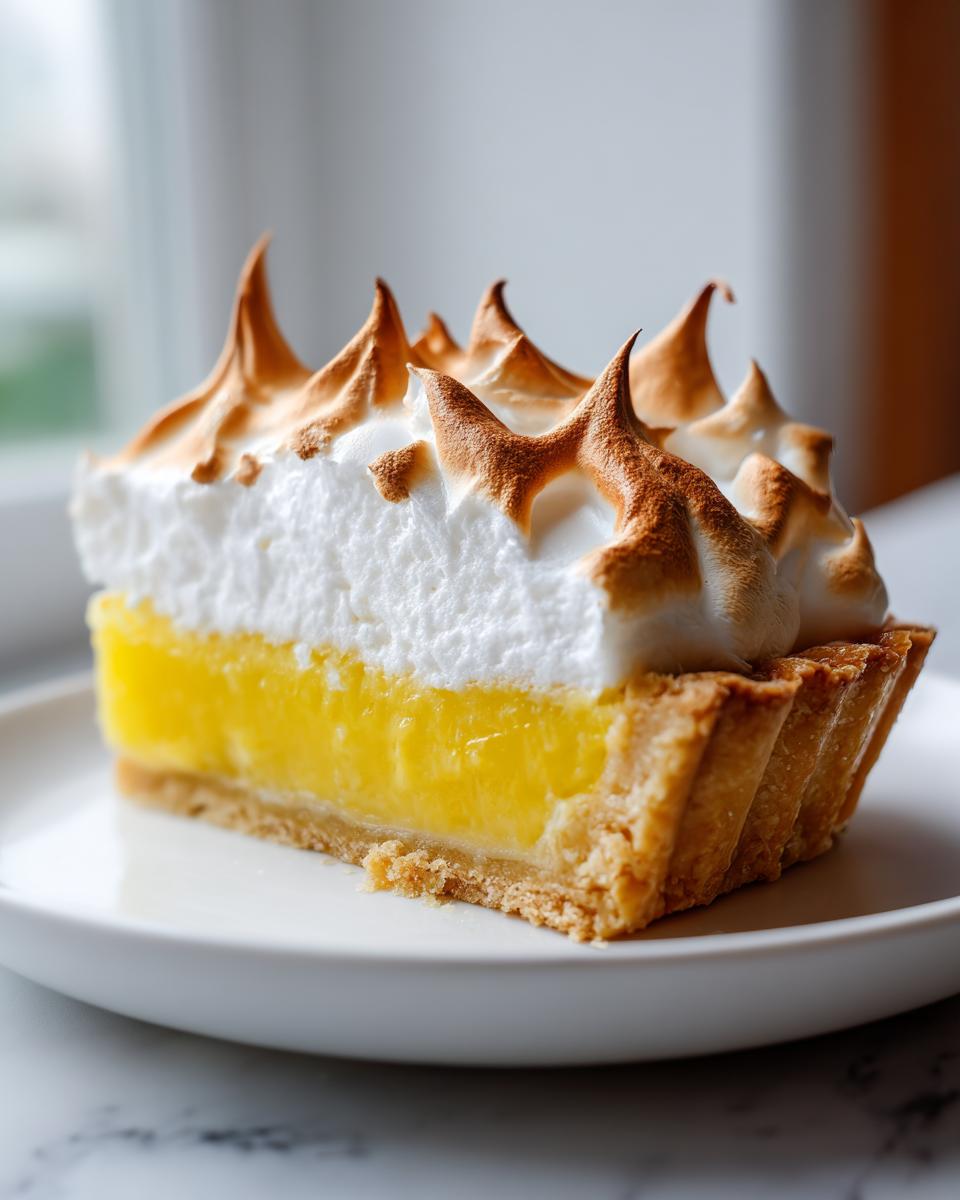
Whew! We made it to the finish line together, and now all that’s left is the best part: the eating! I really hope you feel as proud of your pie as I do when mine comes out of the oven. Seriously, when you slice into that gorgeous classic lemon pie and see the layers—buttery crust, bright filling, and that pillowy meringue—you’ll know why I fussed so much over the details!
Now, I need to know—how did it go? Did your meringue stand up tall? Was the filling perfectly zesty? Please, please drop a comment below and tell me about your experience making this recipe. I read every single note you send me; keeping this recipe alive and perfect for everyone is why Cookin’ Corner exists!
If you used this recipe and loved it, please give it a star rating at the top of the page! And if you snapped any photos of your finished pie sitting proudly on your counter, share them on social media and tag me! I absolutely adore seeing your triumphs. And hey, before you go, make sure you’ve checked out our site guidelines!
PrintClassic Homemade Lemon Meringue Pie

Make a showstopper dessert with this classic Lemon Meringue Pie recipe. You get a perfect balance of tart lemon custard, a buttery crust, and a tall, fluffy meringue topping.
- Prep Time: 30 min
- Cook Time: 30 min
- Total Time: 4 hours 0 minutes
- Yield: 8 servings 1x
- Category: Dessert
- Method: Baking
- Cuisine: American
- Diet: Vegetarian
Ingredients
- 1 recipe for a 9-inch buttery pie crust, baked
- 1 1/2 cups granulated sugar
- 1/3 cup cornstarch
- 1/4 teaspoon salt
- 1 1/2 cups cold water
- 4 large egg yolks, lightly beaten
- 1/2 cup fresh lemon juice
- 1 tablespoon lemon zest
- 2 tablespoons unsalted butter
- 4 large egg whites, at room temperature
- 1/2 teaspoon cream of tartar
- 1/2 cup granulated sugar (for meringue)
Instructions
- Prepare your 9-inch pie crust and bake it according to your preferred recipe. Let the crust cool completely.
- For the lemon filling, whisk together 1 1/2 cups sugar, cornstarch, and salt in a medium saucepan. Gradually whisk in the cold water until smooth.
- Cook the mixture over medium heat, stirring constantly, until it thickens and boils. Boil for one minute, then remove from heat.
- In a separate bowl, lightly beat the egg yolks. Slowly temper the yolks by whisking in about 1 cup of the hot sugar mixture.
- Pour the tempered yolk mixture back into the saucepan with the remaining hot mixture. Cook over medium heat, stirring constantly, until the filling thickens again and bubbles. Do not boil.
- Remove the filling from the heat. Stir in the lemon juice, lemon zest, and butter until the butter melts completely.
- Pour the hot lemon filling into the cooled, pre-baked pie crust.
- For the meringue, place the 4 room-temperature egg whites in a clean, grease-free mixing bowl. Beat on medium speed until soft peaks form.
- Add the 1/2 cup of sugar gradually, about one tablespoon at a time, while beating continuously. Add the cream of tartar.
- Increase the mixer speed to high and beat until stiff, glossy peaks form. This is how you make perfect meringue.
- Spread the meringue over the hot lemon filling, making sure the meringue touches the edge of the crust all around to prevent shrinking. Create decorative swirls with the back of a spoon.
- Bake the pie at 350°F (175°C) for 12 to 15 minutes, or until the meringue peaks are lightly golden brown.
- Cool the pie completely on a wire rack at room temperature for at least 4 hours before slicing. Avoid drafts to prevent weeping.
Notes
- To prevent weeping meringue, make sure your mixing bowl and whisk are completely free of grease or fat before whipping the egg whites.
- For a more stable filling, ensure you boil the cornstarch mixture for the full minute as directed.
- When spreading the meringue, seal it completely to the edges of the crust. This traps steam and helps prevent the meringue from shrinking away from the filling.
Nutrition
- Serving Size: 1 slice
- Calories: 380
- Sugar: 45g
- Sodium: 150mg
- Fat: 18g
- Saturated Fat: 4g
- Unsaturated Fat: 14g
- Trans Fat: 0g
- Carbohydrates: 52g
- Fiber: 1g
- Protein: 6g
- Cholesterol: 110mg